 With the wind ripping out of the west today so hard that I’m not sure how parts of our building haven’t sailed off into the Hudson, there was no way I could set up the airbrush booth to do any spray painting. So, I’ll take the chance to update the blog.
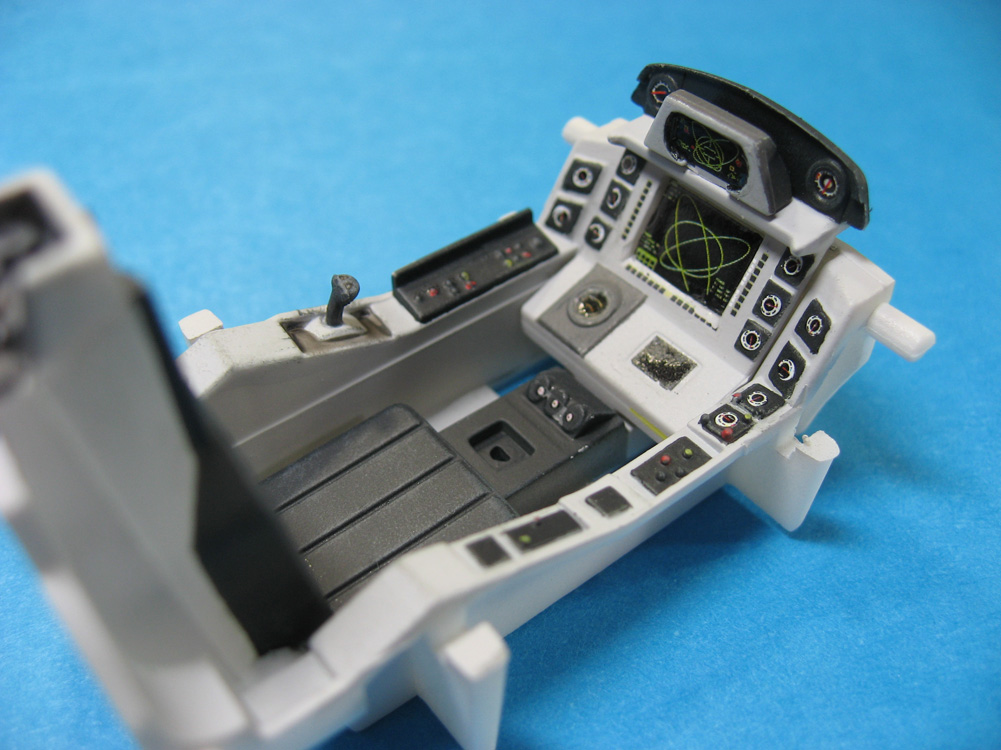
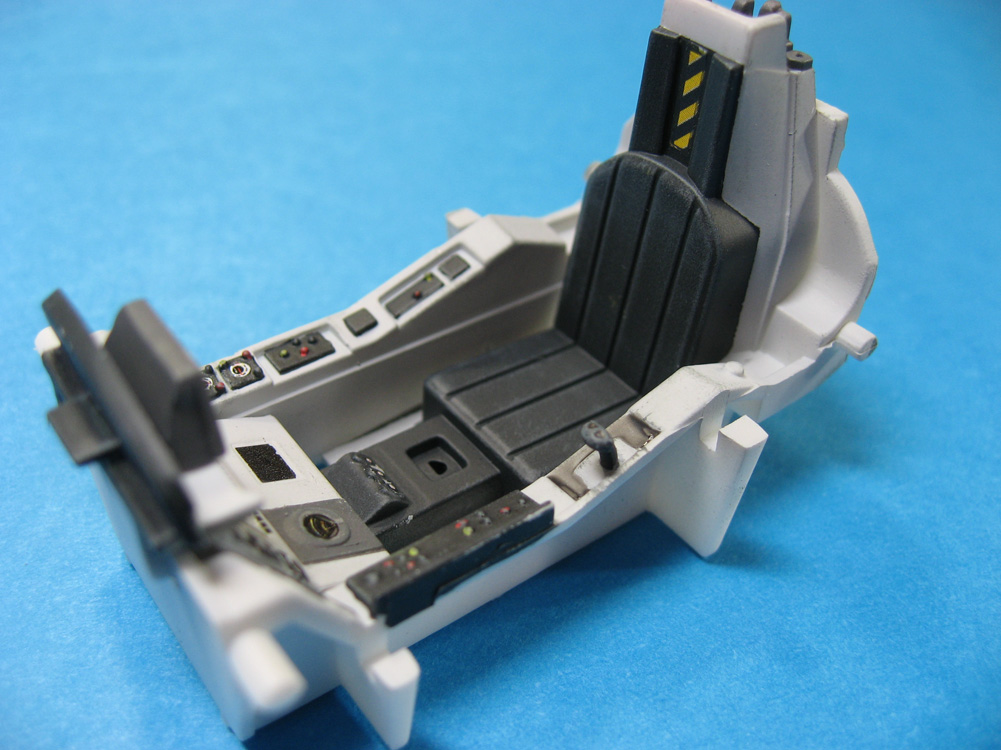
The finishing touches of the cockpit are the decals. The dials are tiny, minuscule, and any other word you can think of that means “Holy crap, how am I supposed to work with that?” I used a micro punch set to punch out the round dial faces from the sheet. Much easier to get them to sit where they should on the instrument panel without excess carrier film to worry about. The finished cockpit shot shows everything decaled, flat-coated, weathered (minimal), and the instrument and display faces gloss-coated to give it that under-glass look. I have not yet attached the cockpit sidewalls, as I want some wiggle and adjustment room when it comes time to put the assembly in the fuselage.
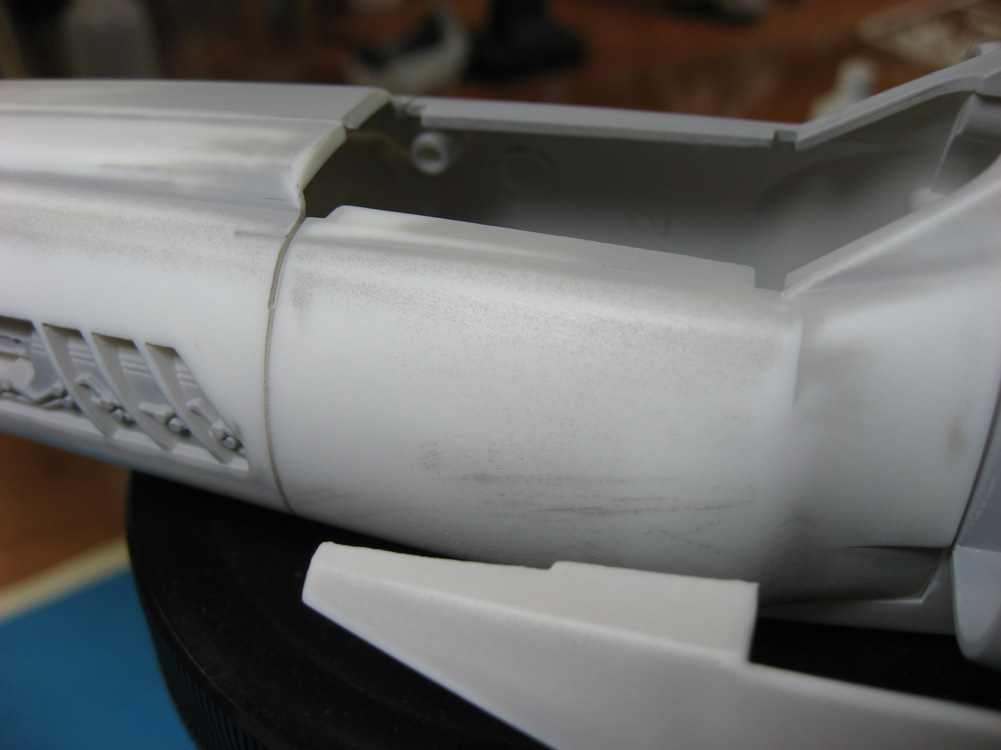
The other photo is of the fuselage, port side. A coat of primer has been shot, and mostly sanded away. Evident in the photo is the rough, sandy texture of the plastic, and heavy scratches under the cockpit. I’ve spoken with others who have built this kit and they all report the texture all over, and those scratches in the exact same location. It looks like polishing the molds wasn’t a high priority before the kit was put into production.
Up next: Pilot figure and starting fuselage assembly.


Awesome stuff! Thanks for the update, Devin. I can’t believe you used a punch for those small decals….
It’s the first time I’ve used a punch for that purpose. Worked pretty well. Normally I use those things to punch out bolt heads for ironclad models.