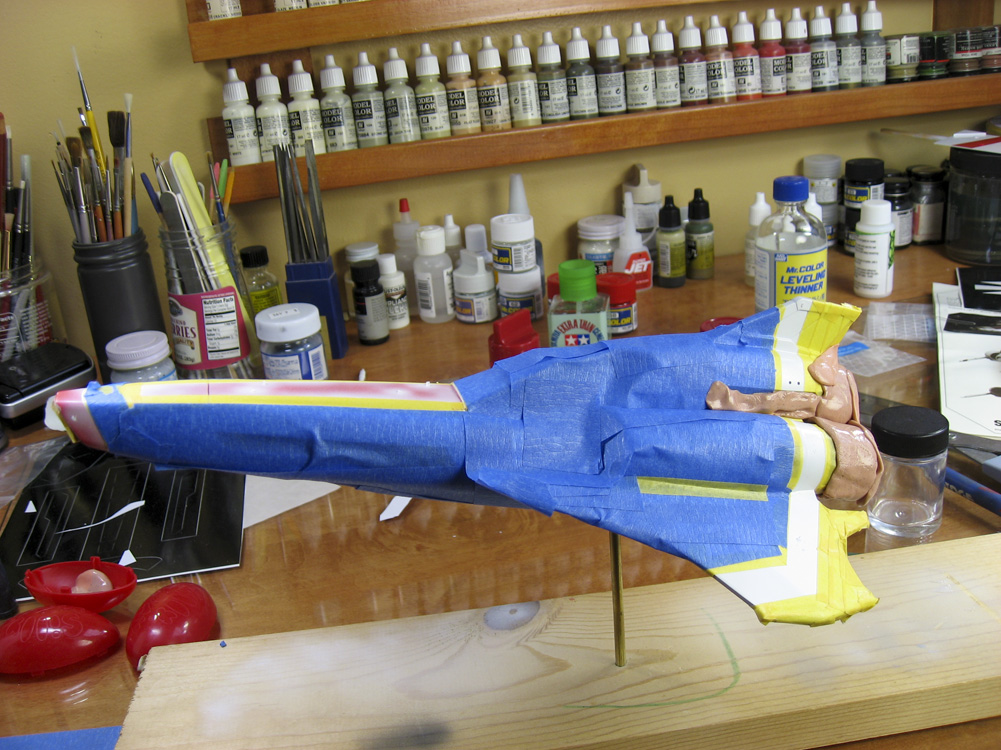
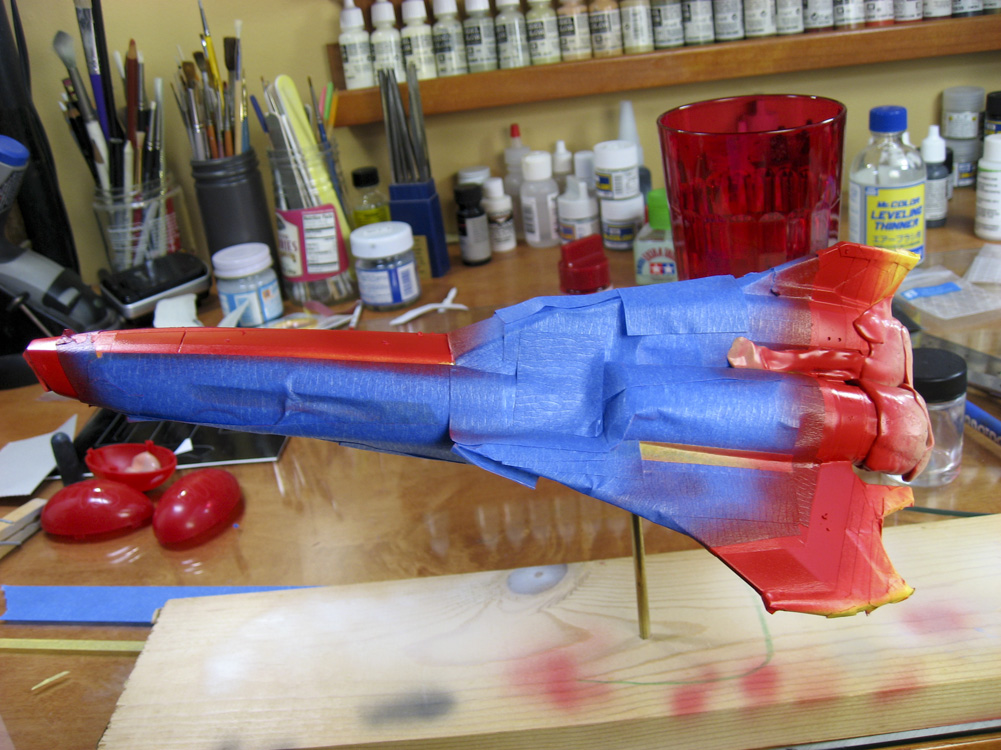
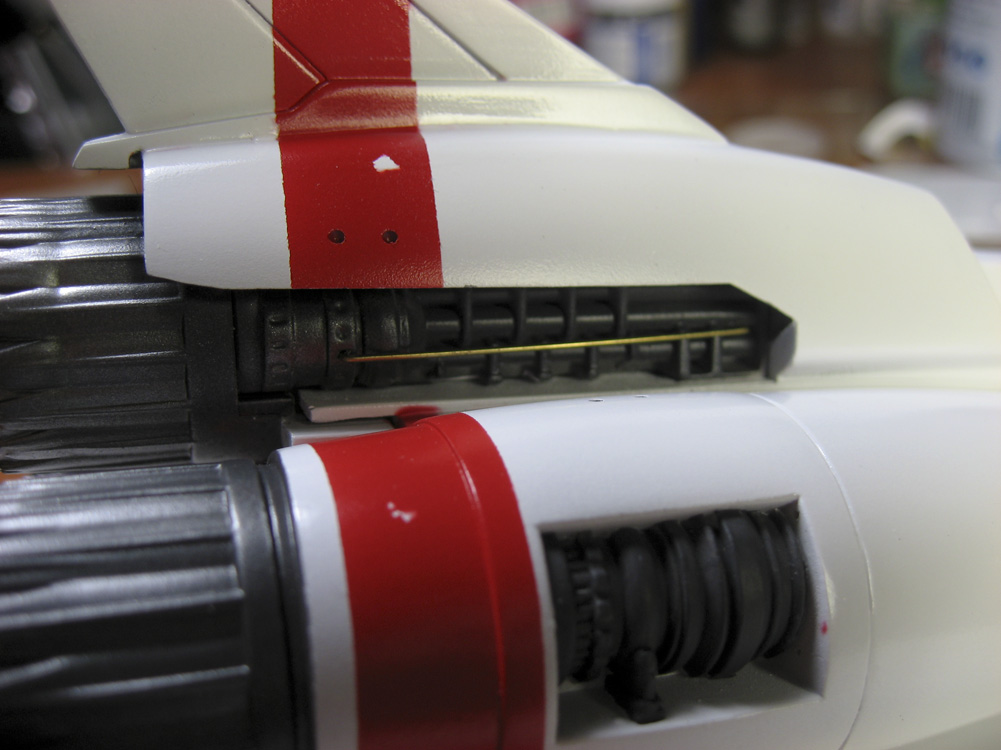
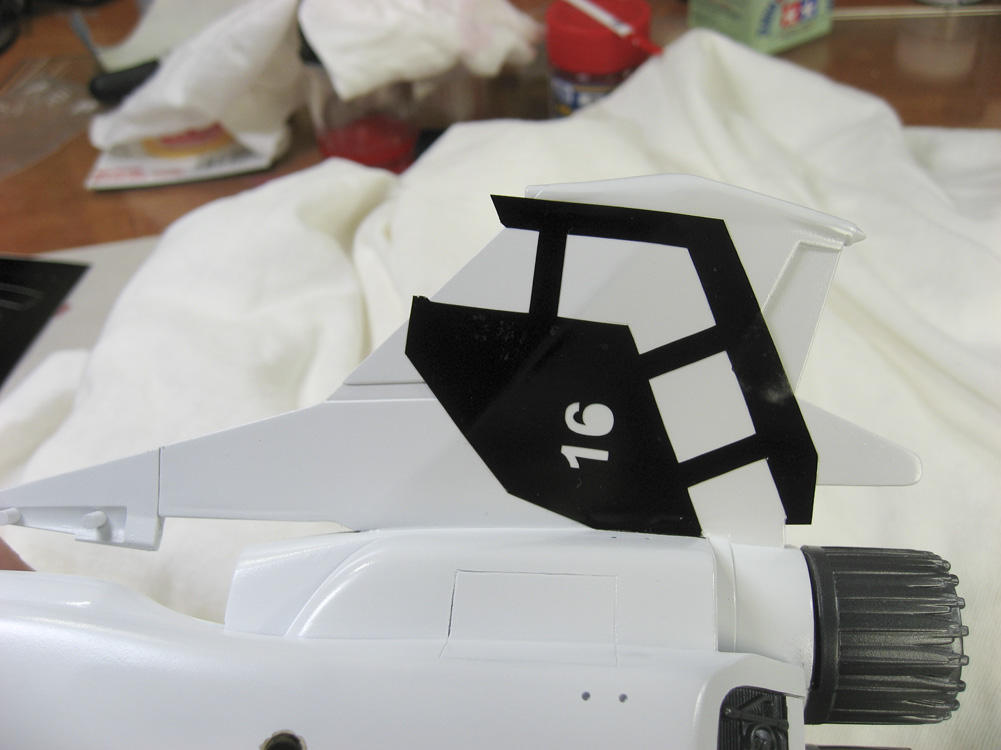
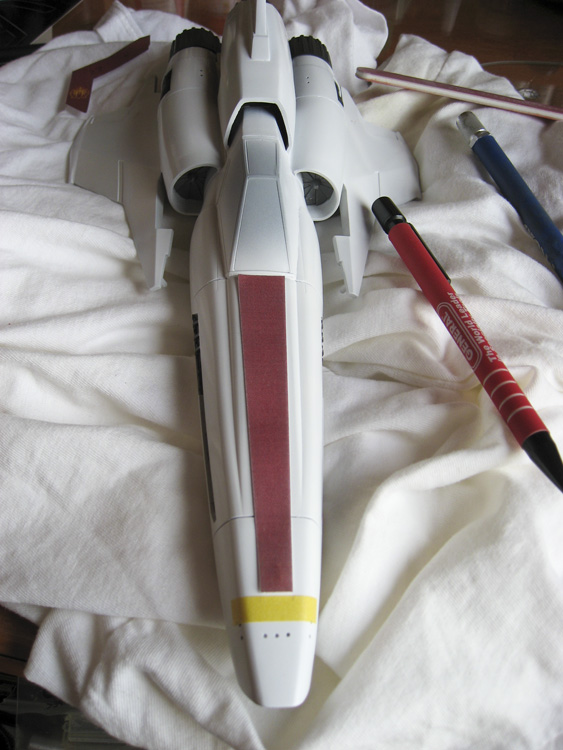
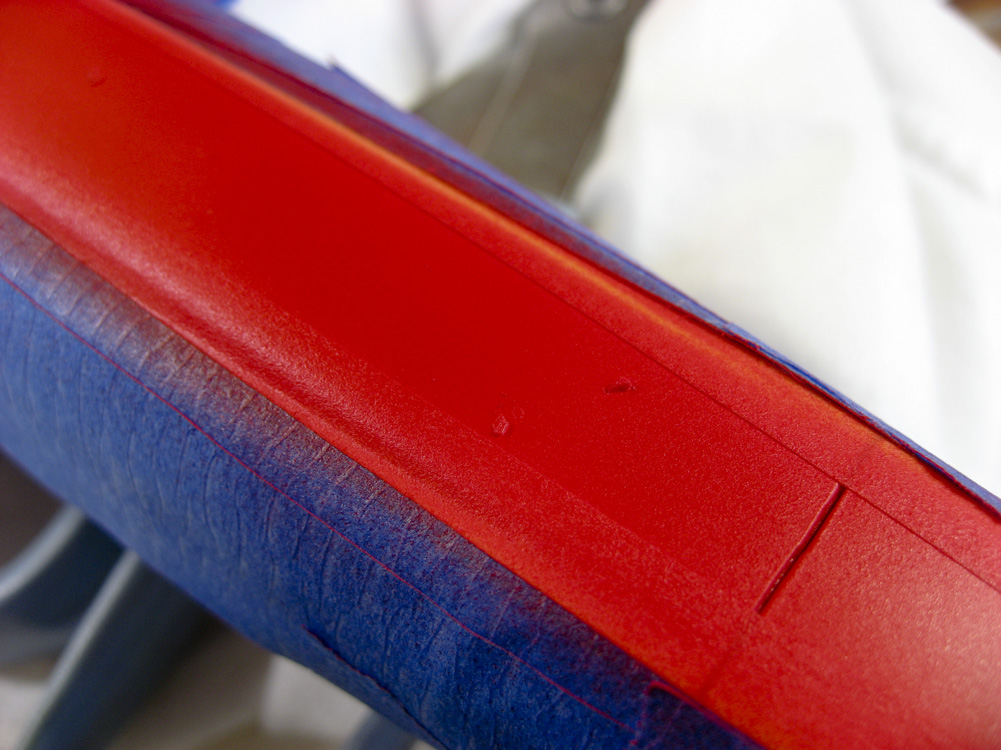
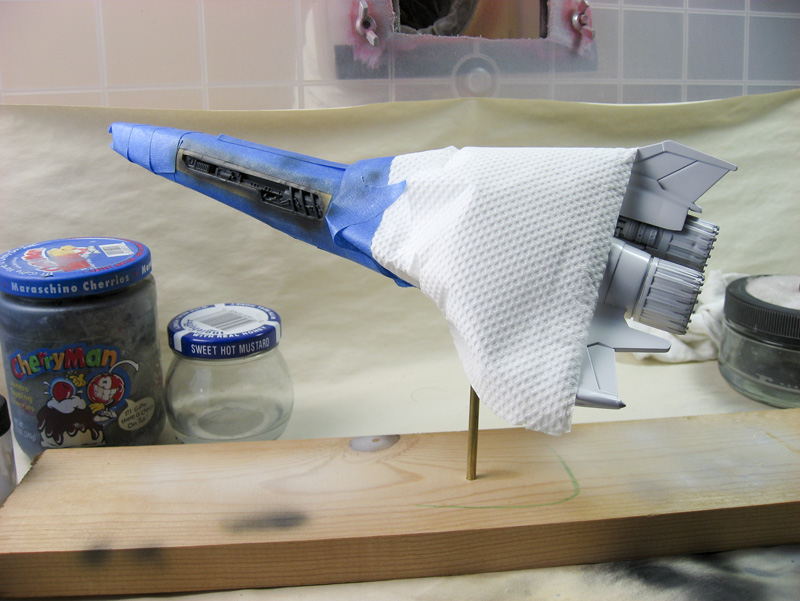
The Viper model kit comes with an extensive decal sheet, which included all of the red striping that dominate this craft. I, however, am using the Aztek Dummy masks. In the first photo below you see the sheet the masks come from, with the odd angled pieces already removed – the black vinyl is the mask, the visible white is the backing. The next photo shows it on top of the wing. Those black strips/bars that connect the two sides of the mask are there to aid in placement. After placement you take a straight-edge and a knife and cut them free. In my opinion this causes a major problem, which is why I started by trying these out on the lower wing surfaces first. By cutting the reinforcing strips out after putting them on the model, you are cutting a small groove into the wing’s surface. Also, you have to be precise, very precise, to make sure that cut is exactly along the edge or you get a recess or protrusion in your straight-line mask. I ran into issues with all of this, and while the result is okay, the cuts where I removed the reinforcements pulled paint into them causing artifacts in the finish (and I cut the reinforcements out with a brand new, super sharp, scalpel blade). In the final photo of this set you can see the end result. They look okay in the photo, but up close there’s too much inconsistency for my liking. The large white chips in the red are intentional, more on how I do those in a moment.
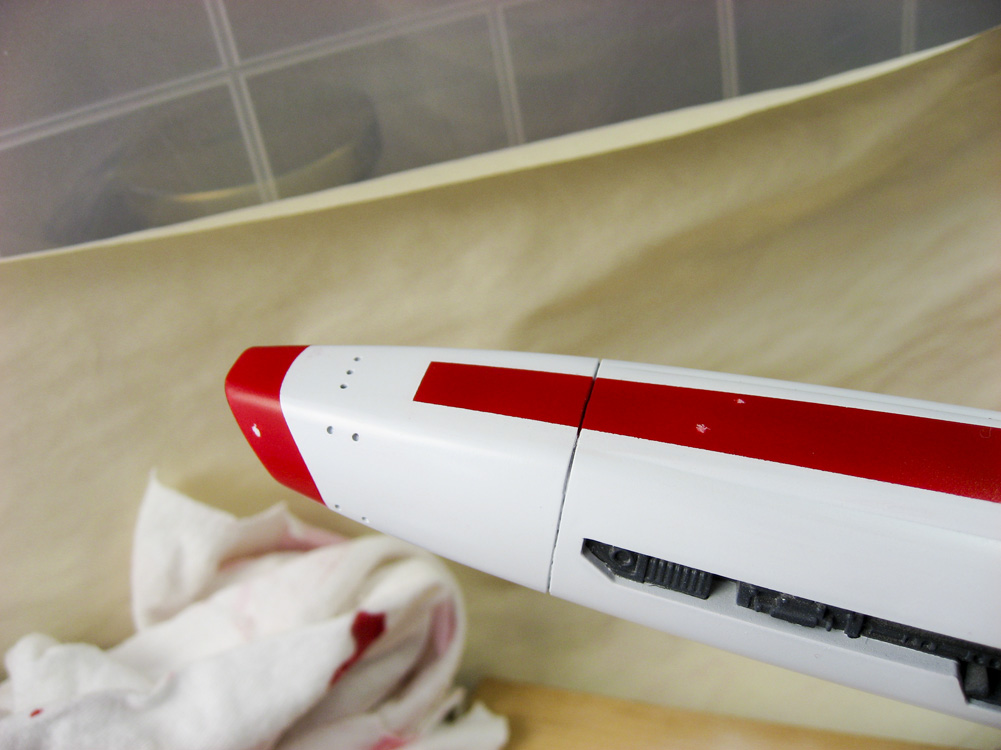
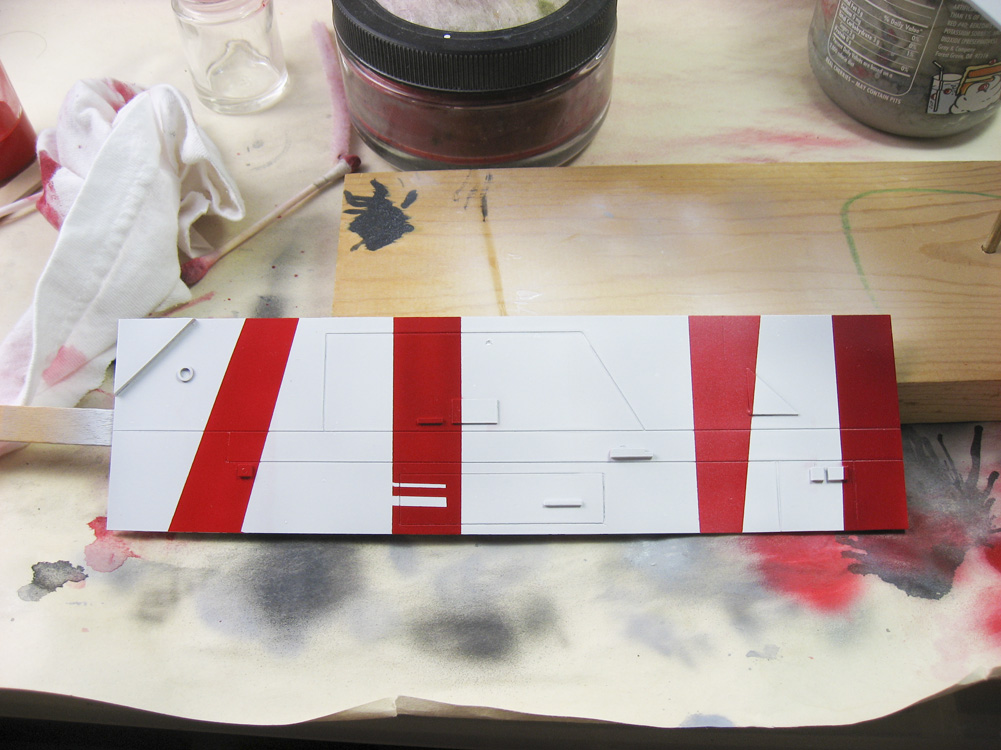
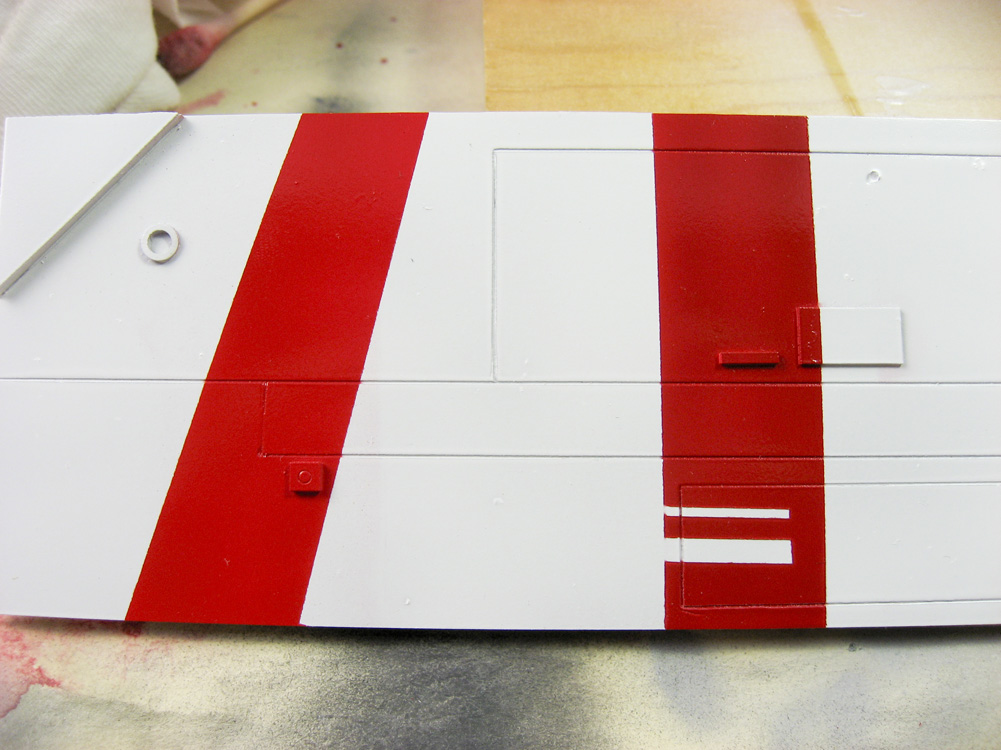
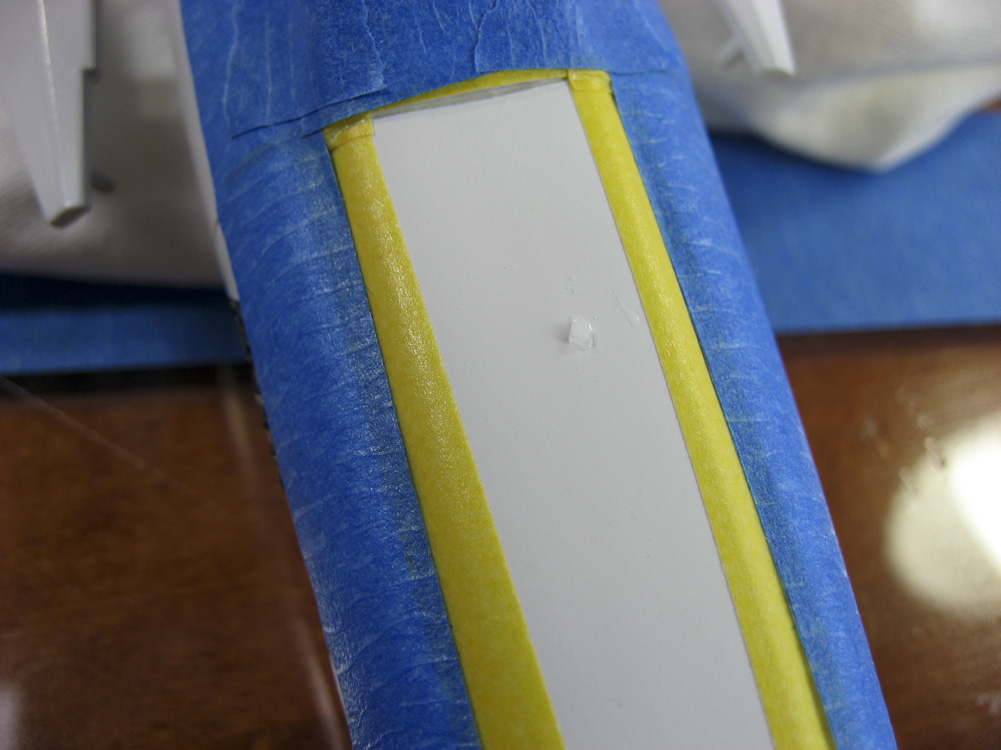
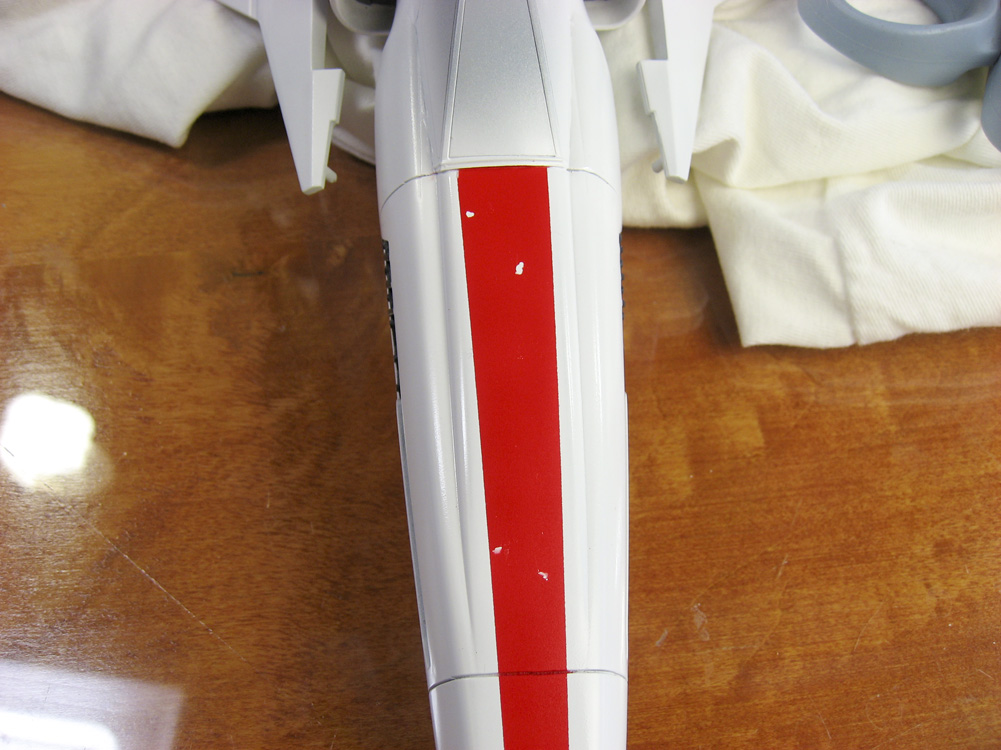
I decided to skip the vinyl masks and go old-school on the nose stripes. I made a color copy of the decal sheet, cut the stripes out, and tacked them onto the model with tape. I then outlined the stripes with 6mm wide Tamiya tape for the upper stripe, and I used extra-fine 1mm wide Aizu brand tape to mask the curve around the nose.
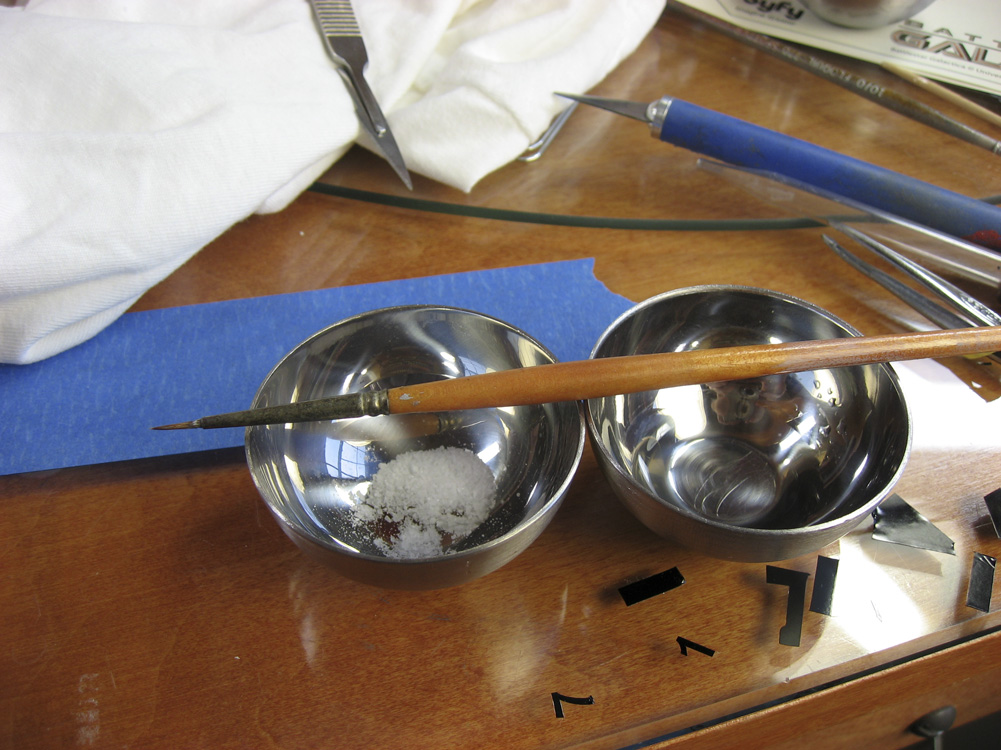
Once the stripes were masked, I prepared a small dish of water and another dish of Kosher salt. Kosher salt has much more random and natural crystals than table salt, which makes it better for this application. Take a paint brush, put a single drop of water on the model where you want a chip. Wipe the brush on a cloth until it’s nearly completely dry, then dip it into the salt and pick up a few crystals. Put the salt on the drop of water on the model. As the water evaporates the salt dissolves just enough to adhere to the paint. Let it dry completely — usually only five or ten minutes — then spray your paint. After you remove all of the masking, take a toothpick and gently knock the salt free. Instant jagged paint chips. I’m going very light with this effect on this model, but I do like the results so far.
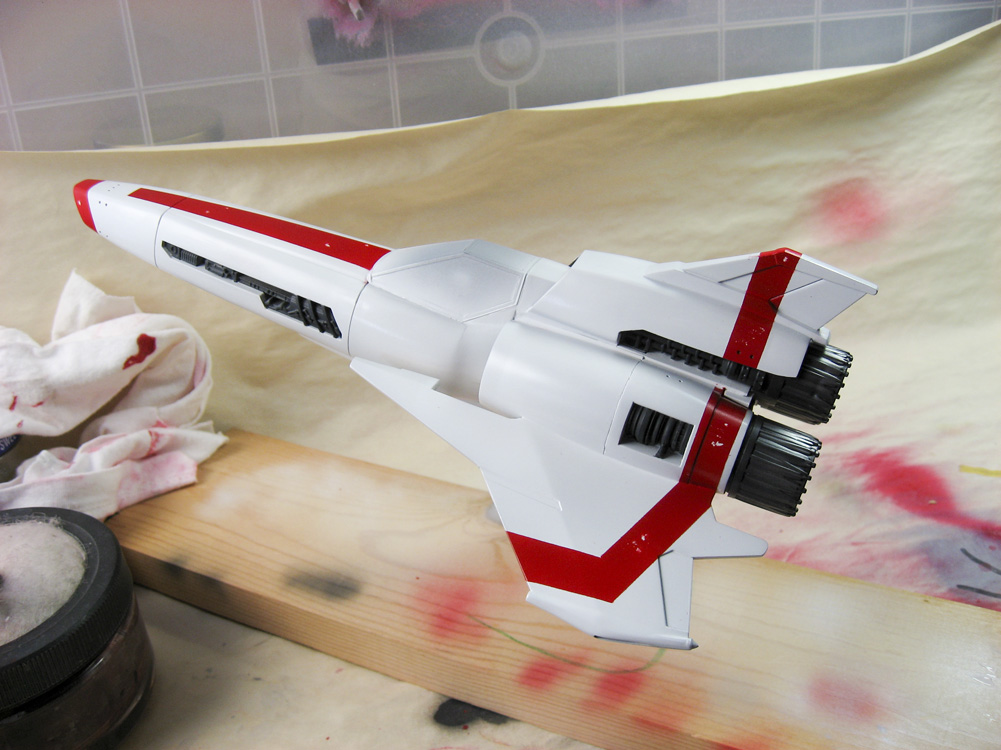
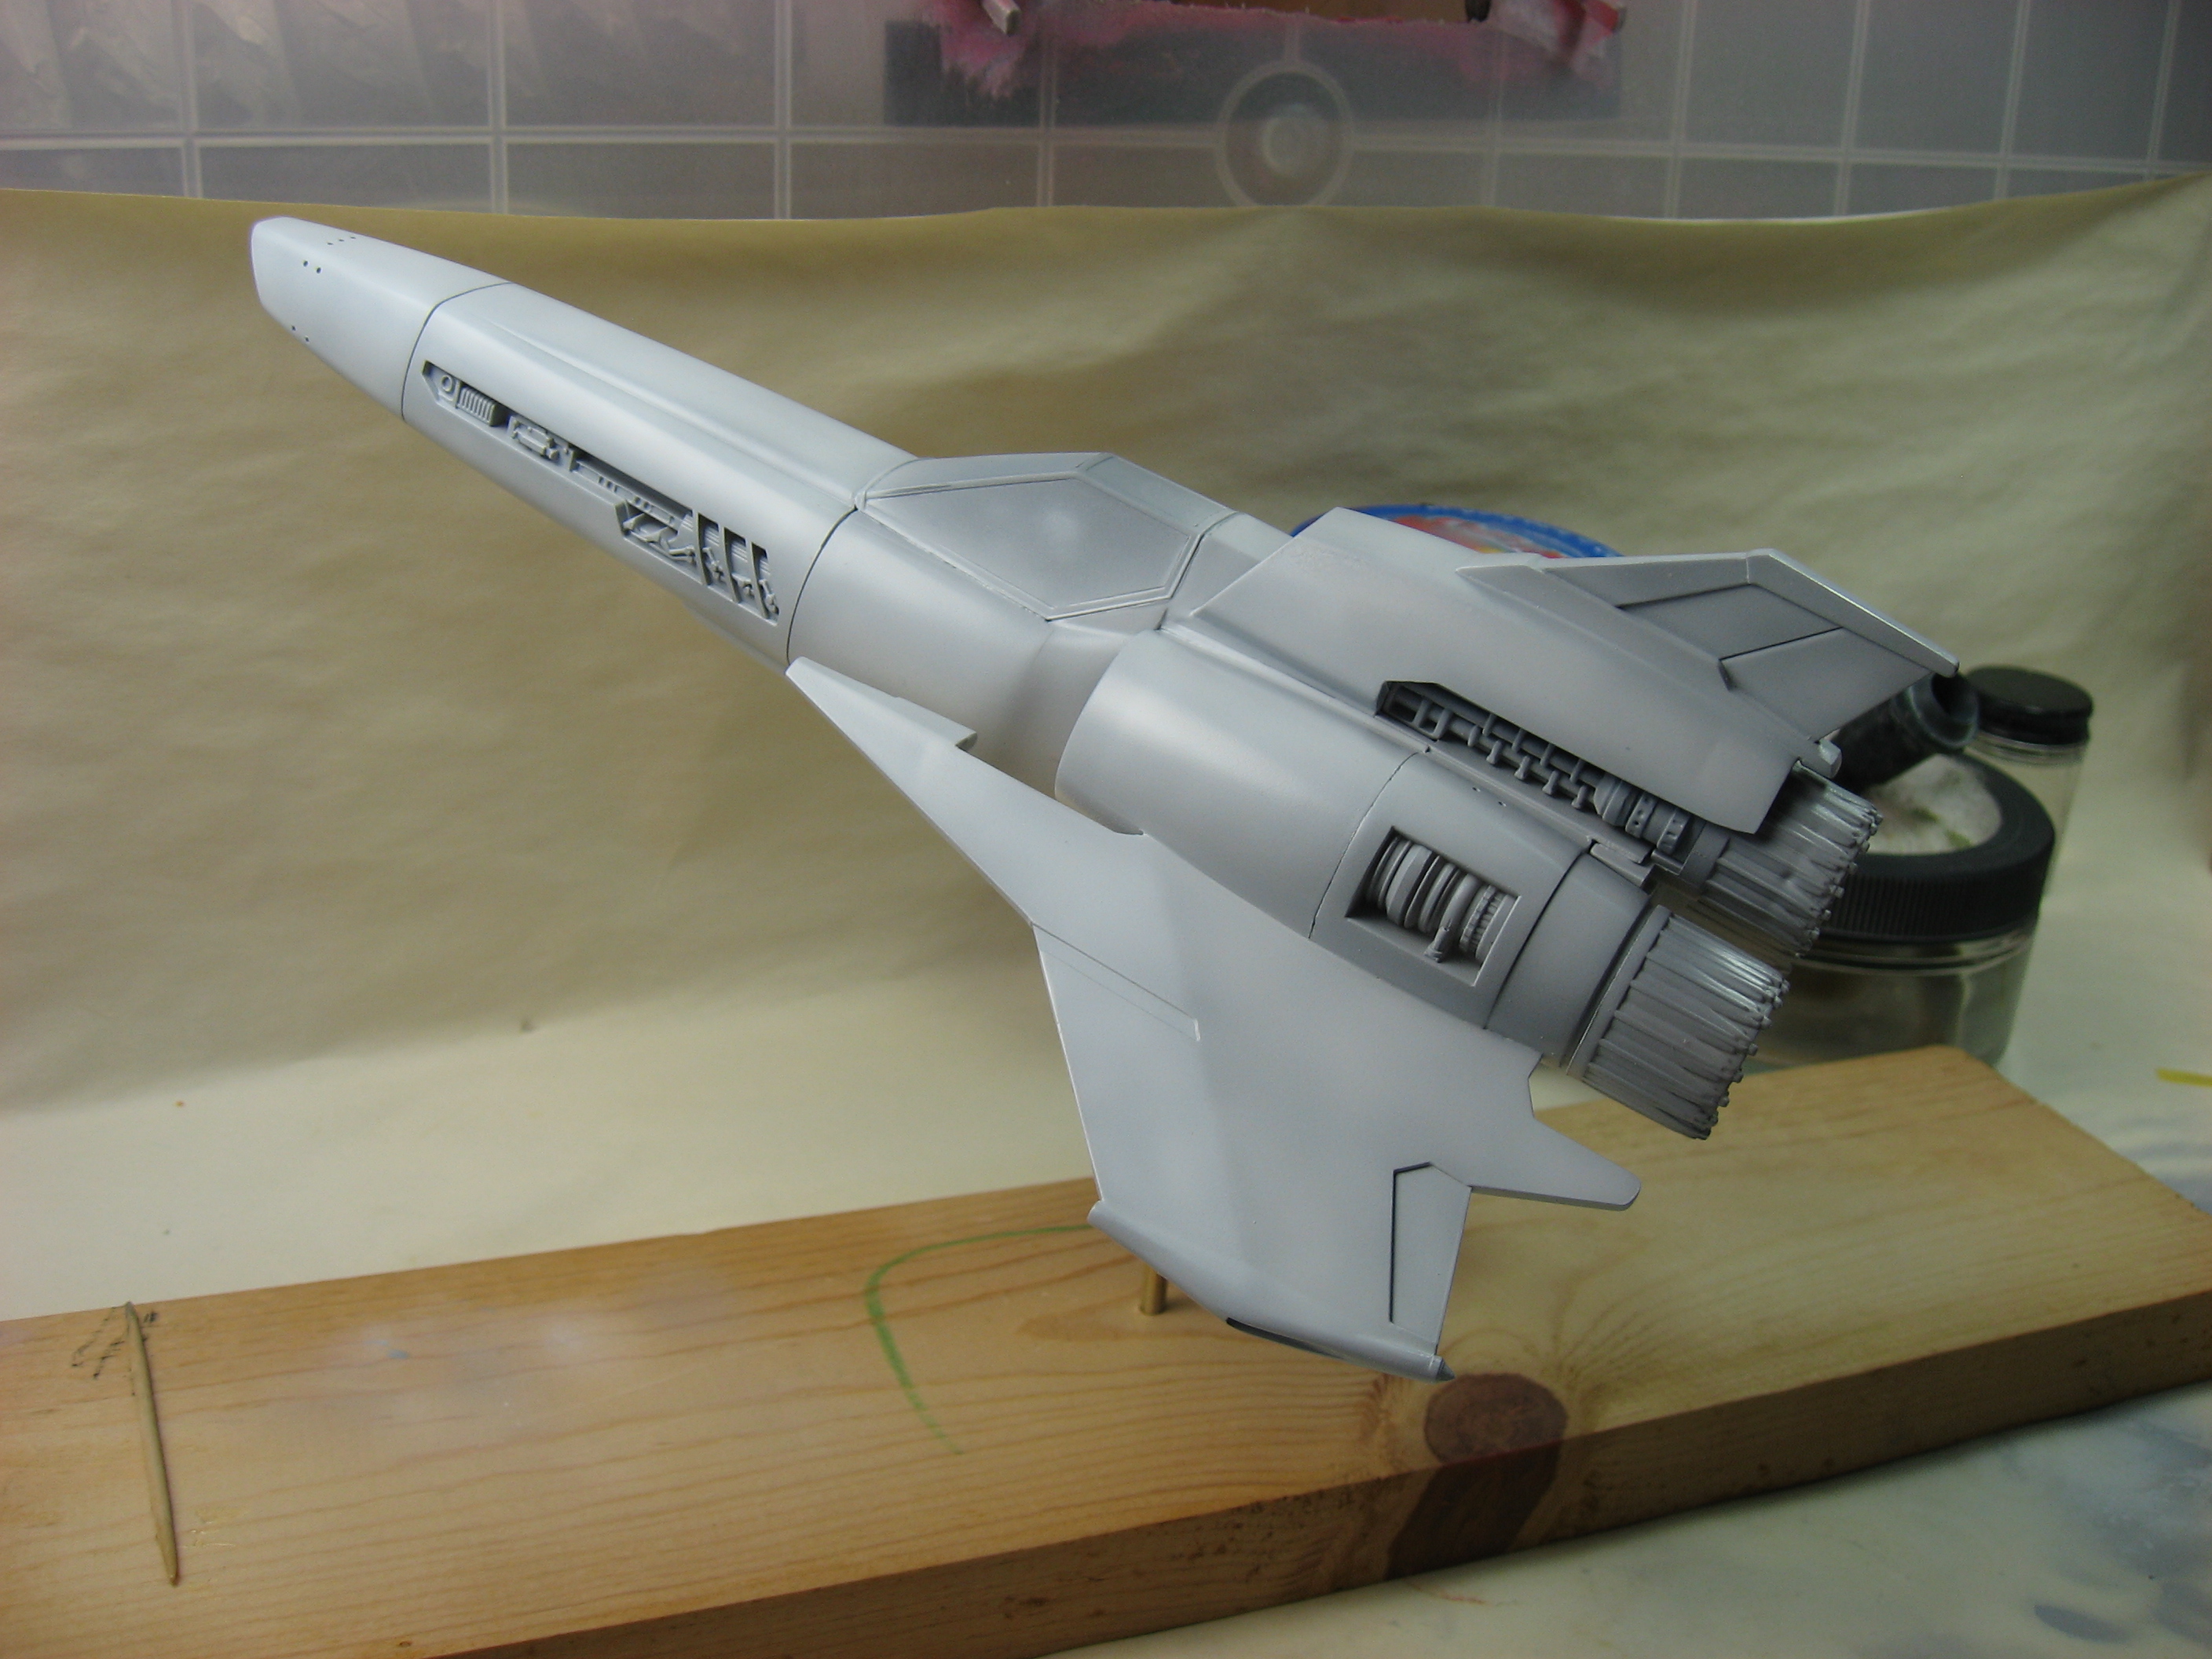
For the red color I’m using Mr. Color #68 “Red Madder” and I’m not entirely sold on it’s accuracy. It’s better than their #3 plain-ol’ “Red” in matching the decals, but it’s still a little bright for my tastes (and in the photos it’s much brighter than in person). Nothing that some weathering won’t tone down, though. For the stripes on the wing upper surfaces I’ll be skipping the pre-cut masks and just cut them in on my own with masking tape. I hope to have that done by the end of next weekend.
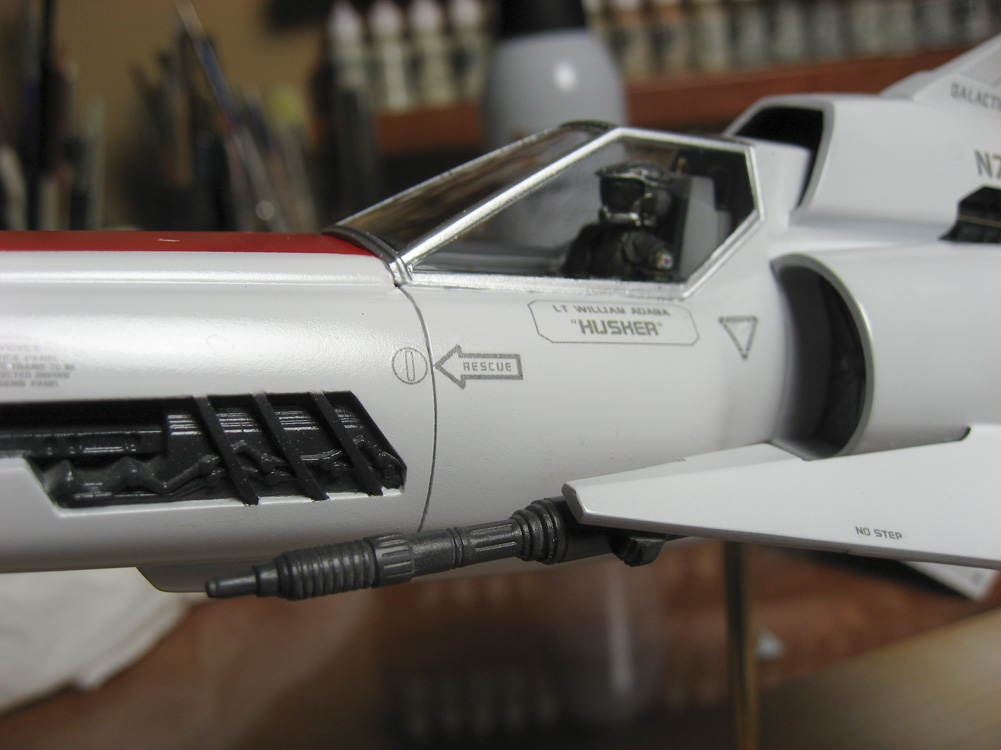
 I finished off the Viper build last Thursday. She competed in MosquitoCon 21 on Saturday and took a Second Place trophy in her category. Now I’m in the process of trying to figure out how to pack this thing up so that it’ll ship to Florida in one piece!
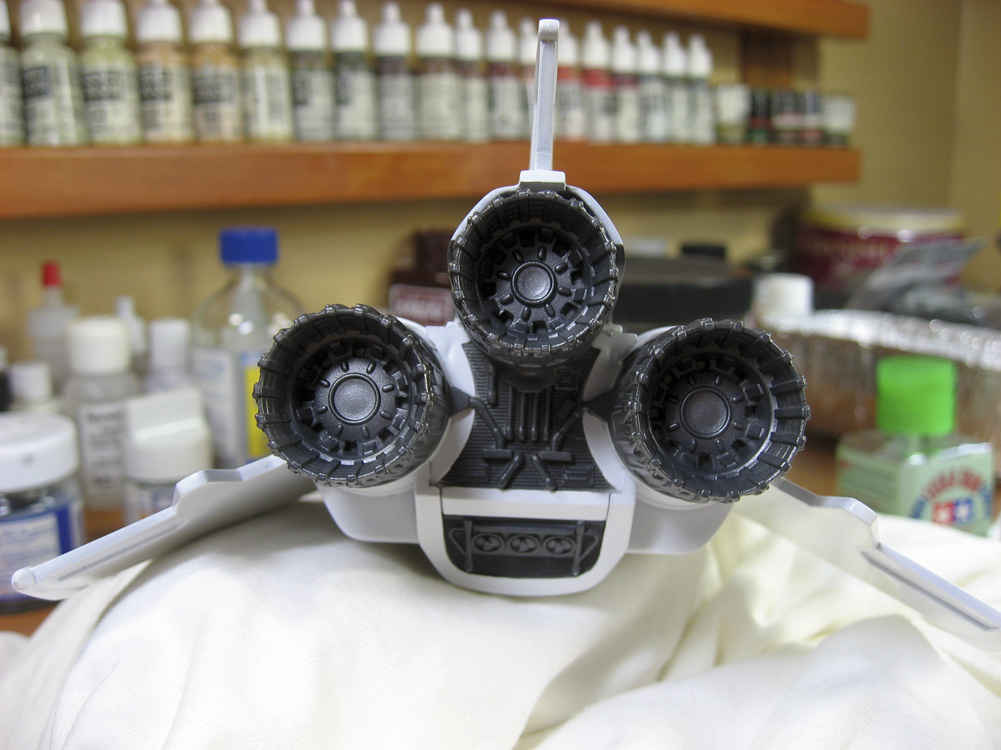
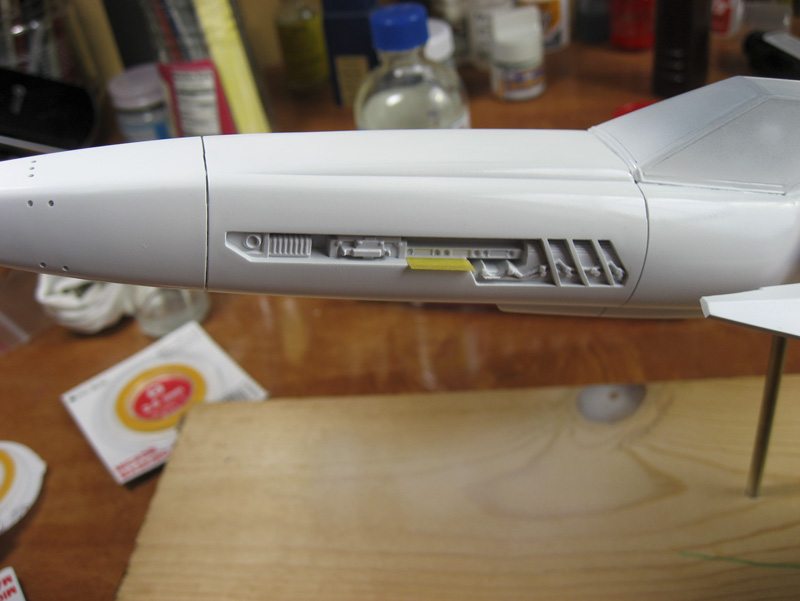
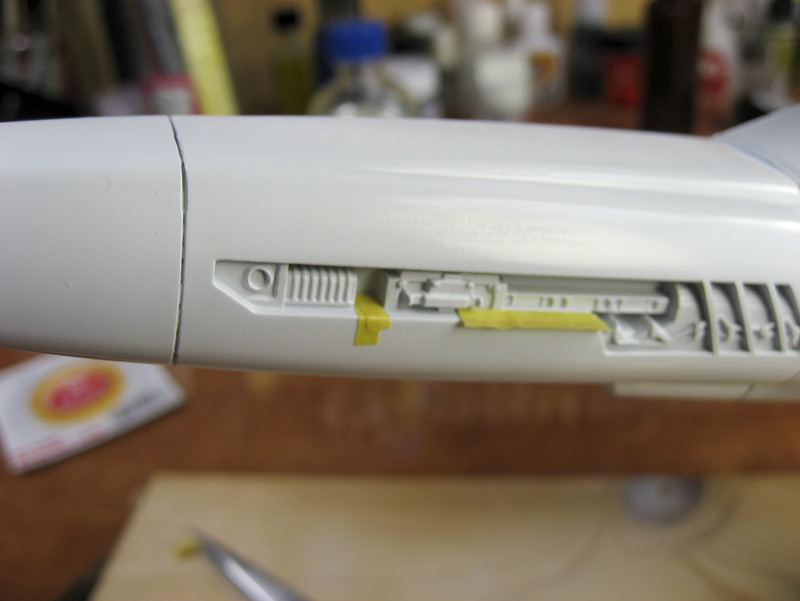
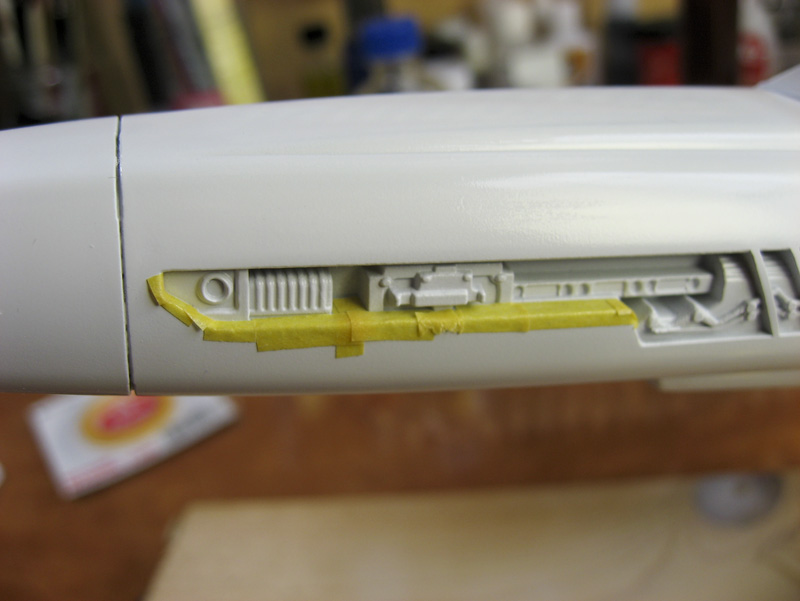
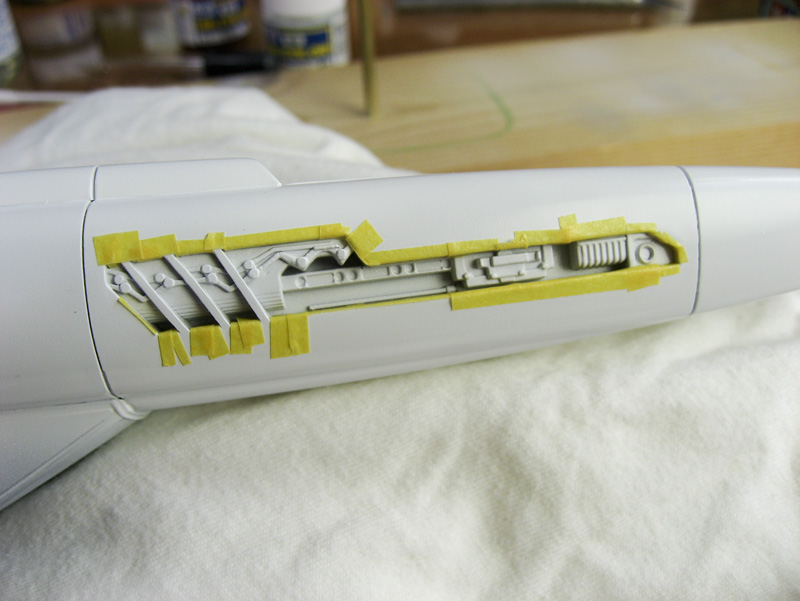
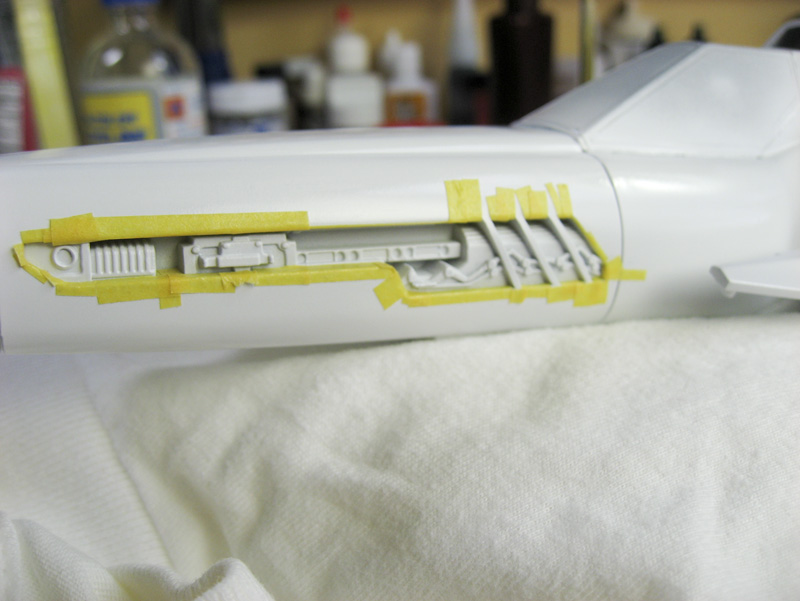
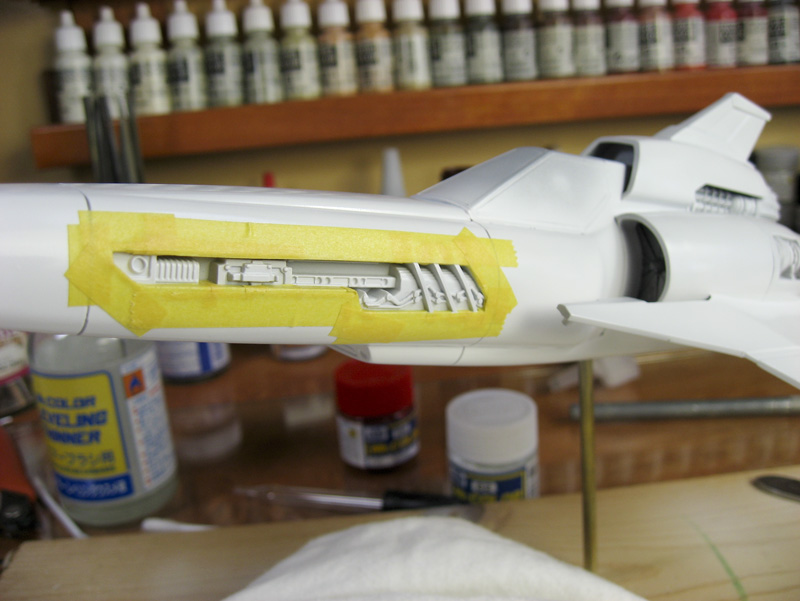
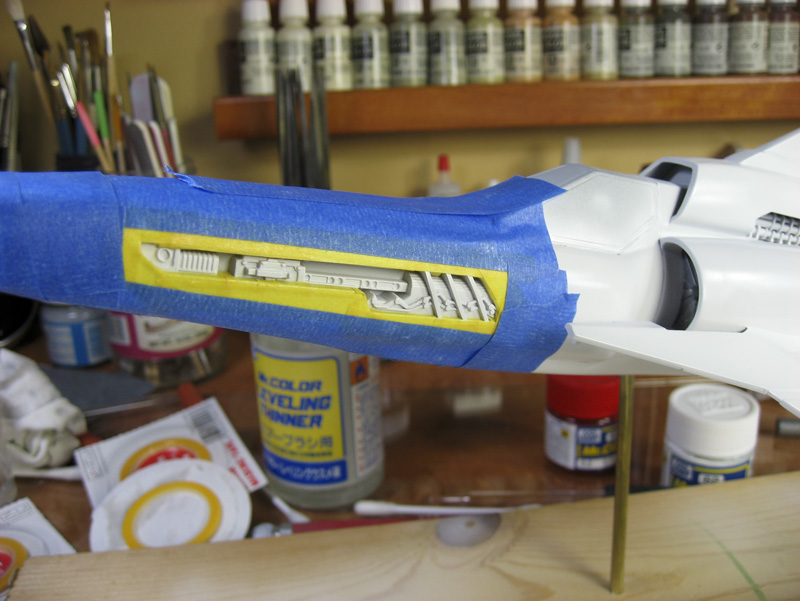
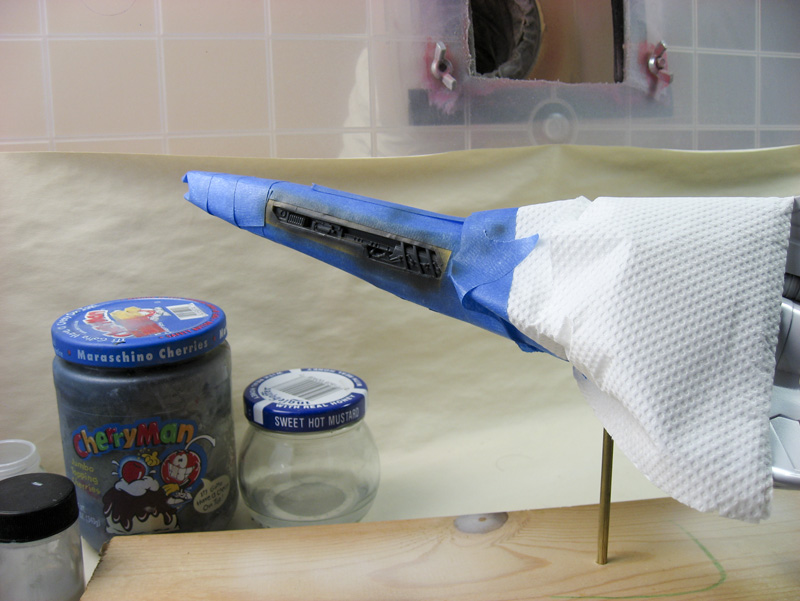
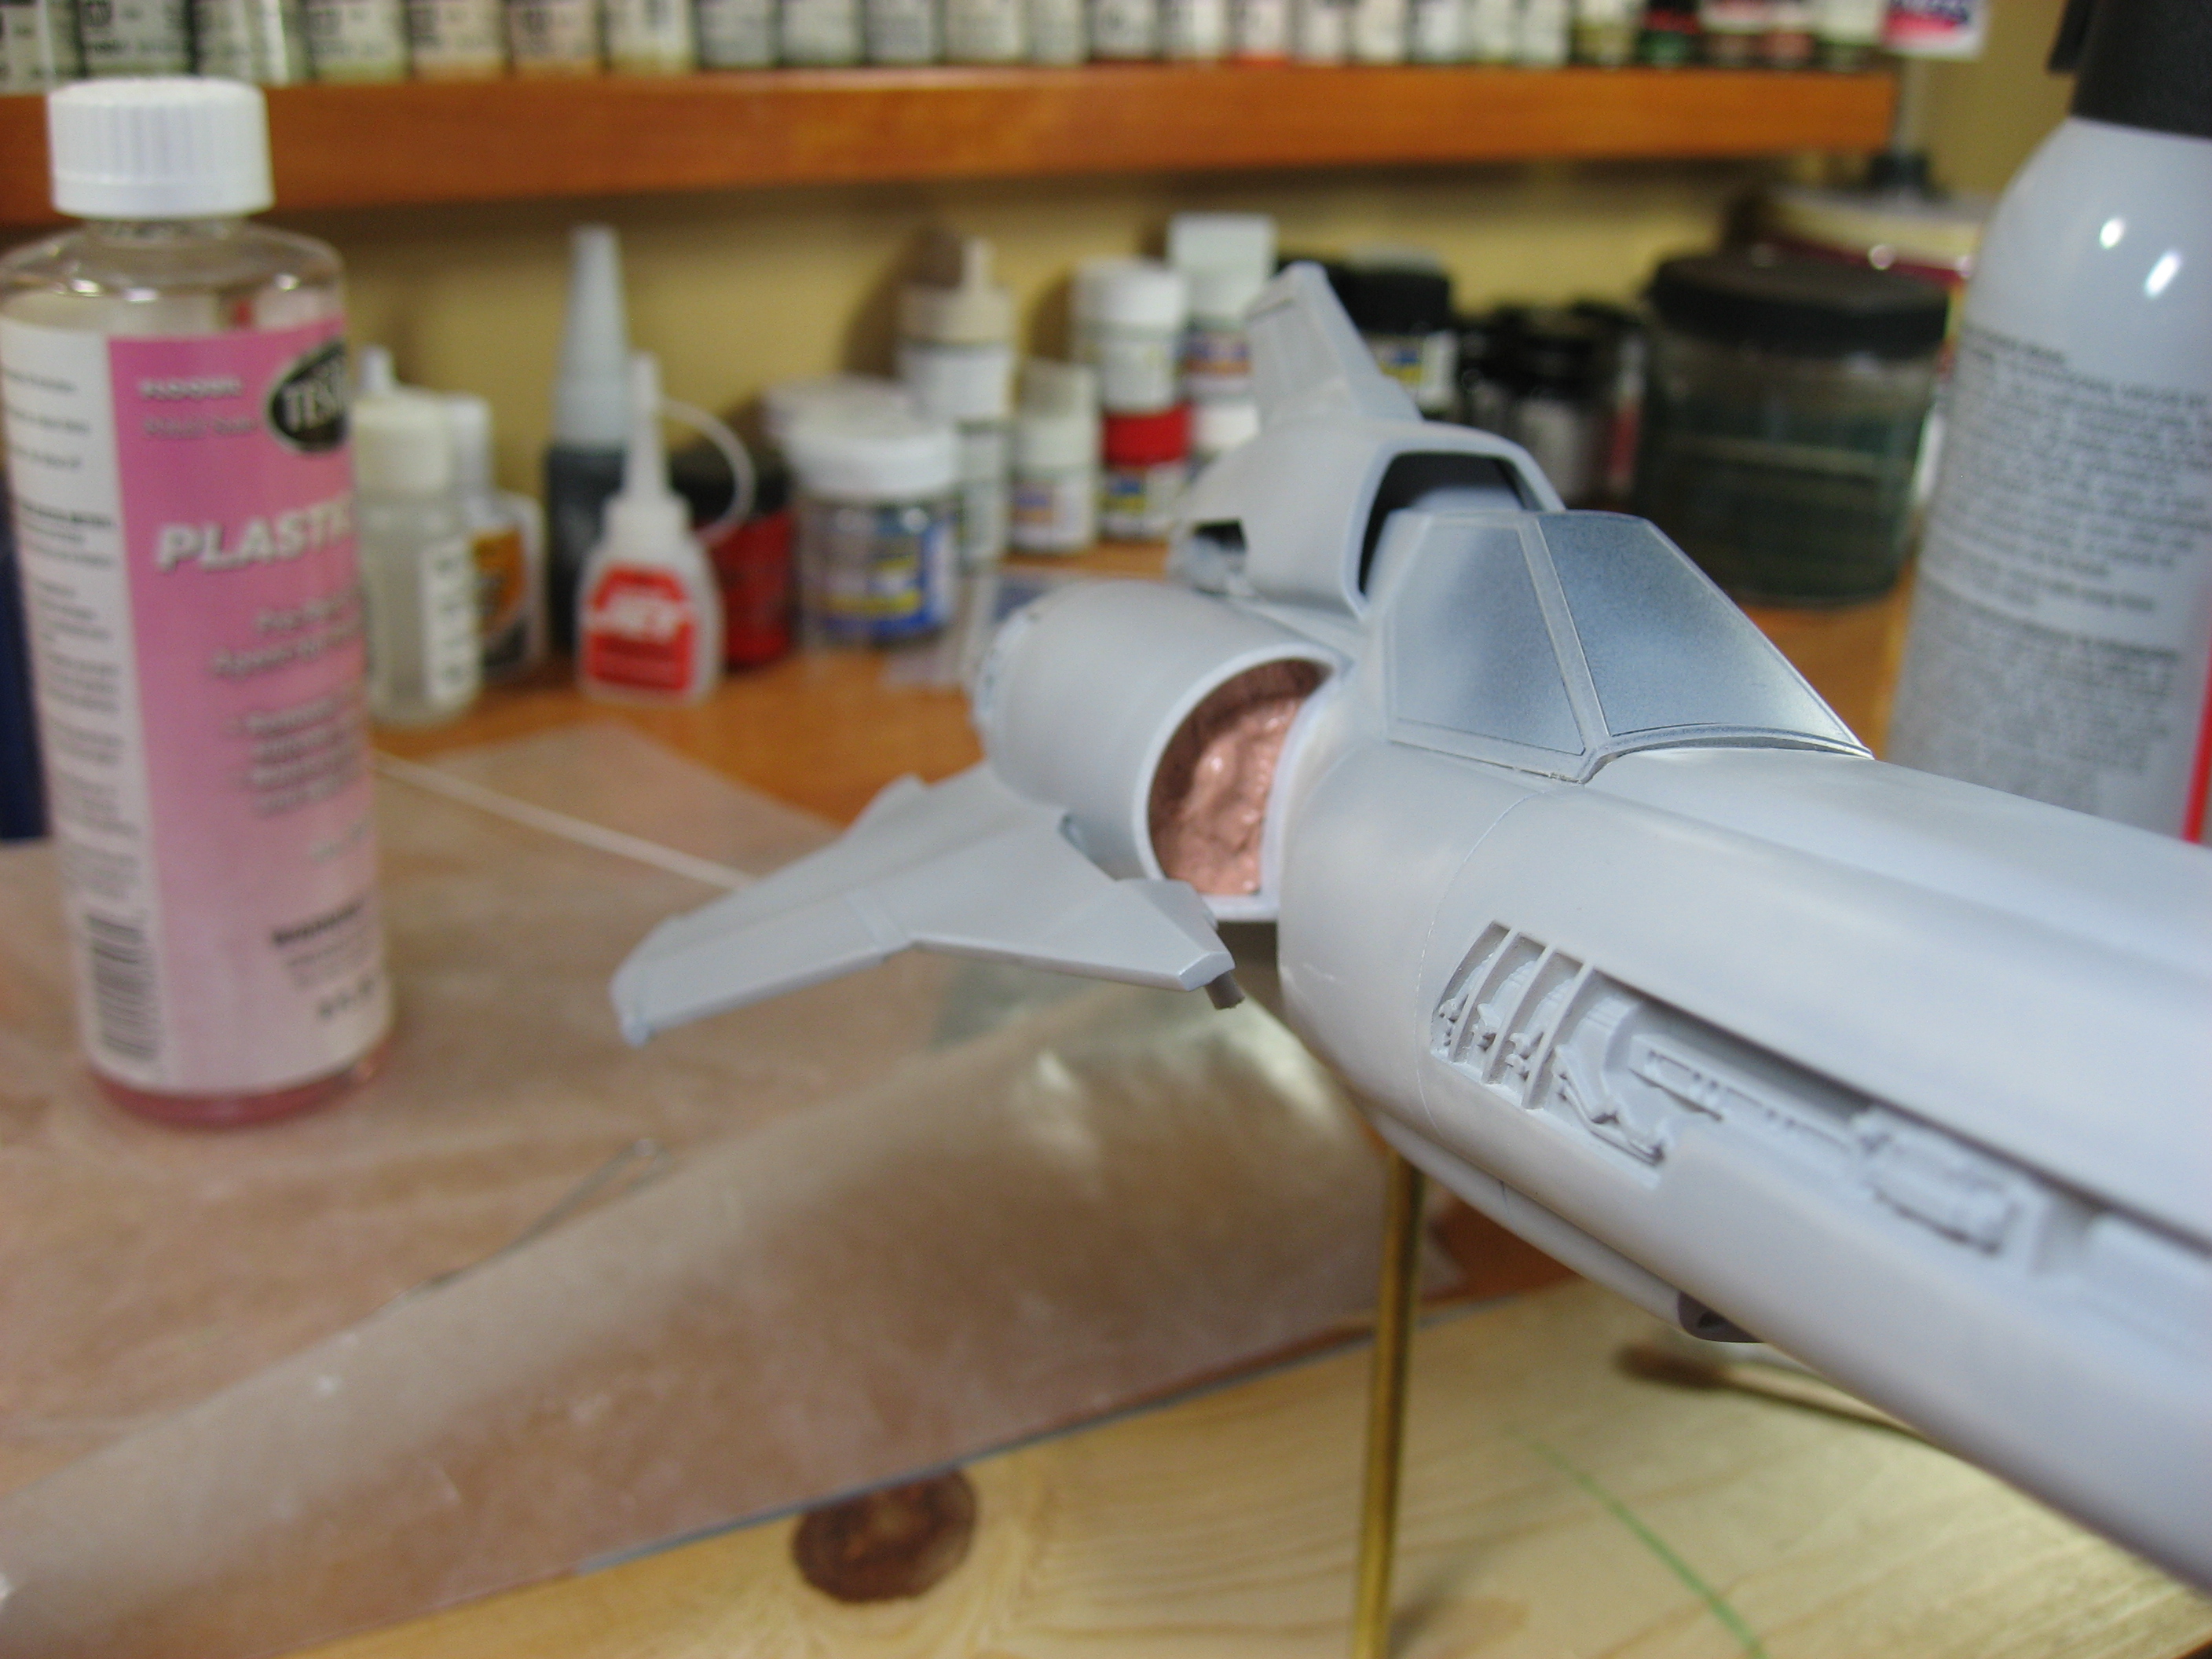
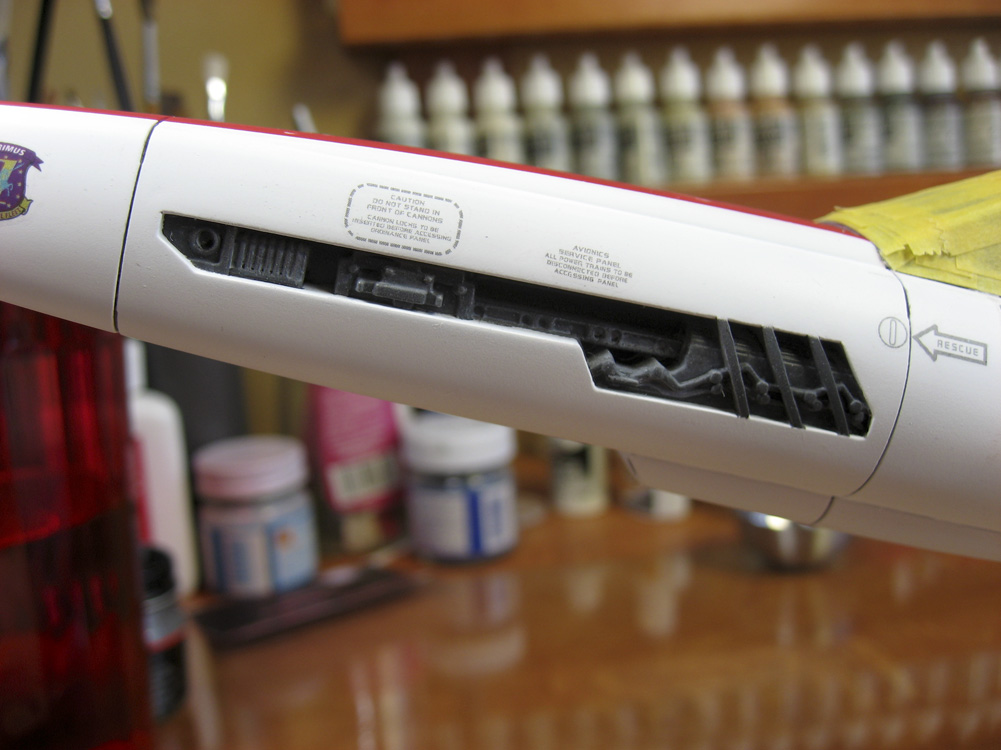
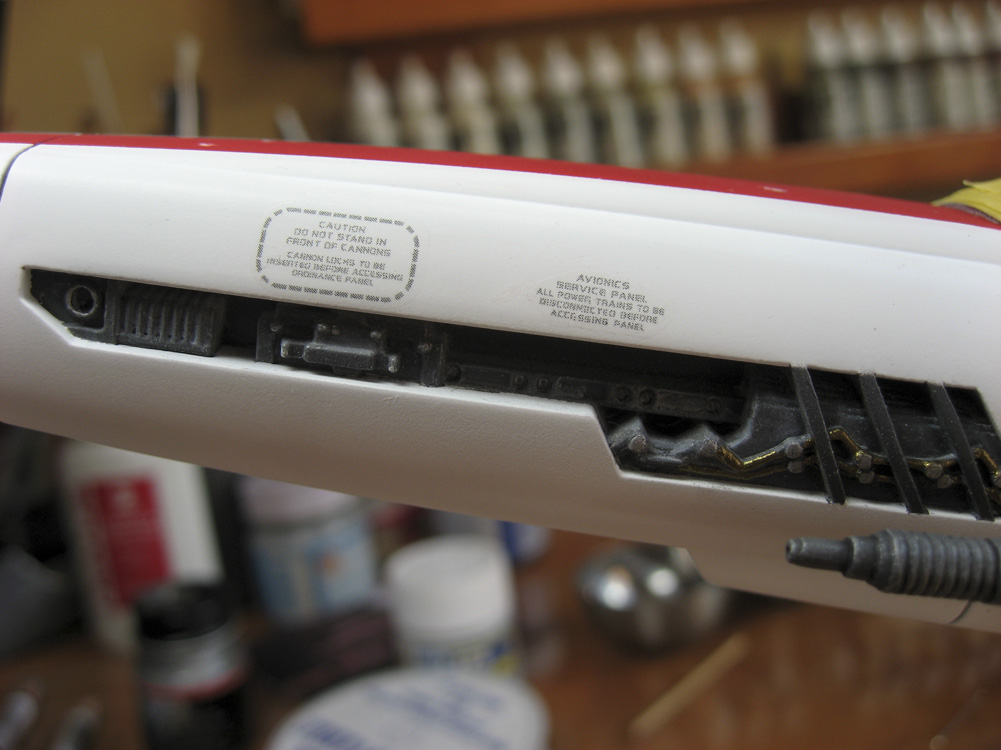
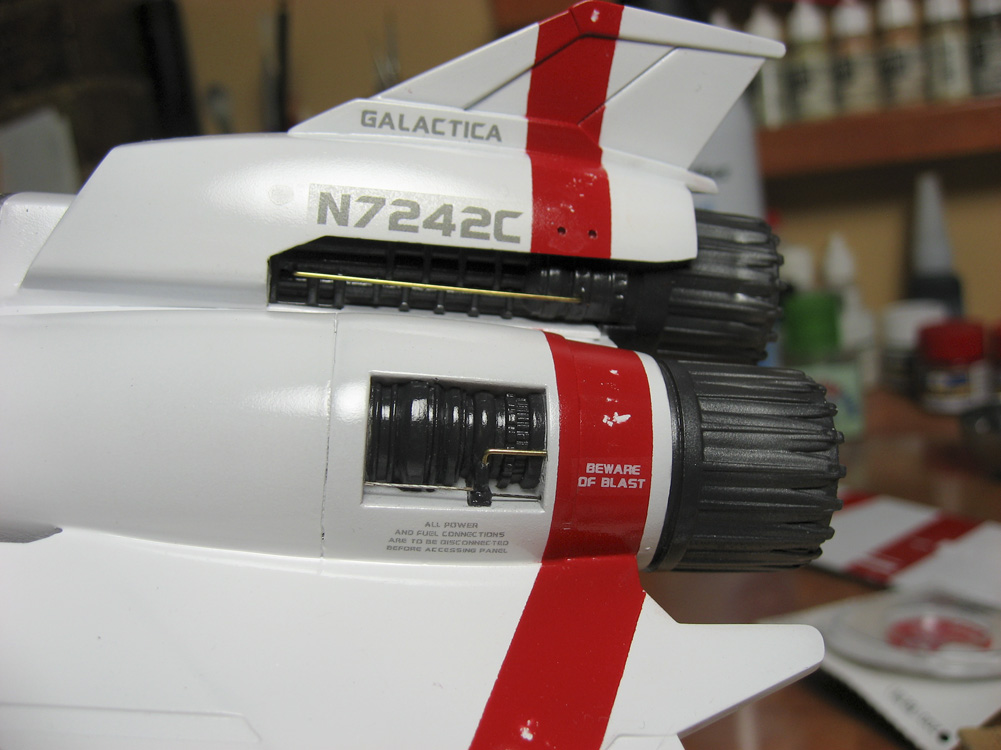
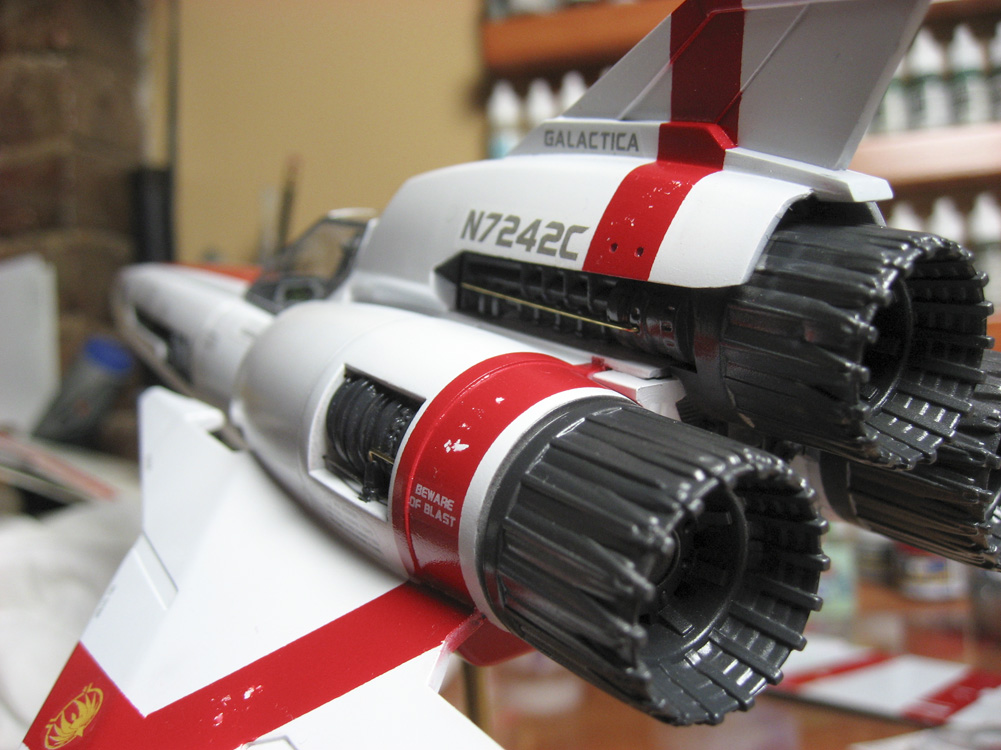
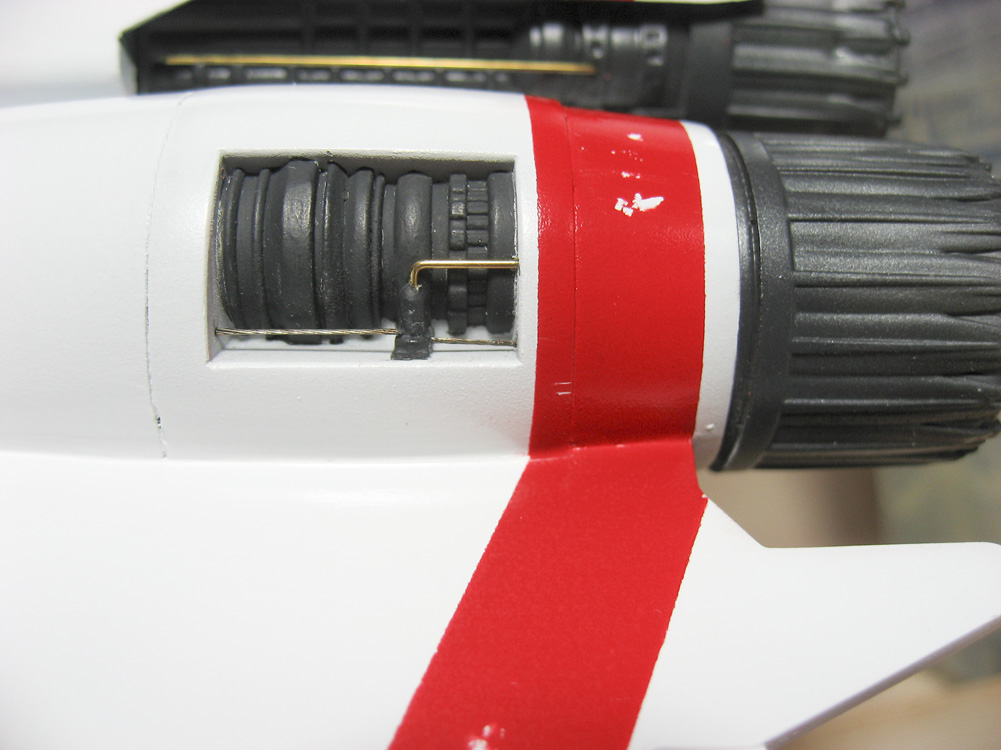
 This will be my final update post on the Colonial Viper MKII. The next photos will be of her completed. But for now, here are a few photos of the weathering process. I’m only going to show the forward avionics bays to illustrate this, as there’s more going on in that section, detail-wise, than in the engines, and because I’m close enough to the end that I don’t want to show overall shots of her until completely finished.
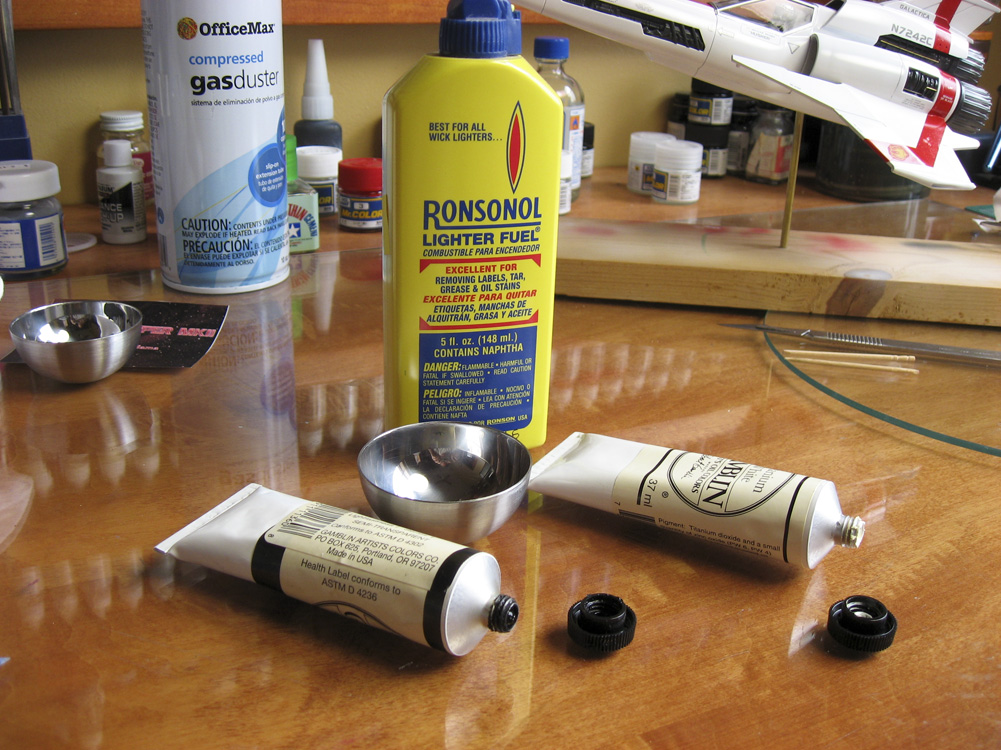


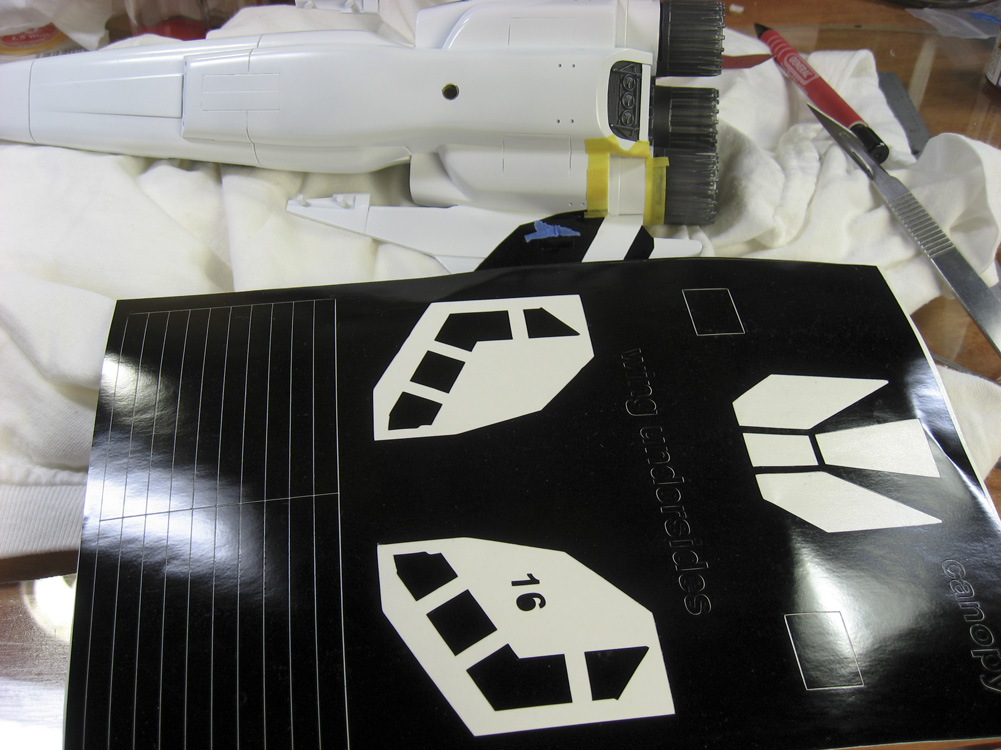
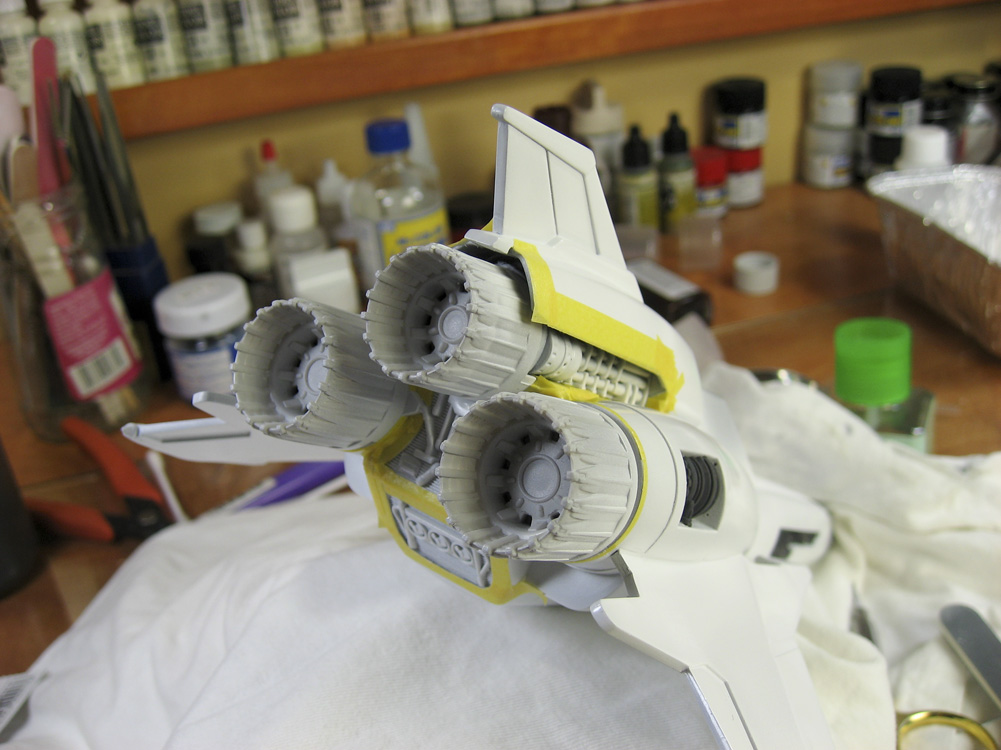
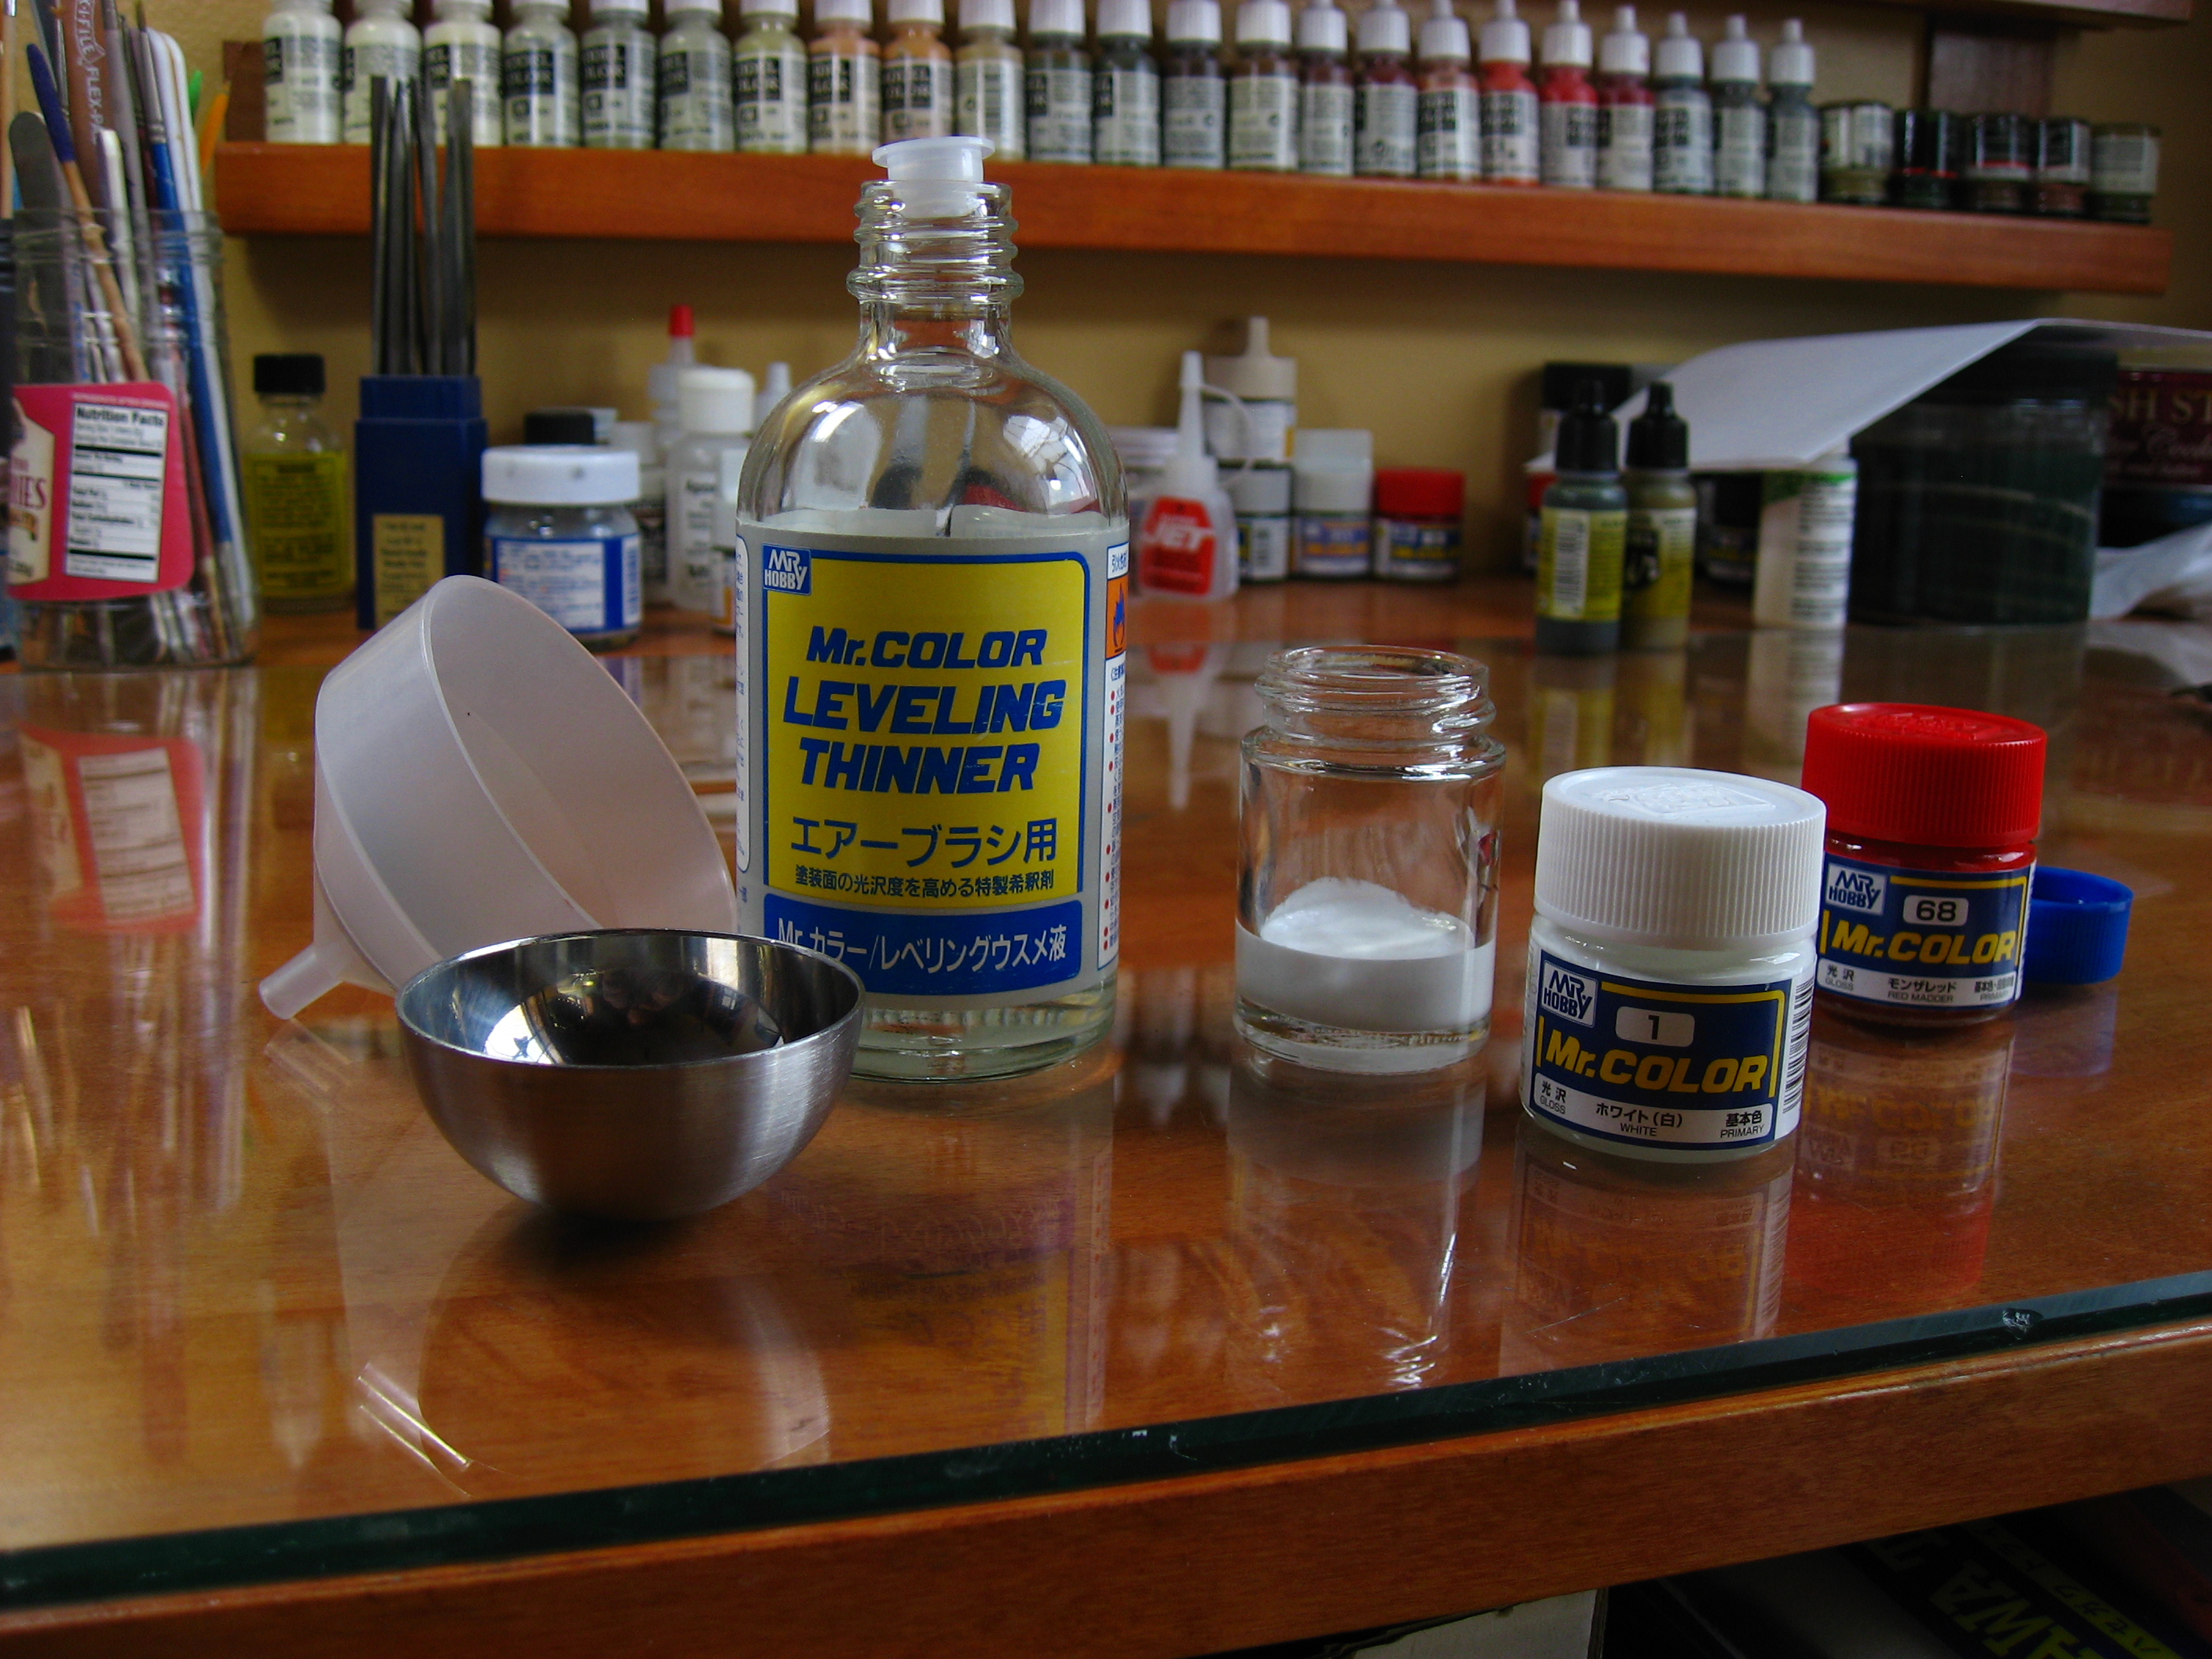
 I went through the process of masking everything again and shooting the new shade of red. A few photos of that masking and painting process. I did the masking with Tamiya tape completely this time, choosing to not use the vinyl masks due to the problems I had with them on the first pass.