A day-job related post!

I don’t normally post about what I do on my day-job as an architectural model maker. So many of our projects have NDAs associated that I just assume they all have them. By the time everything’s been released, I’ve moved onto the next project, or maybe even two projects beyond. For the 67-story Mercedes Benz Places now going up in Miami, though, the client is already talking.
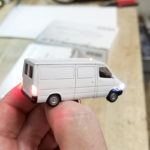
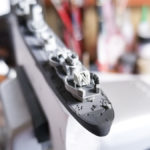
Above is a shot of the 7/64″ = 1′ model that we at Radii, Inc. built. Part of a team, I helped with CAD design, 3D printing, and some painting on this project. There was an article on one of those trendy Miami news websites concerning the project, but it’s since been taken down, unfortunately.

Portfolio of Gulliver’s Gate Work

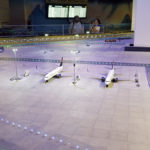
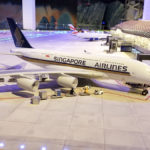
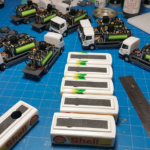
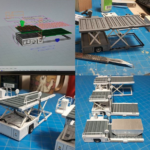
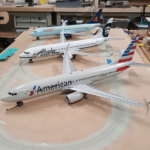
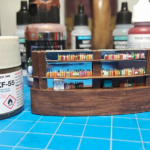
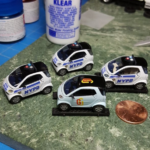
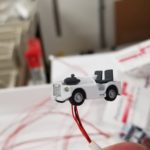
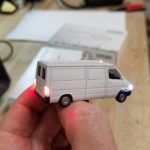
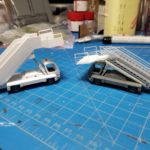
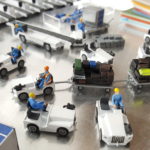
These are images of some of the work I did for Gulliver’s Gate, from 2016 through 2018. I had a special gallery plugin installed to showcase them, but it’s become problematic, so this simple grid layout will have to do for now.

Book Review: The Life and Adventures of Nat Love

The Life and Adventures of Nat Love, Better Known in the Cattle Country as The Life and Adventures of Nat Love, Better Known in the Cattle Country as “Deadwood Dick” by Nat Love
My rating: 4 of 5 stars

A nice insight into the life of Nat Love. The writing is a bit uneven, as it was dictated to someone that didn’t do a lot of editing of the train-of-thought tangents, but there’s still a lot of great stories in it. Even though a lot of the stories do have a “tall tale” feel to them — I attribute that to the book being written years after the fact — the book is a very informative look at the experiences of an ex-slave’s transition to the life of a cowboy, post-Civil War.

View all my reviews

Book Review: “The Devil’s to Pay: John Buford at Gettysburg. A History and Walking Tour”

“The Devil’s to Pay”: John Buford at Gettysburg. A History and Walking Tour.“The Devil’s to Pay”: John Buford at Gettysburg. A History and Walking Tour. by Eric J. Wittenberg
My rating: 4 of 5 stars

Very detailed and informative book focused almost entirely on the U.S. cavalry during the first day of the Battle of Gettysburg. Dispositions and actions are very well covered for that first day, as well as brief coverage of the units’ reduced employment the night of July 1st, and the day of July 2nd.

My only quibble with the book is it’s titled “John Buford at Gettysburg”, and while it does indeed feature him, it’s less about the man and more about the units under his command. And while it’s true that once battle is joined, the General has limited control over the actions of his men, I would have liked a bit more insight into Buford’s decision making as well as quotes from him as to what he was thinking that day; just more of his personal experiences during the battle.

That said, it really is a great book that brings a lot more detail to an aspect of the Battle of Gettysburg that has long been overshadowed by the other actions of those three days.

View all my reviews

Book Review: The Guns at Last Light, by Rick Atkinson

The Guns at Last Light: The War in Western Europe, 1944-1945 (World War II Liberation Trilogy, #3)The Guns at Last Light: The War in Western Europe, 1944-1945 by Rick Atkinson
My rating: 5 of 5 stars

A great overall look at the war in Europe from the United States’ perspective, covering from Normandy through to the surrender. Atkinson goes a lot into logistics, which isn’t the typical “sexy” subject matter of WWII books, and shows how it was that “behind the lines” business of getting supplies to the front line troops that dictated much of the pace of the last year of the war. He also delves into the shortage of manpower, such as how British and German losses over the many years of war affected how many soldiers could be thrown into battle. American losses suffered during the Normandy campaign are also stacked against maintaining enough reserves of U.S. forces to prepare for the anticipated invasion of Japan.

Well thought out and written, this is an amazing book. I now need to go back and read the first two volumes.

View all my reviews

Quick Book Review: The City We Became by N.K. Jemisin

The City We Became (Great Cities #1)The City We Became by N.K. Jemisin
My rating: 5 of 5 stars

Definitely one of the most “out there” premises that I’ve read from Jemisin. She pulls it off well, though, and any time I felt myself getting lost in the rules of the universe, the characters always grounded me. Fun, innovative, and a great commentary on urbanization and gentrification.

View all my reviews

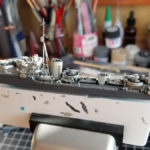
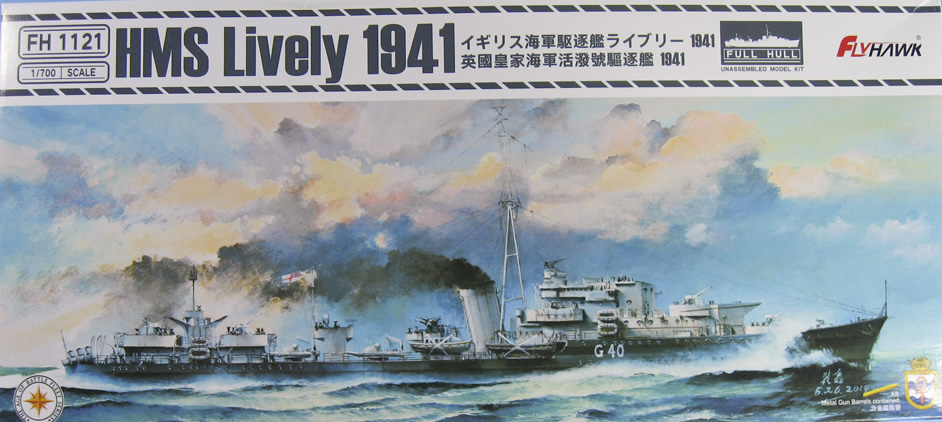
HMS Lively in 1/700, Part 2 (Electric Boogaloo*)

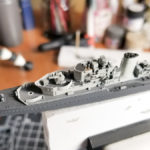
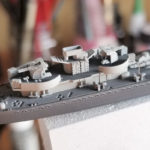
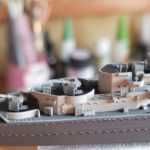
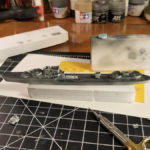
I assembled the forward bridge as the first major bit of construction. Lots of paint touch-up, using Lifecolor paint, which of course is a slightly different shade than the Tamiya mix I made for airbrushing. I went back over everything with light mists and dry-brushing of the Lifecolor to blend it all, resulting in a quite-nice weathered effect.

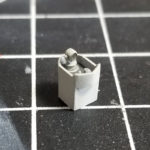
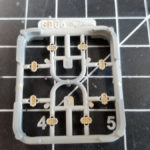
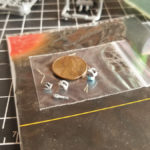
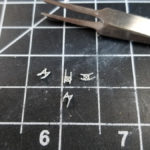
While the kit goes together very well, the size of the parts are a hindrance. Most of the small bits, such as cranes, depth charge mounts, bridge equipment, and nearly everything else, are smaller than the injection gates that attach them to the sprue. Removing and cleaning parts takes considerable time and concentration. Still, the end result looks decent.

I used an older Gold Medal Models 1/700 scale Cruiser and Destroyer photo etch set for the railings. Etched in stainless steel, it’s a real chore to cut. Fortunately I have a set of Xuron metal shears that make short work of it, as the X-Acto and scalpel blades weren’t cutting it. Literally.

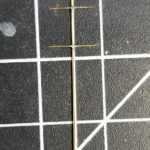
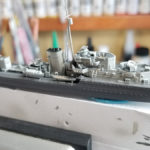
Other third-party bits are leftover 1/350th scale ladders from a previous resin DD build, which I used to replace the oversized and short-shot lifeboat mounts. I also replaced the plastic mast with a Master Models turned brass mast and yard arm, soldered together.

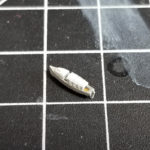
At this point I need to do final small bits, such as anchors, boat booms, and figures. I can then gloss coat, apply washes and weathering, then figure out the sea base and rigging.

*I have to say “Electric Boogaloo” after every “part two”, as it drives my wife nuts.


HMS Lively in 1/700

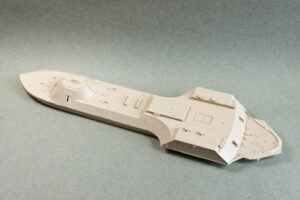
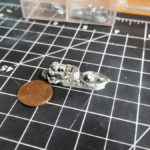
Decided to jump-in with a build of the HMS Lively kit that I reviewed for the Model Warships main site back in October of 2019 (which seems much longer ago than it should considering the past couple of months in quarantine). I’m working on this on conjunction with the USS Chickasaw build, as Chickasaw is fighting me every step of the way, but I suppose that’s to be expected of a scratch-build that was started well before I knew what I was doing.
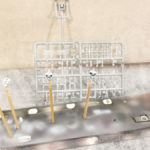
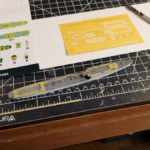
Not long after completing the review, I picked up the Flyhawk pre-cut desk mask set for the kit. I immediately picked out the kit parts that used the masks, and mounted them for prime and paint. And there they sat for months, until I pulled them off the Shelf of Doom last week. I’m ramping up to start a build of USS Yorktown (CV-5) in 1/700, and since I’ve only built one 1/700 scale kit in the past 30 years, my USS Luzon, I want to practice some things first.

As stated in the review, the kit is beautiful and precise. It’s not Bandai snap-together fit, but it’s not far from it. Some of the pieces are tiny; too much so for my enjoyment. The main armament guns come with barrels in styrene, all one piece, and very delicate. But, if you want, there are also brass turned barrel replacements. I thought of shaving off the existing barrels, drilling locator holes, and applying the brass, but I have a zero-percent chance of getting them all lining up parallel and looking as clean as the styrene, so I’ll skip those. Also, doing all of that just is no where near fun for me.

This build has already taught me a bit for future reference.

1.The instructions call out for Tamiya paint mixes, which likely match full-scale colors, and as such, the hull especially is WAY too dark. I’ll be able to pull it back with glazes and weathering, but in the future I’ll remember to lighten for scale effect out of the bottle.

2. Also, I’m realizing that in this scale a lot of fine detail painting has to be done by brush; it’s simply insane to try to mask and spray absolutely everything. So, when making custom paint mixes, don’t thin all of it for airbrushing; set some aside, unthinned, for brush touch up.

3. I wish I had built her full hull, instead of using the waterline plate, even though I’m going to put her in a water setting. There’s more leeway on where to set your waterline if you have the whole hull to work with.