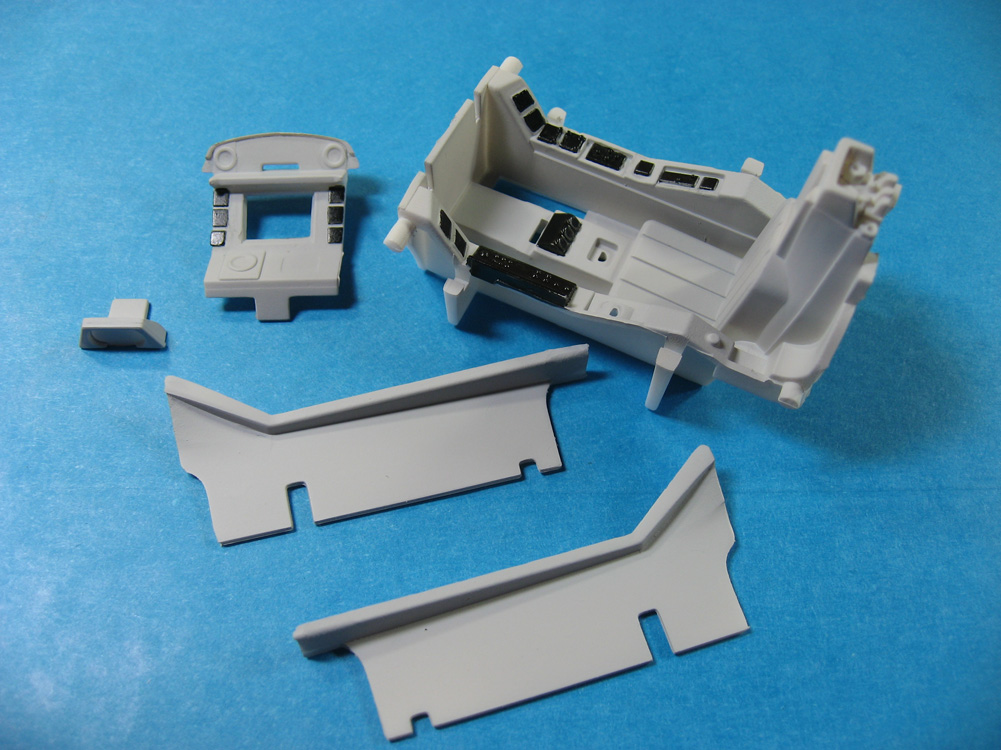
 Since the cockpit gets sealed up inside the fuselage, I have to deal with it first. The photos below show the process. The five major components (2 sidewalls, tub with seat, instrument panel, and display) were cut out, cleaned up, and primed. The sidewalls had HUGE ejector pin marks in prominent positions, so I filled and sanded, primed, repeated as necessary. I then cut in and painted the black panels by hand, something I don’t normally do, but they were just too tiny to mask.
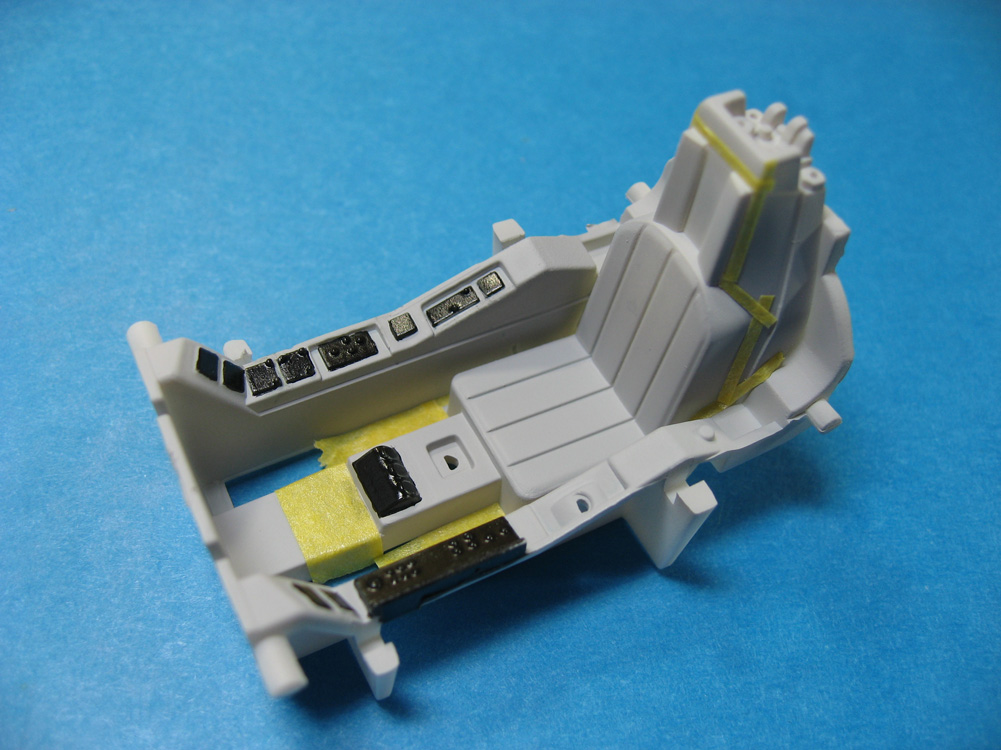
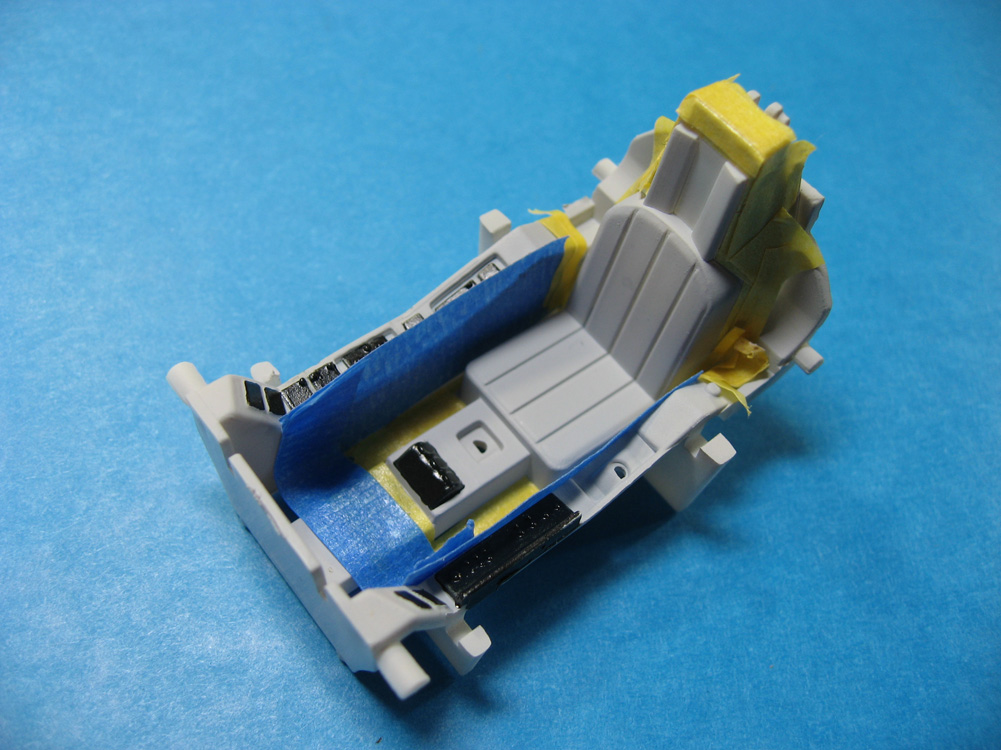
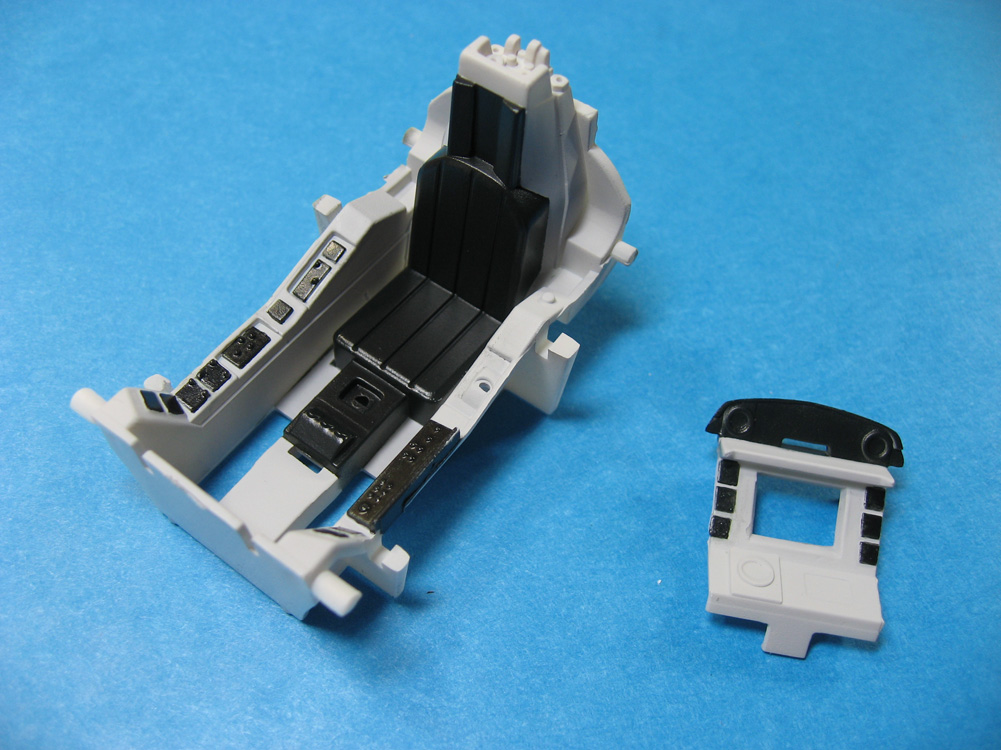
After that, I began to mask off the seat and the top of the instrument panel, both also to be in black. The seat was tricky, and I wish it had been a separate assembly to ease the process, but you work with what you have. I started by “cutting in” the seat with extremely small 1mm tape. Once that was completed I went around again using 5mm wide Tamiya masking tape and blue painters tape. Once that was all set and the lines were clean where I needed them, everything else was covered with Silly Putty, and the paint sprayed. The last two photos show the paint and masks after spraying, and then after all masking removed.
Time to mask the seat: 1 hours, 20 minutes.
Time to paint the seat: 2 minutes.
Time to remove all the masking: less than 2 minutes.


Very cool. I’ve never used silly putty for masking before but can see why it would be good. Can you reuse it or is it one use only?
As long as you knead the putty well enough to break up the paint, you can reuse it. In cases like this, where the putty itself isn’t what is creating the paint demarcation line, it can be used many many times. In other instances, such as the USS Farenholt in my model gallery (I used Silly Putty to mask the camouflage scheme on that ship), I always start with a new batch of putty, so the texture of old paint in the putty won’t affect the line between the colors.