 I’ve been away for the past couple of week; a trip to Los Angeles and Las Vegas ate up some of the time, writing figured in as a heavy time drain, and building a new website for a client took the rest. But now, back to the build.
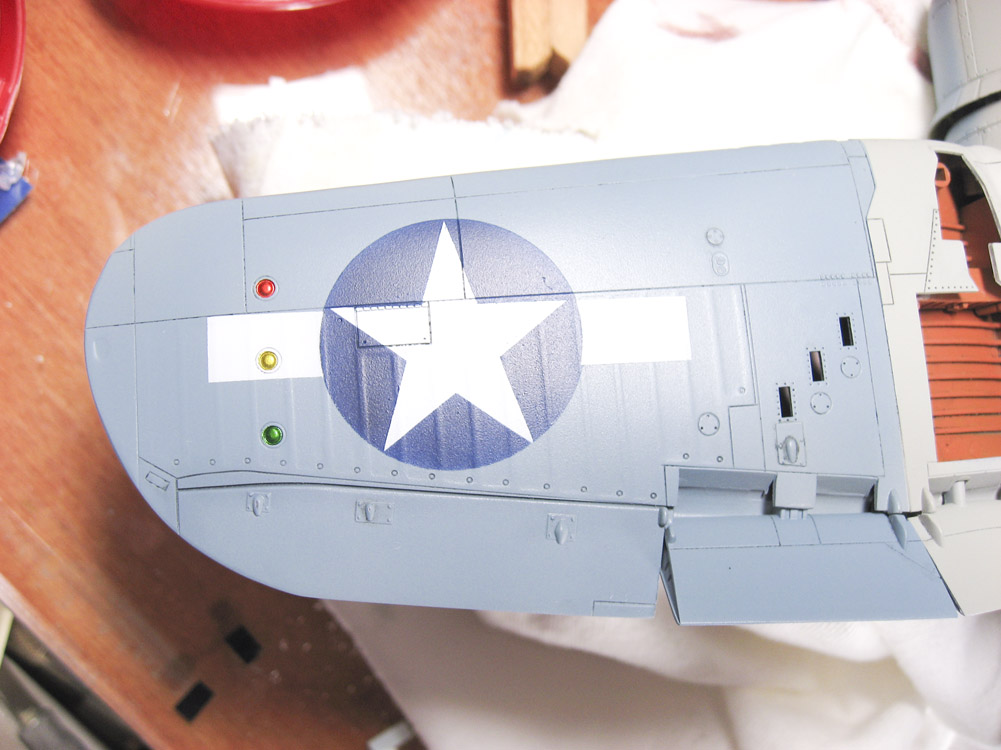
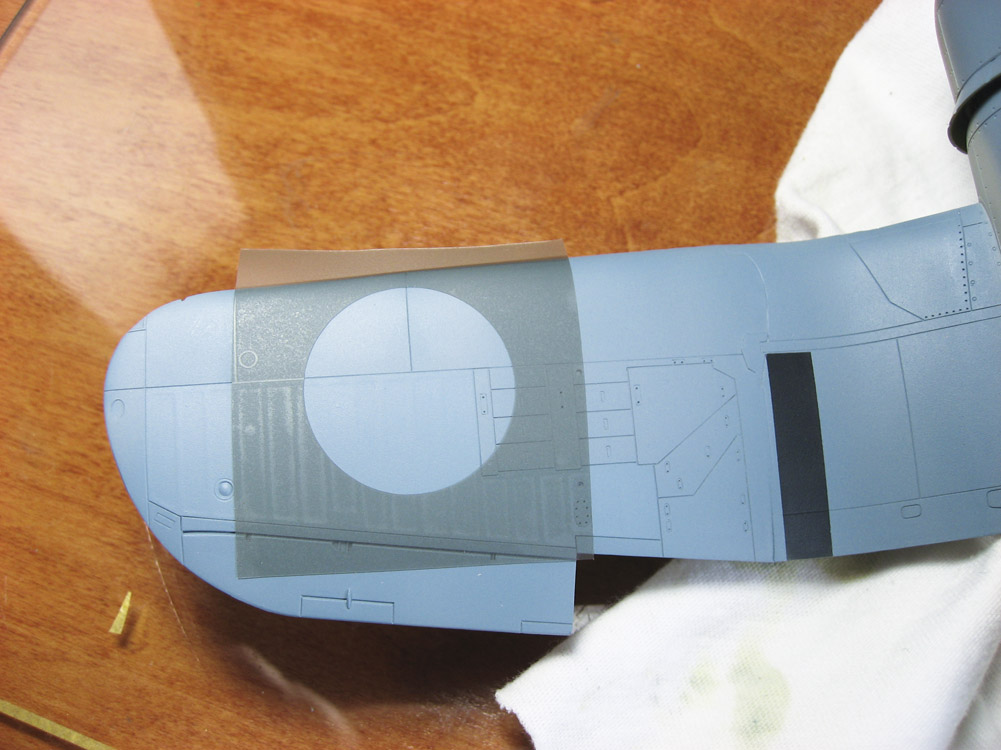
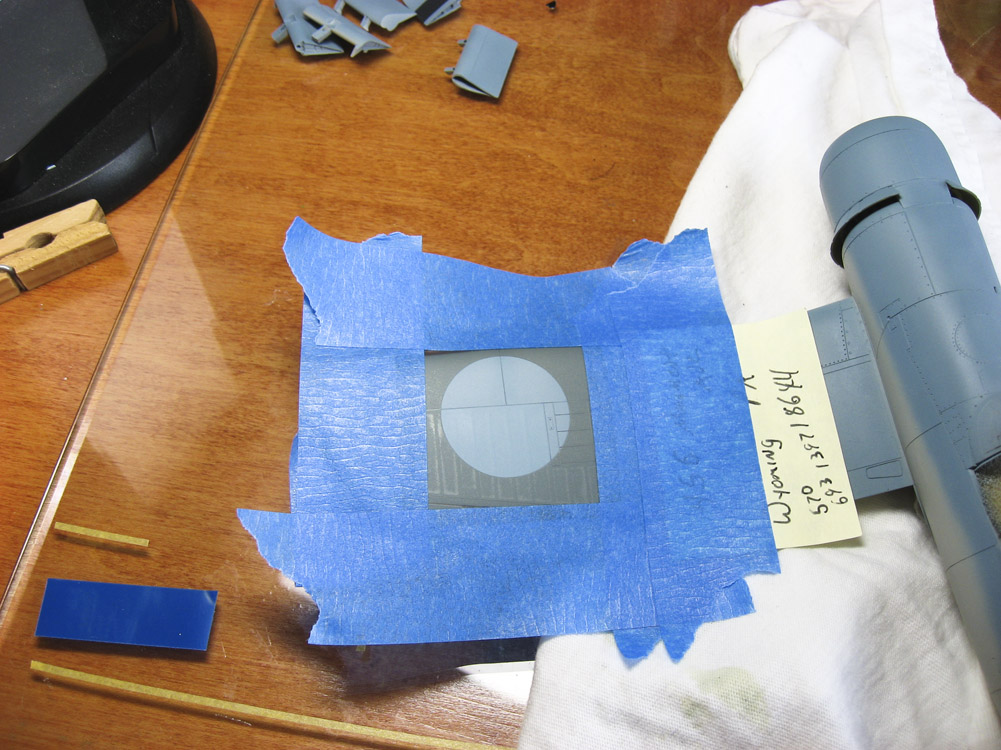
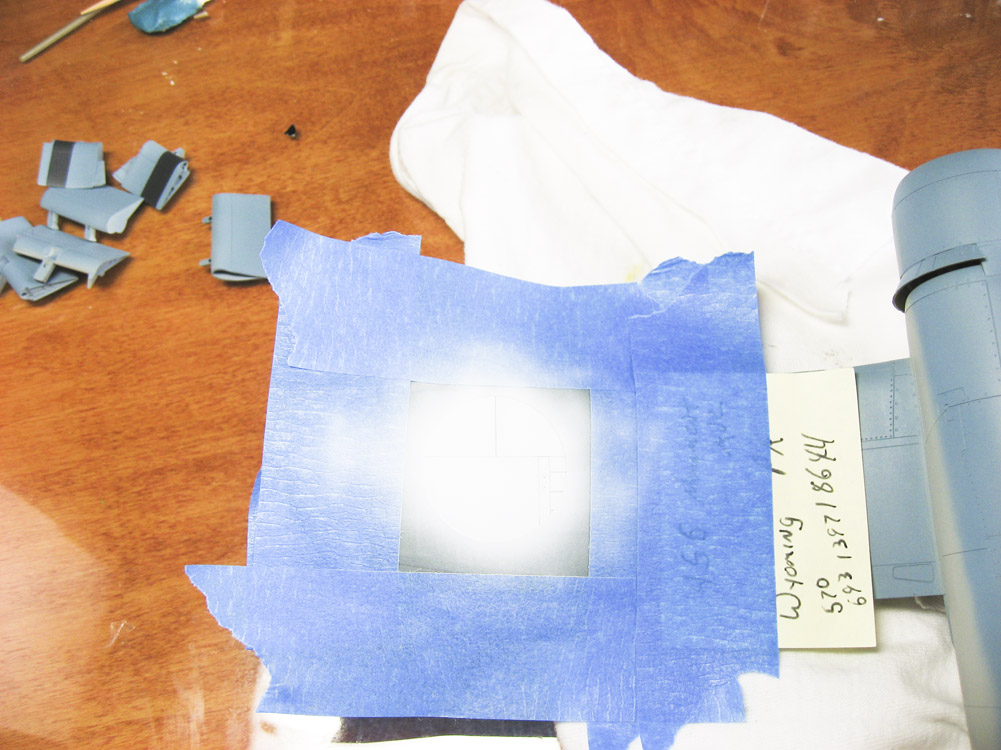
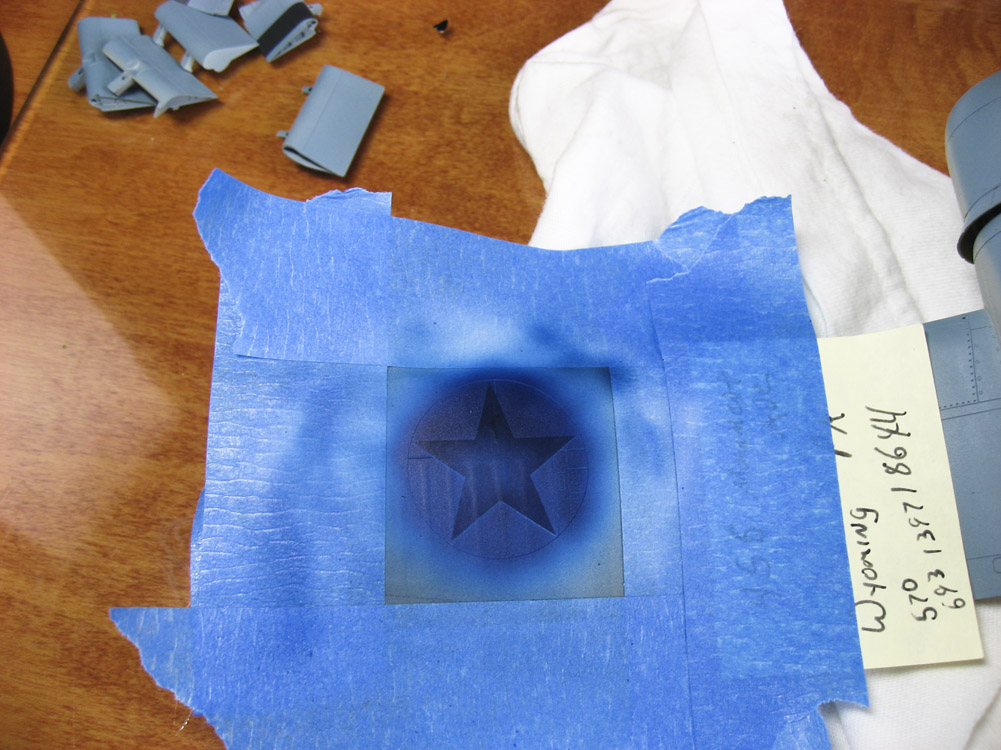
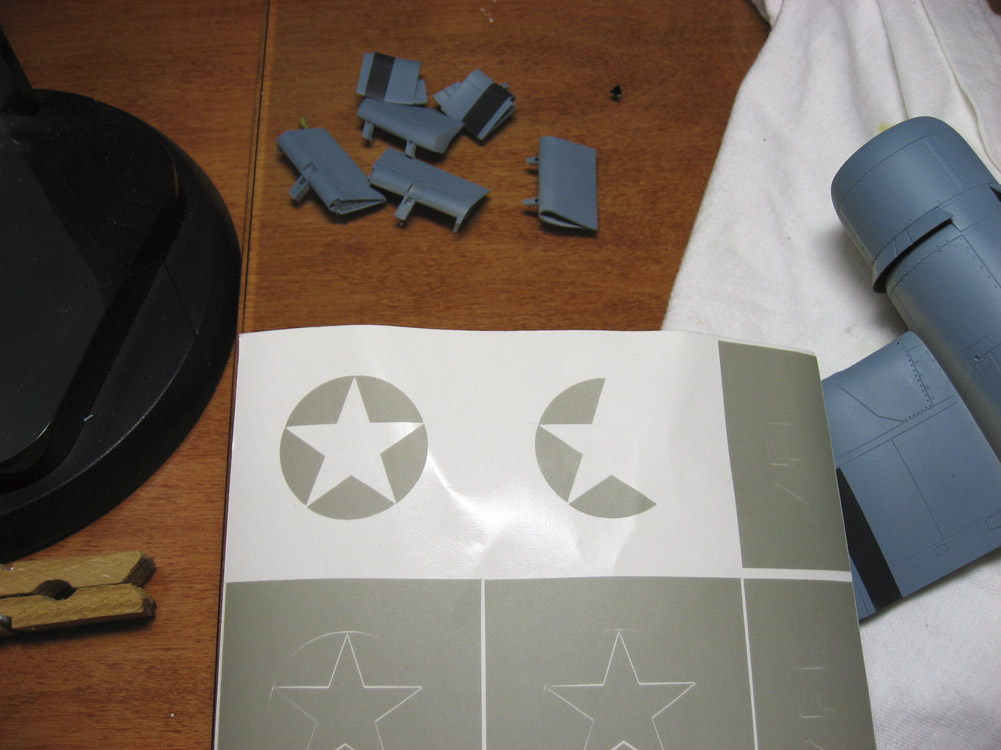
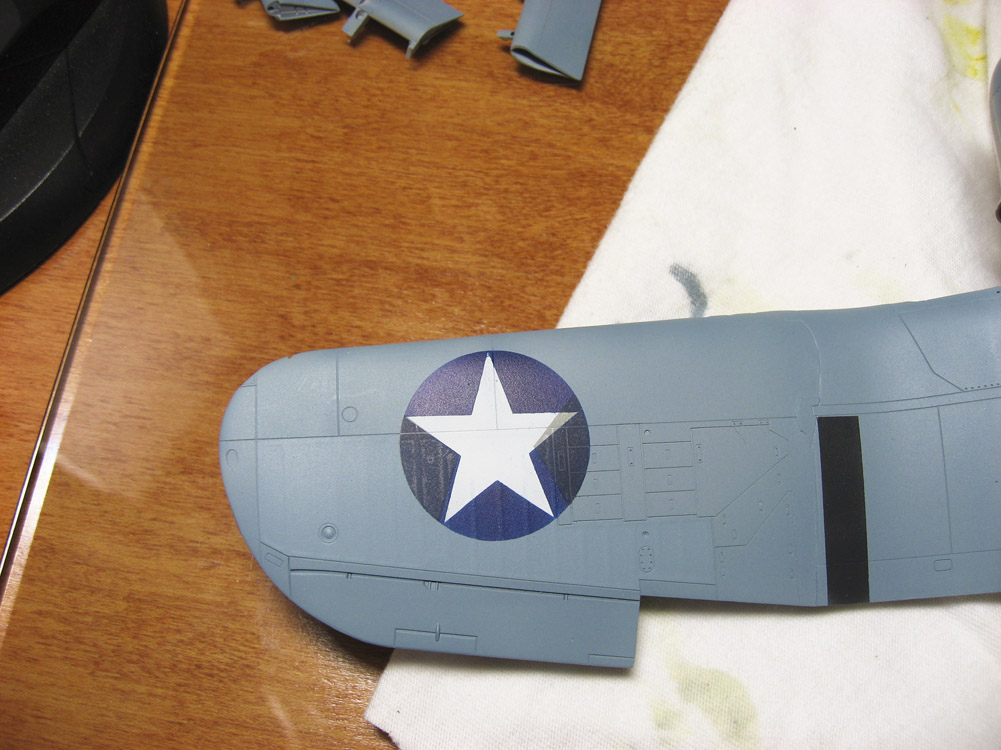
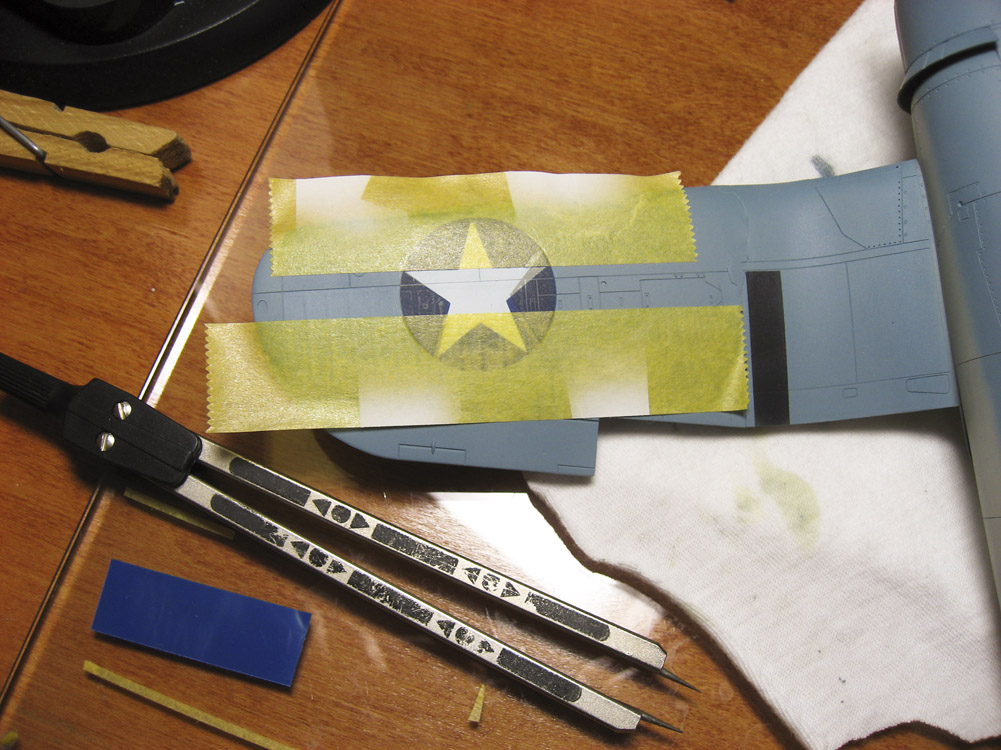
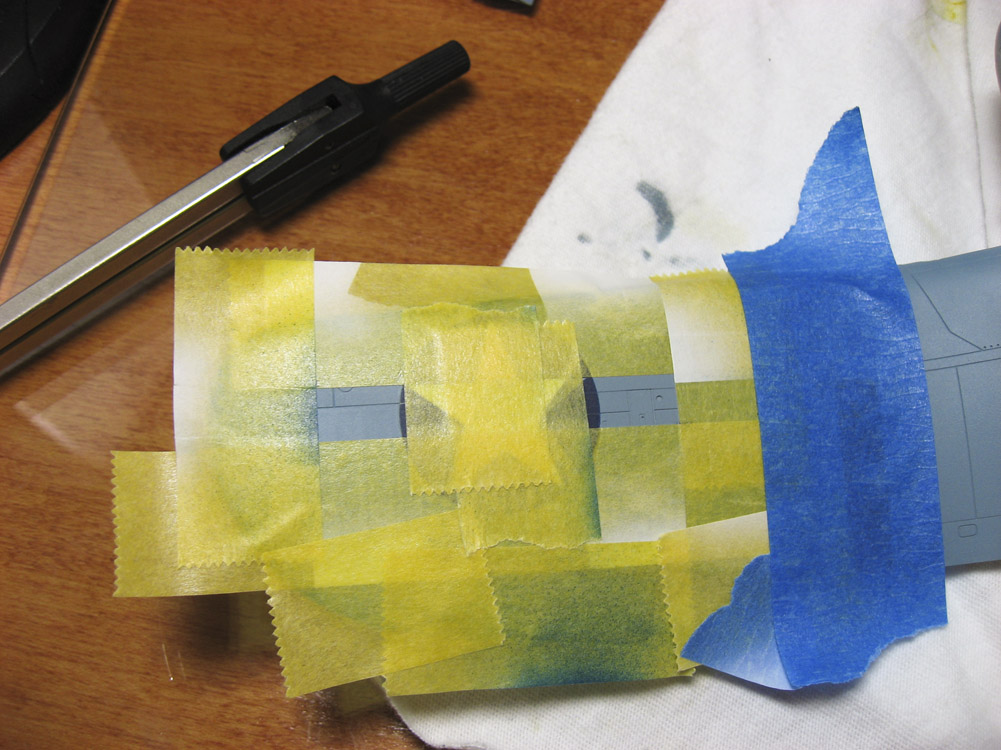
Because I just can’t make things easy on myself, I decided to not use decals for the markings on this bird, but rather to paint them. Actually, the decision wasn’t based solely on making my life more difficult. Markings that are painted on look, well, painted on, like the real ones. The paint is thinner than decals, there’s no clear film around the edges of the markings, and it’s easier to weather them.
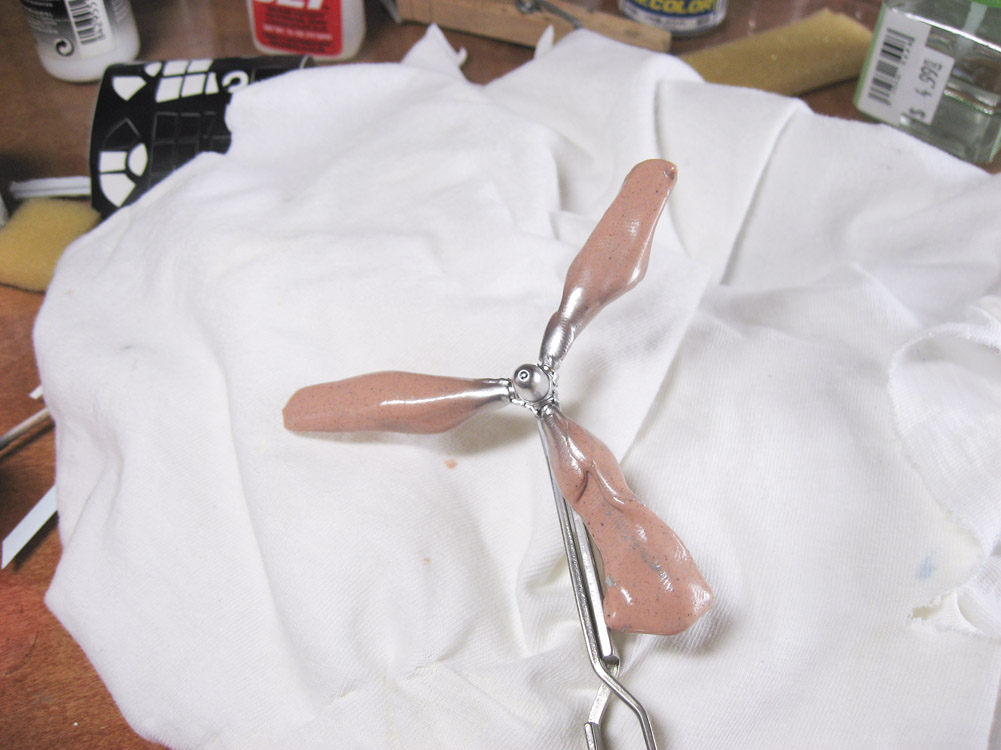
The photos below tell the process. Hover over each one to read the description, and then click on it to see the full-sized picture.
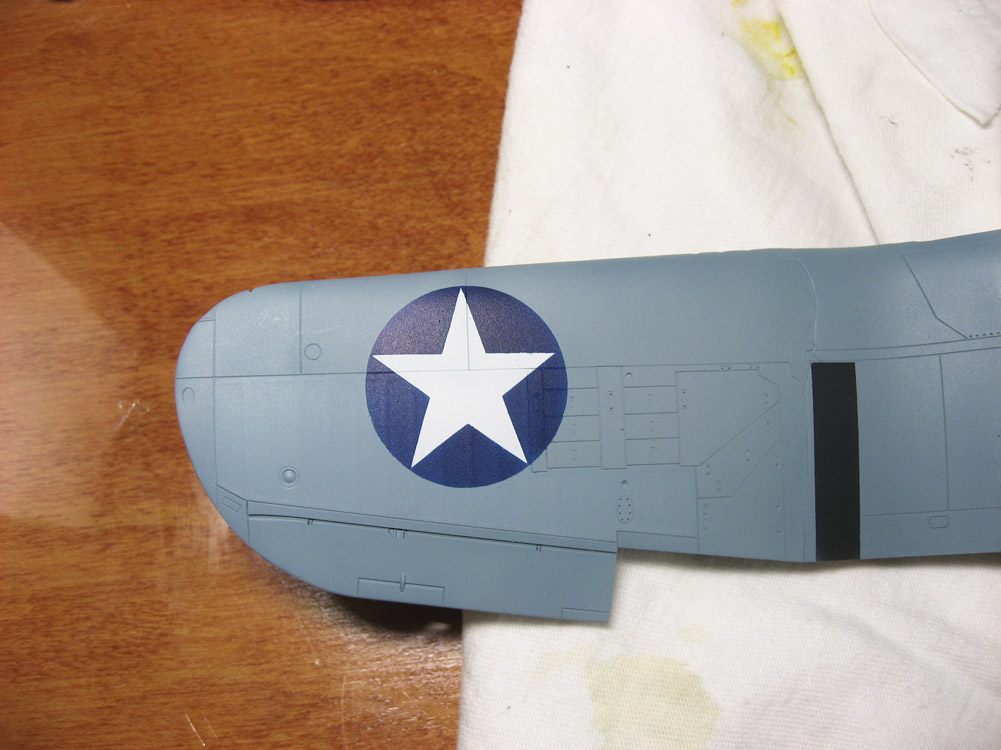
At this point I’m done with painting. Next is a clear coat so I can weather and apply the few decals I will use (the nose art and the three-digit numbers on the fuselage), and then it’s final assembly time.
 She’s all done. Visit the page linked to the photo to see the final result. I’m quite happy with how she turned out. My original goal was to build this completely in three weeks. Well, it took 7 weeks and 1 day, but considering I had a week in Los Angeles and Las Vegas in there, and some other work commitments, I’m happy with the turn-around time. I haven’t built a model this fast since I was in high school! Continue reading
 , waiting for the detail wash.")


 I’m building this as a Marine Corps bird. Before, and during the early parts of, WWII, Marine squadrons would be made up of old aircraft that the Navy had already used to death, or aircraft that the Navy didn’t want. After the Corsair had difficulties with carrier qualifications — stiff landing gear, bad visibility over the nose, and it’s just a HUGE aircraft — they sent them on to the Jar Heads. The aircraft’s issues didn’t affect shore-based use at all, and the Marines proved them to be such an excellent plane that the Navy resolved the carrier handling issues and eventually began to ship Corsair squadrons on carriers.
