 A few photos before I take a break. It’s time for the yearly Altered Fluid Writer’s Retreat, so I’ll be sequestered in a house in Connecticut for the next 5 days with nothing to do but write.
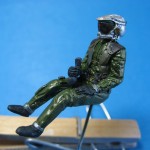
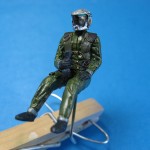
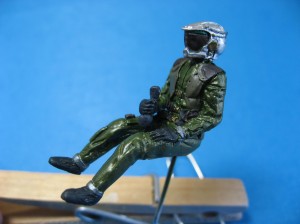
The pilot in the kit is a decently cast resin figure. There’s a little clean-up needed, but no major mold lines, so it didn’t take long to prep the piece. The flight suits in Battlestar are this funky metallic green color, for which there exists no store-bought match. I pulled out a few bottles of Vallejo acrylic that I thought looked close, and started mixing on my test pallet. Six tries later I had a good result (and only 5 failed attempts is pretty good).
The colors:
Russian Green (894), 3 parts
Medium Olive (850), 2 parts
Bronze (998), 2 parts
It looks great in person, very close to the on-screen appearance, but in the photos the metallic doesn’t show up very well. Further work needs to be done on the figure, such as shading and highlighting, applying the flight patch decals, dullcoating, and hopefully I can find some way to replicate the insignia on the top of the helmet.
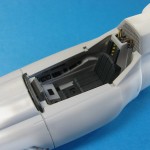
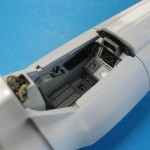
As I continue to work on the pilot, I started major assembly. Fuselage halves are glued together, with the cockpit sandwiched inside. In order to avoid problems with seams, I started at the nose and worked back, gluing and clamping, waiting, then moving further back. The fuselage just forward of the cockpit was an odd angle that wouldn’t accept clamps, so I glued it and watched The Colbert Report while I held the pieces together.
One new detail in the cockpit are the oxygen hoses at the rear of the seat. Made from old guitar string.
