Slow progress as of late. Honestly it’s just been too damn cold to do any building, so I’ve been focusing more on writing. I’ve forced myself to eek out a little progress on Nautilus ever few days, though, and since most of it has been in the hack/cut/destroy department, I’ve made a little headway.
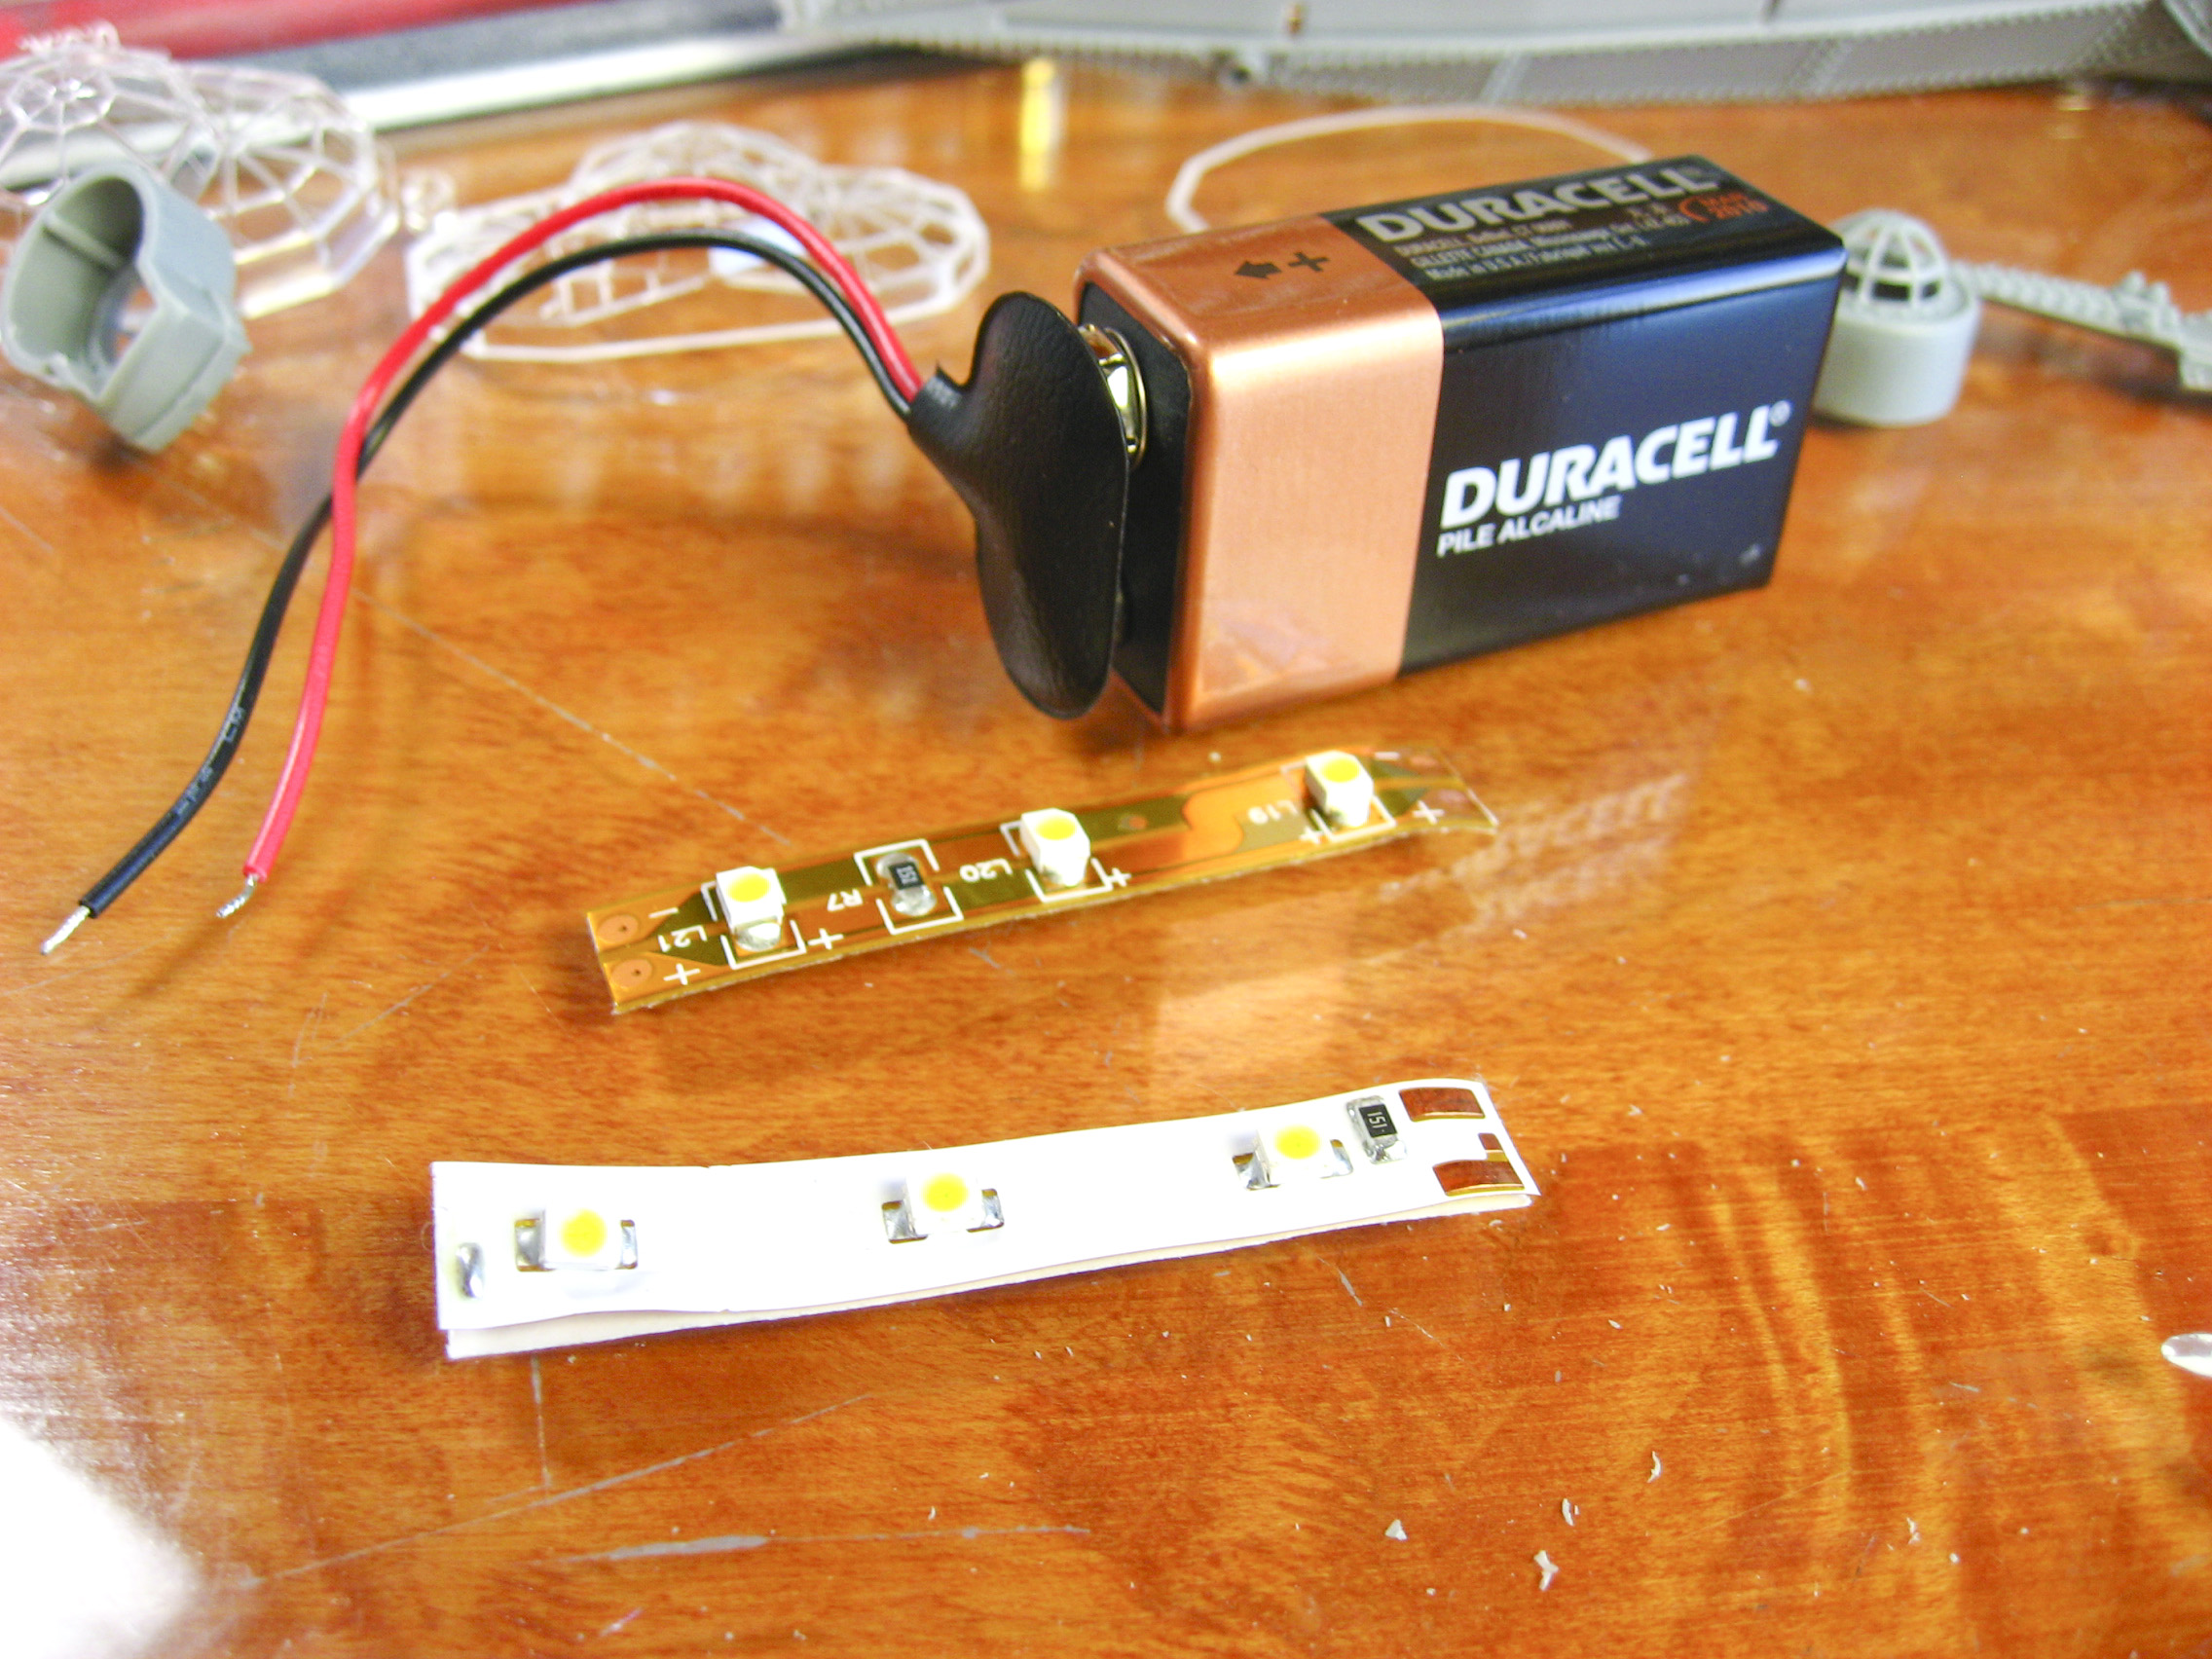
I’m definitely lighting the model. I picked up some LED tape, which is exactly what it sounds like: adhesive backed tape with an LED approximately every three-eights of an inch. It comes in a 20-foot roll, and you can light the entire thing with a 9-volt battery. It’s marked every two inches or so where it can be cut to make custom lengths without having to do any soldering.
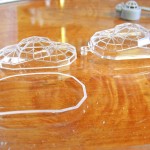
Since I’m lighting the model, and I want to be able to see the interior I put so much work into, I’m making one of the bay windows and one of the bridge hatches removable.
-

- To view the interior of the bridge, the sections marked in red have to be removed.

-
- Ten minutes and a Dremel burr bit later, cutting is complete. The edges aren’t exactly pristine, but the bridge hatch covers it.

-

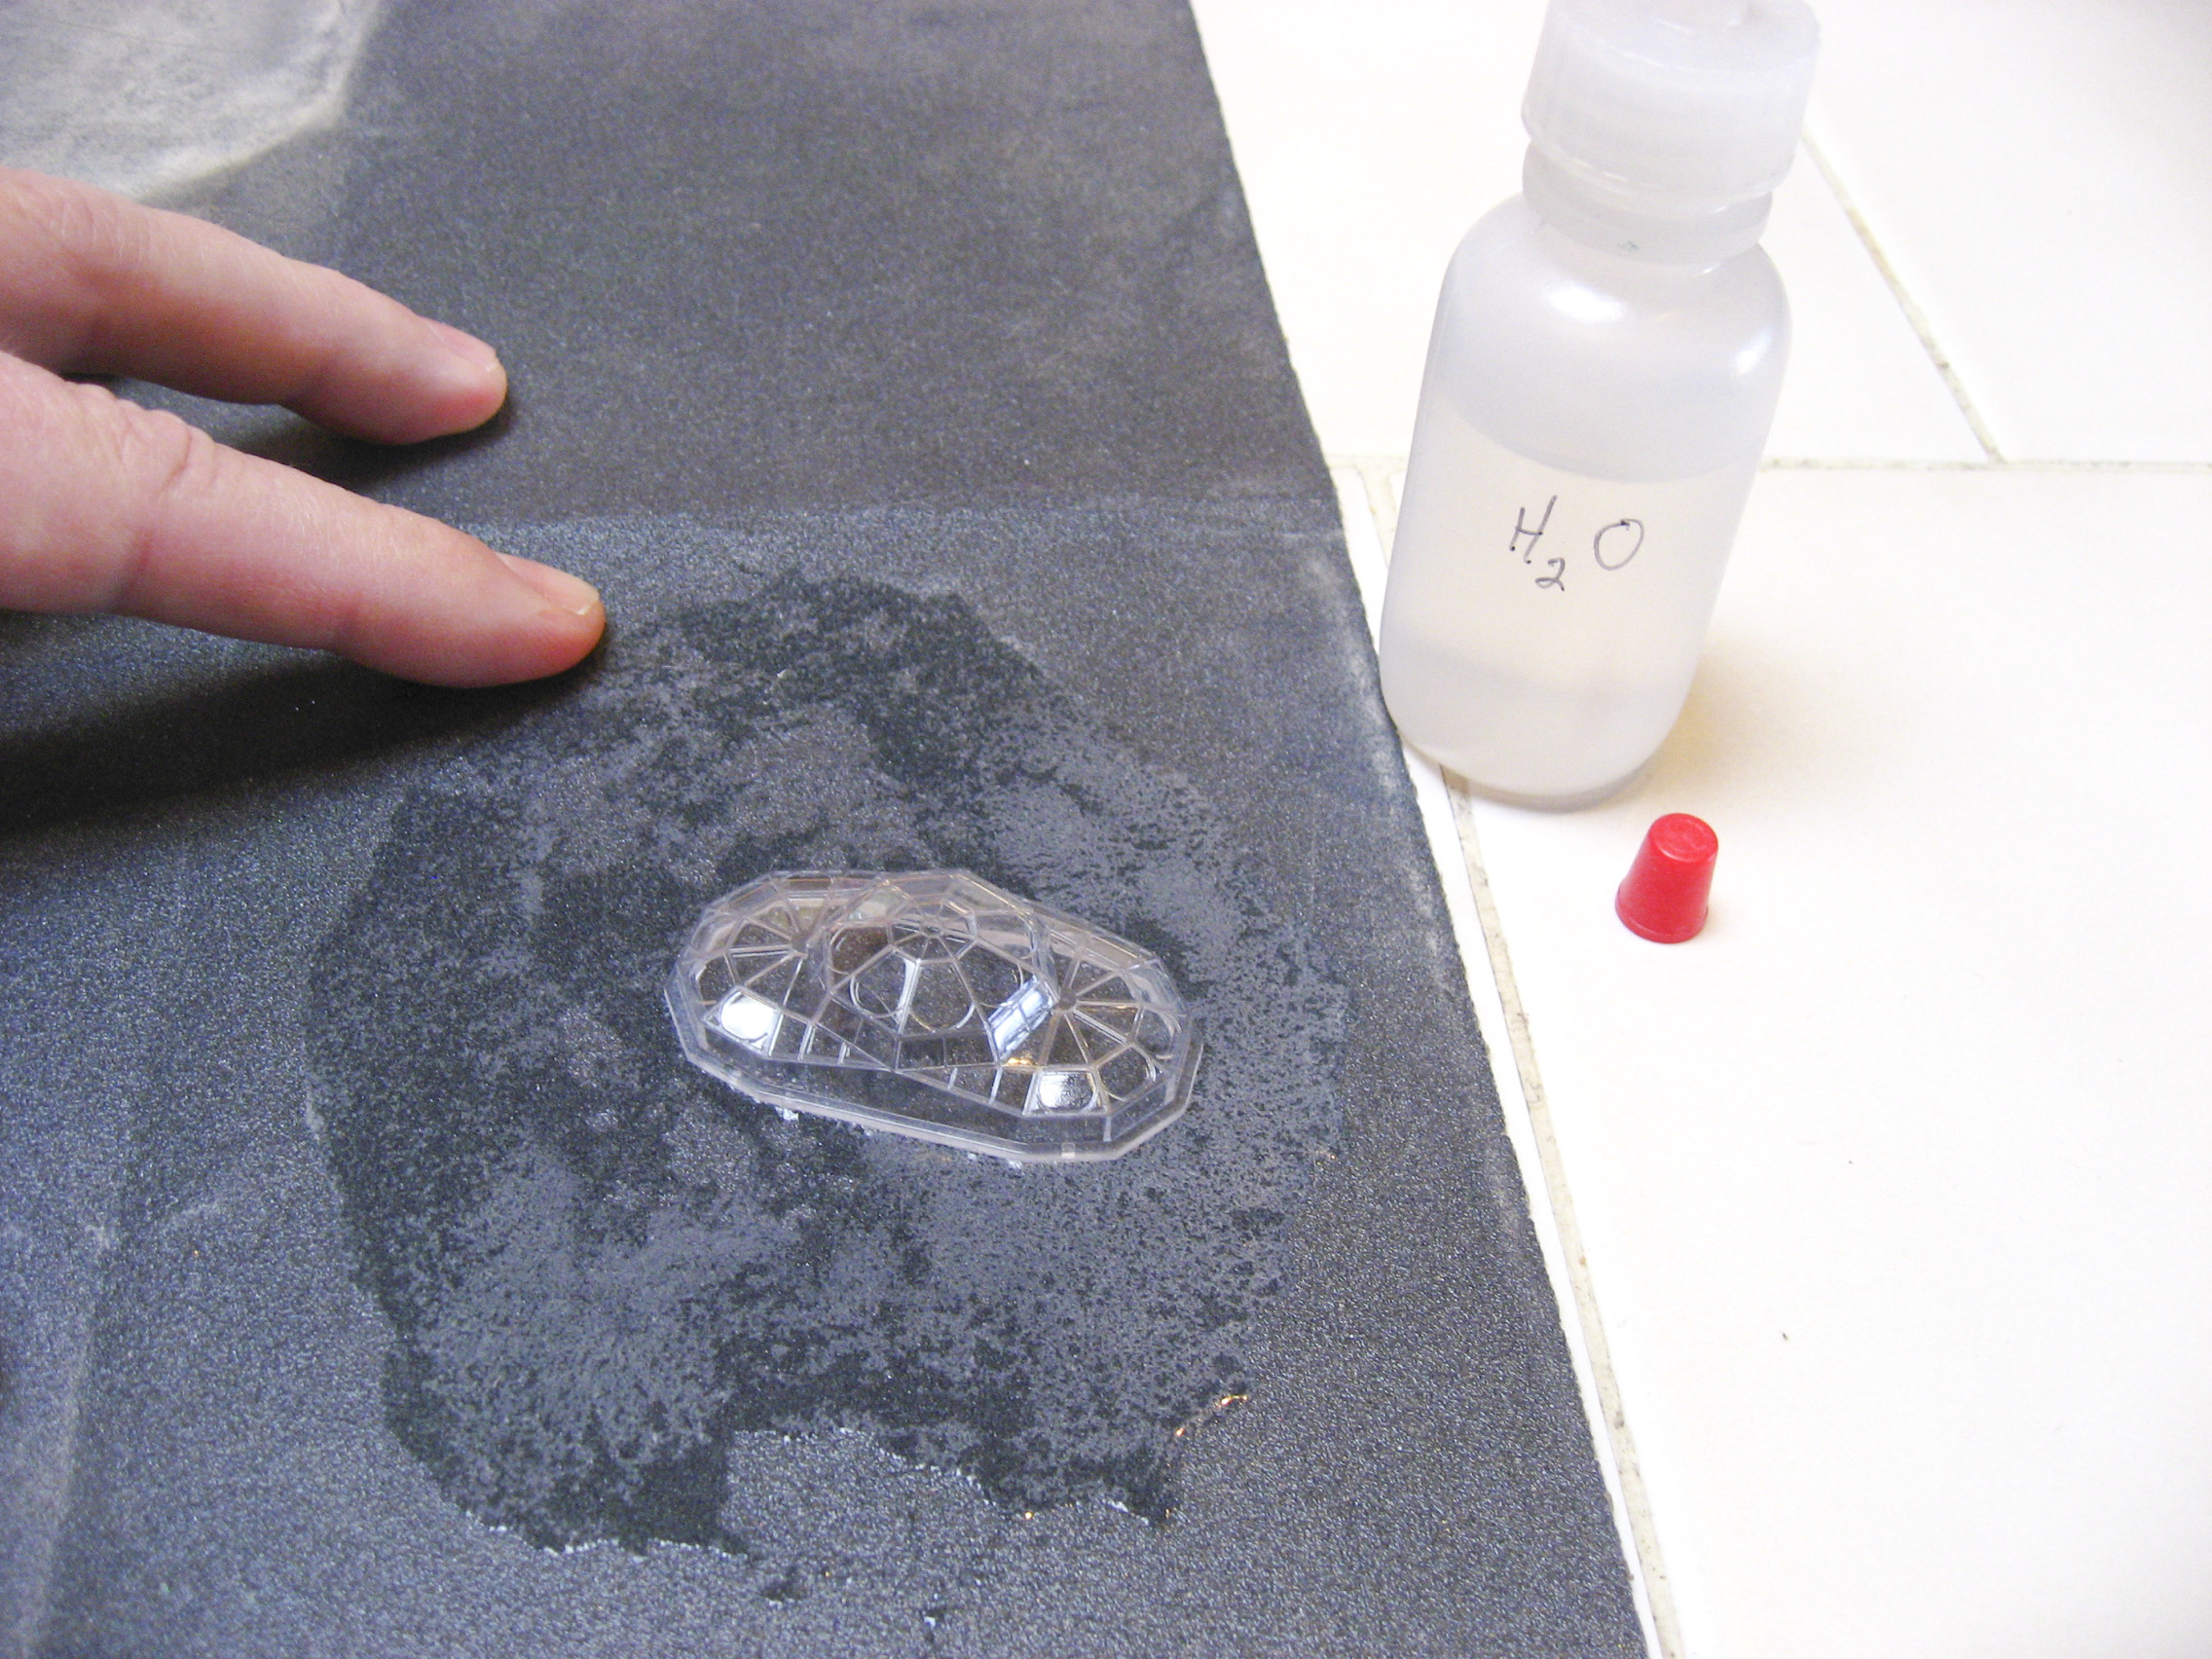
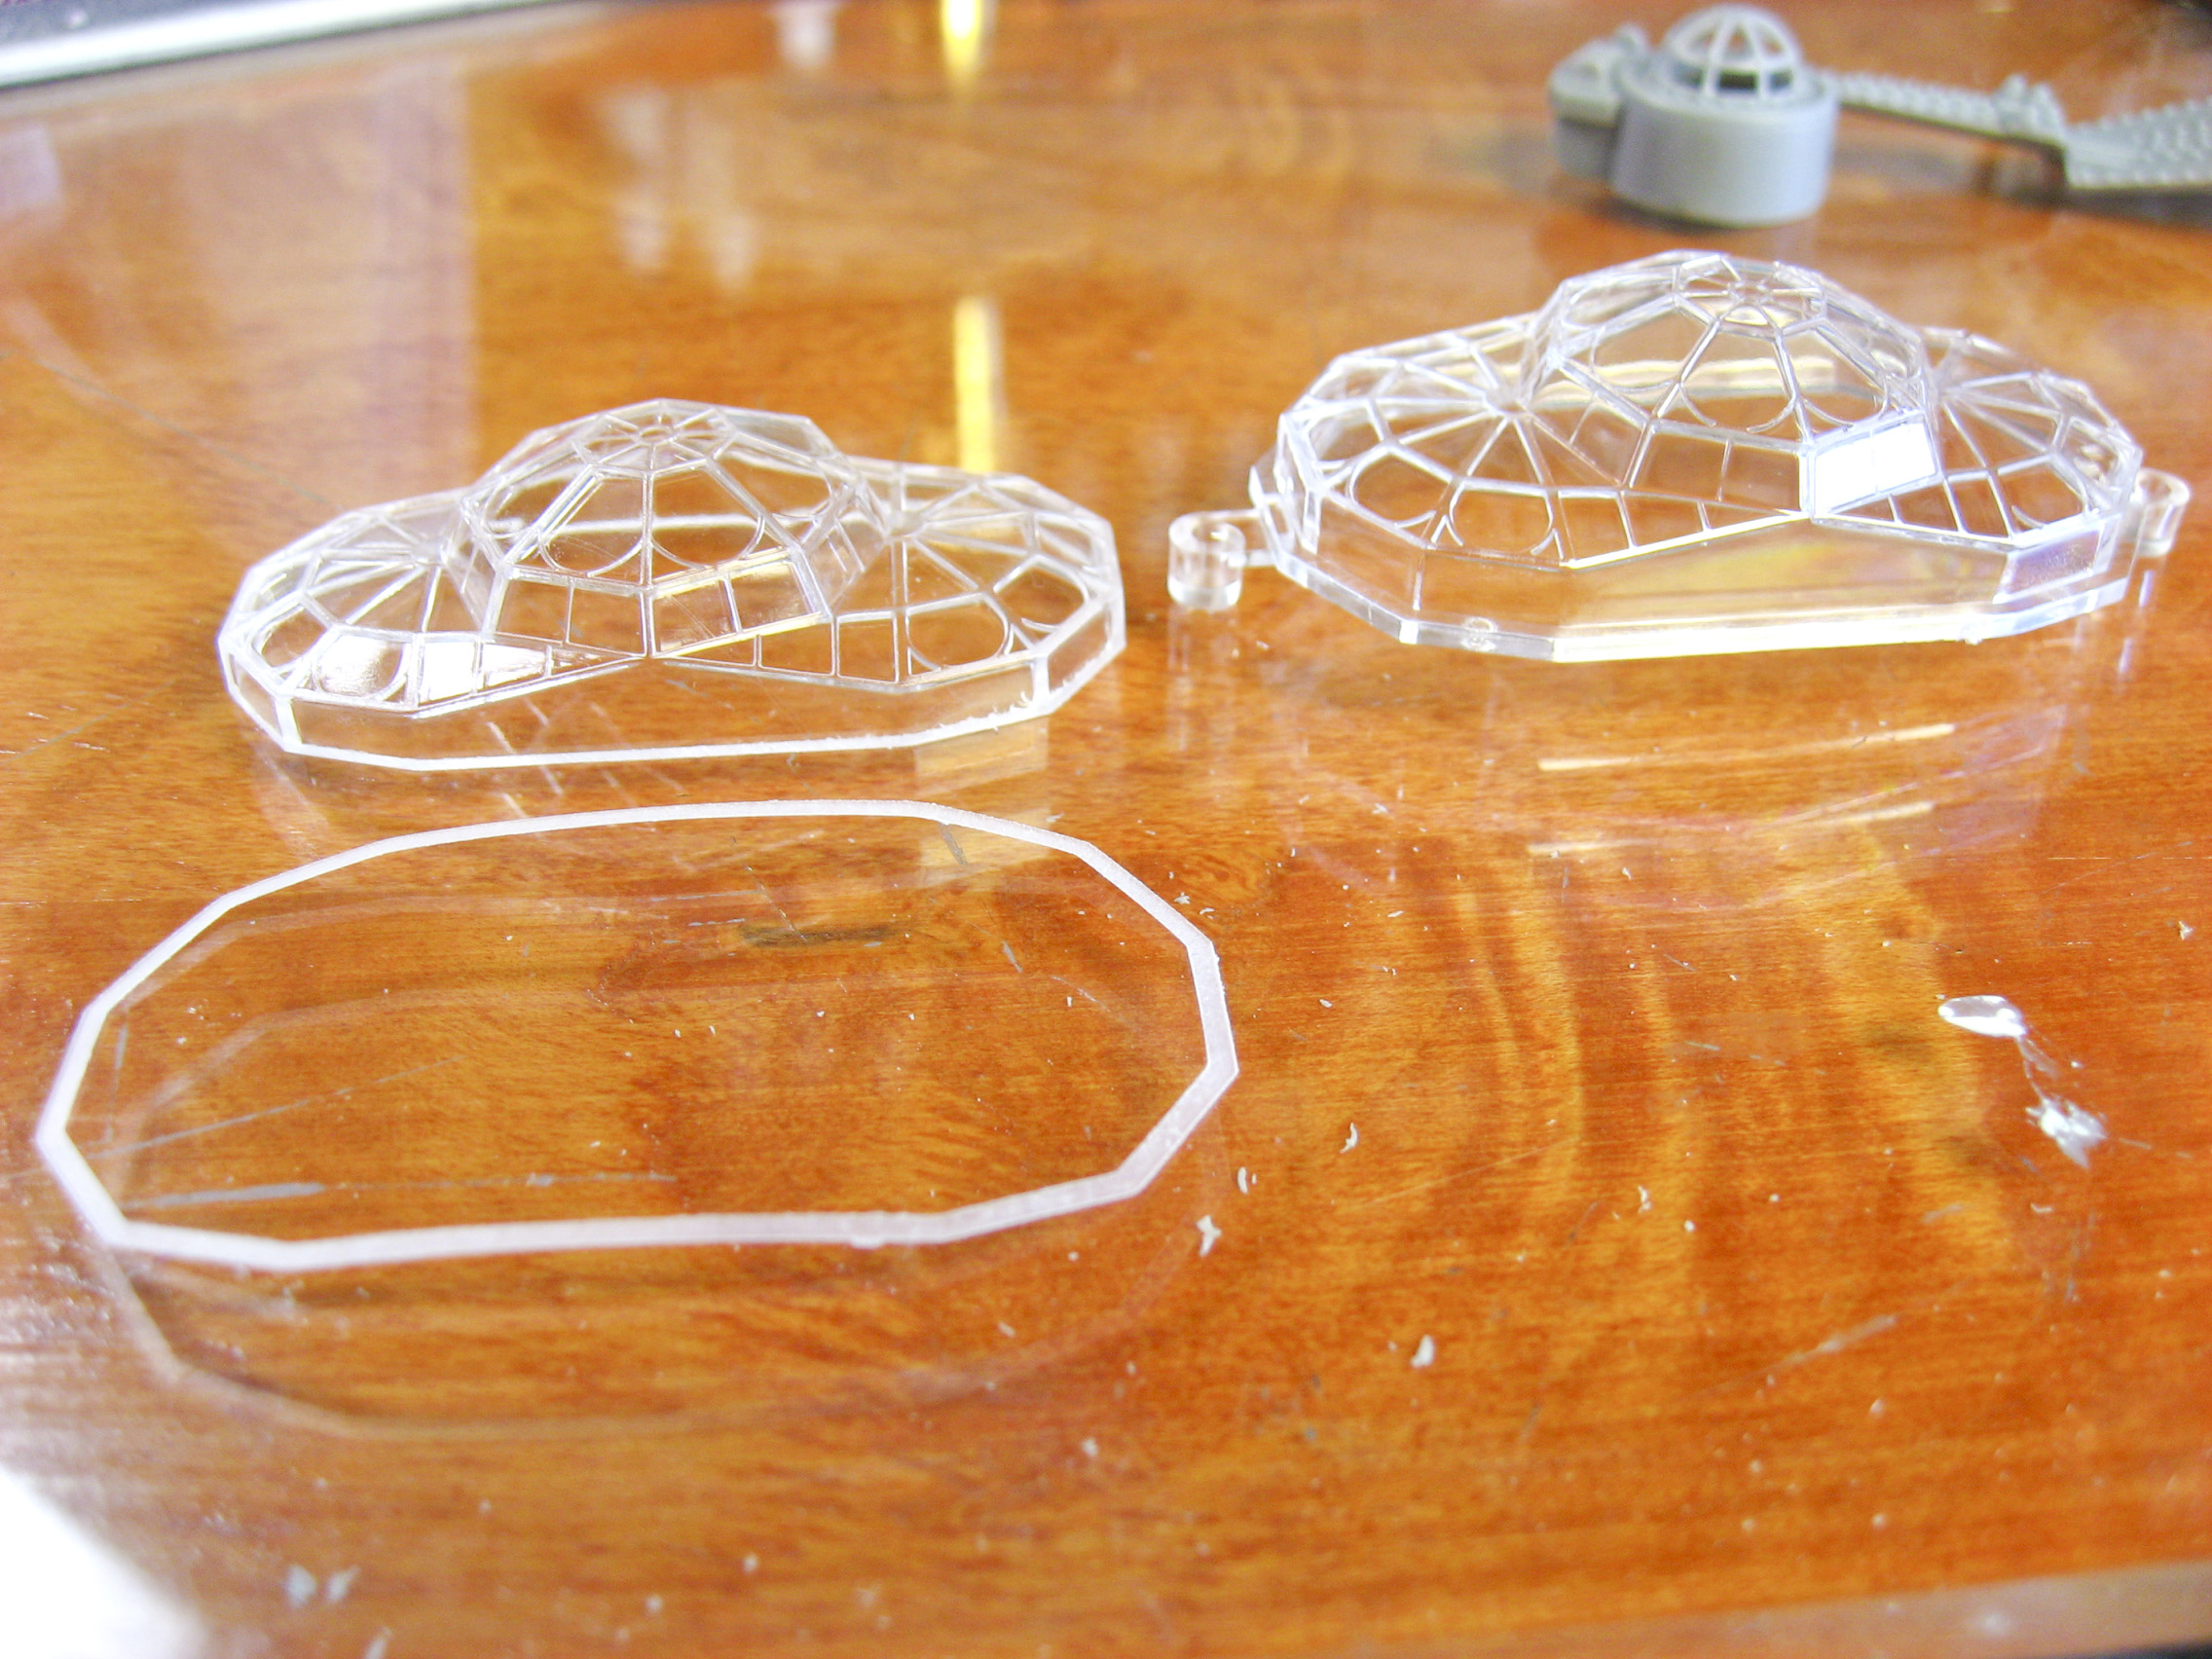
- The bay window for the lounge is flush sanded to remove the mounting lip, so it can be removed and replaced once the model is finished.
-
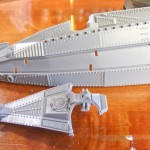
- The original kit part on the right shows the flange and the mounting pegs. On the left is the sanded part, with the thin flange left after sanding.
-
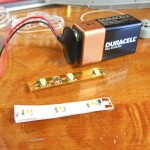
- Two sections of LED tape. It won’t take much more than these two pieces for what I have in mind. Simple, but (hopefully) effective for this build.