I’d intended to do this post last Sunday evening, you know, keep up a once-a-week progress report on this build and hopefully have it done in three weeks. Kristen’s performance in Brooklyn last Sunday night threw me off schedule, as well as a few things with the build.
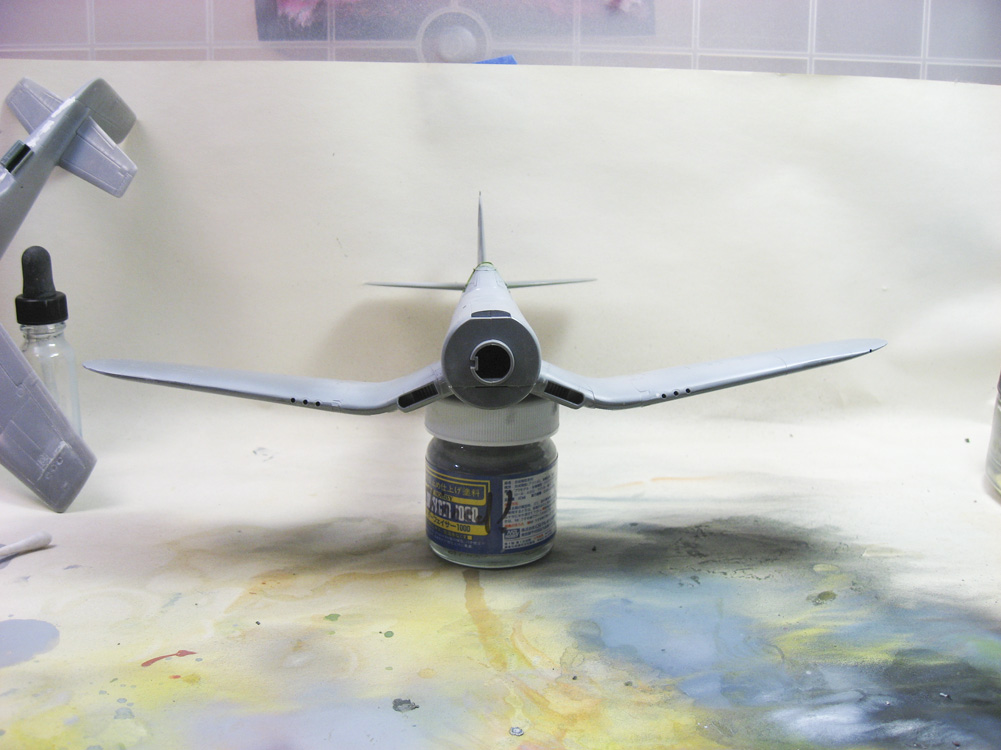
The top photo in this post shows the kit as she is now. The cowling is just stuck on temporarily, I’ll be painting it separate from the fuselage to facilitate handling. I’ve just finished scrubbing her down with Simple Green and an old tooth brush, to remove any oils from handling and any sanding residue from the panel lines and crevices, prior to giving her an overall coat of primer. I’ve been spot-priming up to this point, hitting problem areas that had to be filled and sanded a few times to get them just right, but honestly most of the kit fits really well, the seams are on panel lines, and the only places that have given me issues have been fitting the forward windscreen, and re-scribing lost detail forward of the cockpit.
The head-on photo below shows the distinctive gull wing of the Corsair, earning it the nickname , one of many, “U-Bird”. The Corsair mounted such a massive engine and propeller that the designers were faced with an issue of ground clearance: designed with a typical straight wing the plane wouldn’t be high enough off the ground for the large propeller to clear. The solution was either to put ungainly long landing gear on the aircraft — which wouldn’t do for carrier borne operations — or bend the wing to get the gear closer to the ground.
I had some issues with alignment on this model, the left wingtip and the right horizontal stabilizer were low and out of alignment. I rectified this by holding the root of the left wing over a boiling teakettle’s steam until the plastic softened enough to align it, then repeated this with the tail. Once they were in correct position a dunking in cold water set them in place.
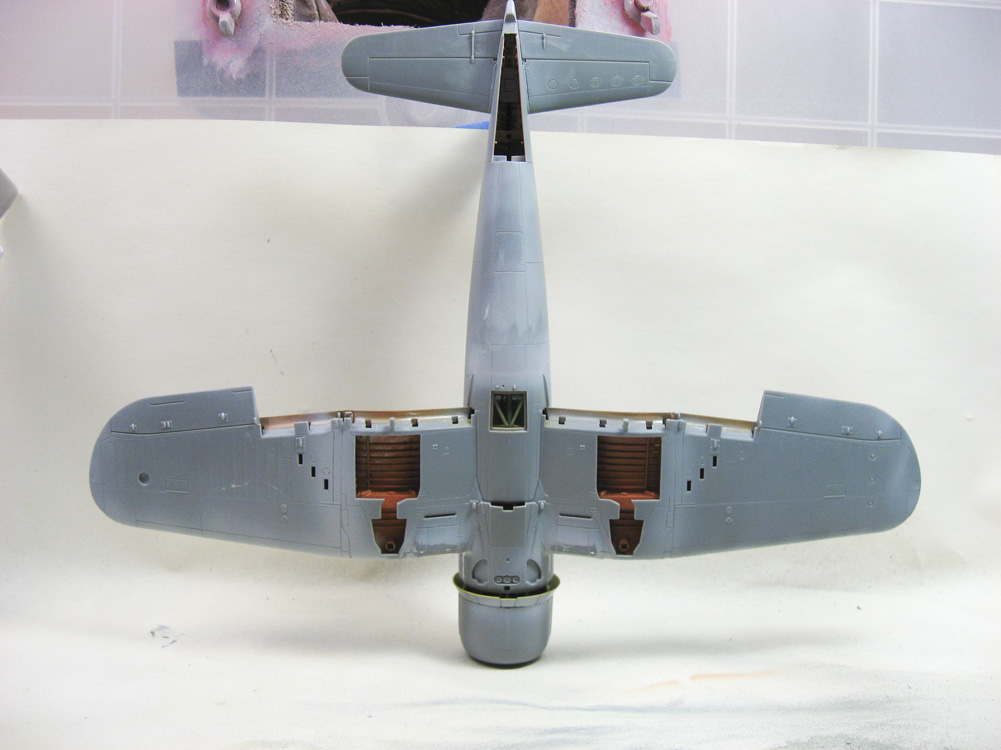
You can also see below that I have the cockpit all buttoned up. I’m having issues with the pre-cut canopy masks sticking, but hopefully they’ll hold on for a few more days. The lower fuselage shot shows the wheel wells in their salmon primer color.