 Okay, it’s probably boring as hell looking at all of the taping I’m doing. This is more for me, anyway, so I can look back and see how nuts I was to do all of this. More of the same as last post, making tape all over the place, Silly Putty and paper towels to seal it all off. In this case, literally 3 hours and 15 minutes of masking, less than 5 minutes of painting, then 10 minutes to rip it all off.
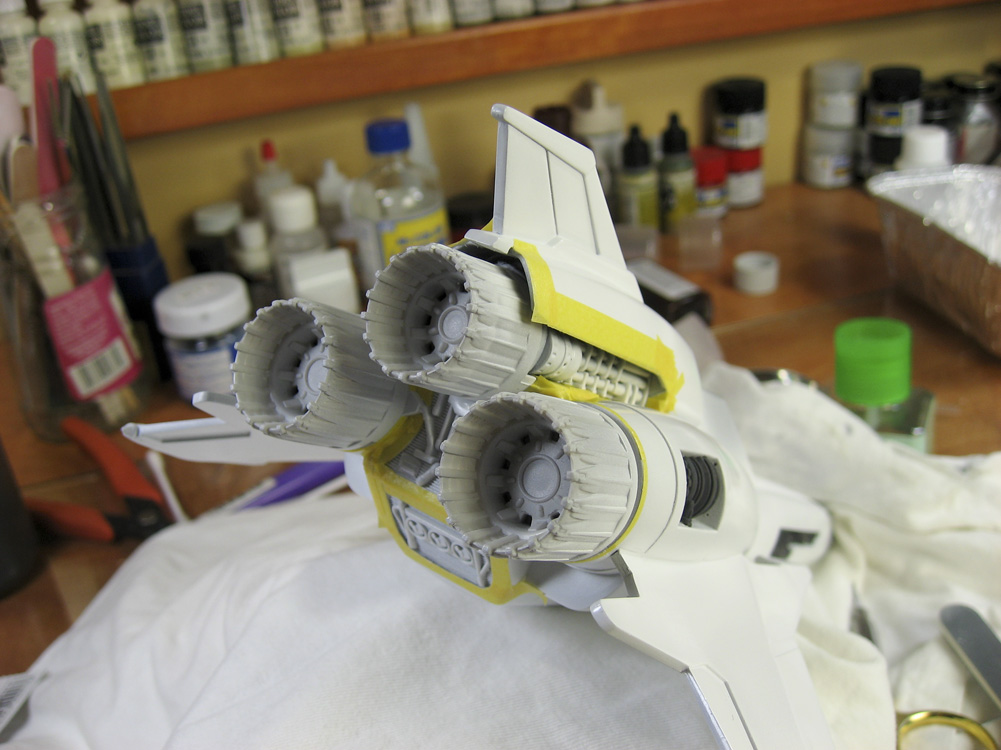
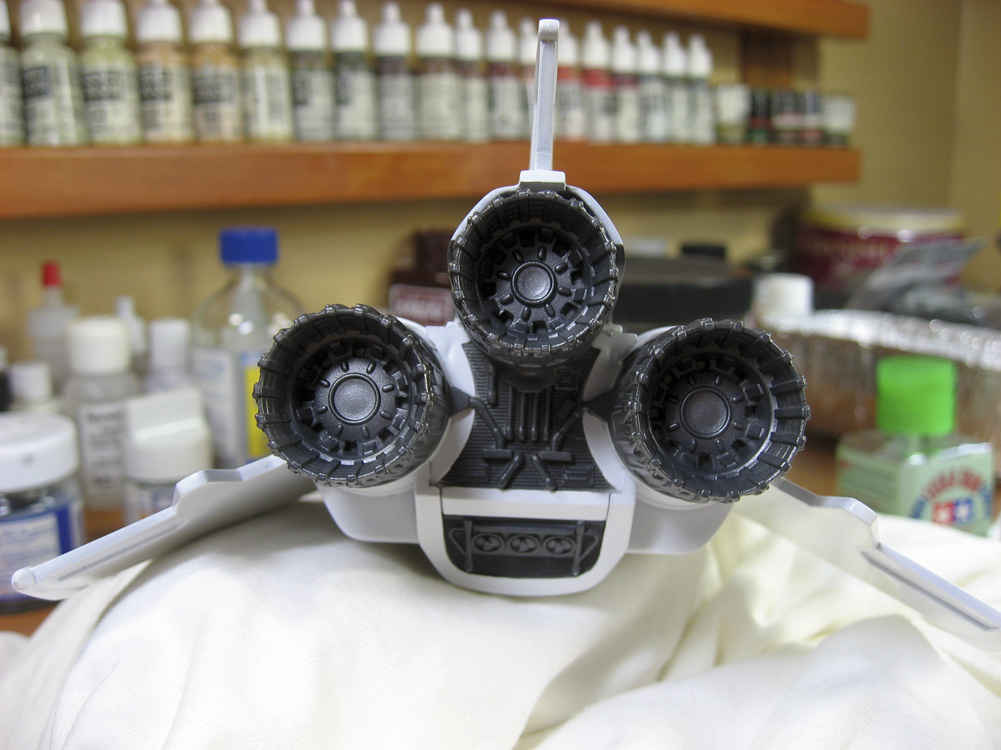
Engine inset, thruster cans, and intake above the cockpit are all done in dark gray. I used some Alcad metallic Magnesium to give some highlights to the thruster cans (can’t really see it in the photos) and to paint the inside of the nose opening.
I’m particularly proud and pleased with the third and sixth photos in the gallery below. The full-scale filming model has this entire area in dark gray, but some of the CGI models and some smaller scale builds have it masked off as I’ve done. The third photo shows the massive amount of masking, the sixth shows the result. I couldn’t believe how well it turned out.


Sweet. Love the way it came out. Gonna bring it to the next meeting?
Thanks! I should be able to bring it to the meeting. I’m hoping to have some of the red striping done by then as well.
I’ve really been enjoying your build, but I must say I think you’ve scared me off attempting one. Can’t wait to see it completed!
Sean, as I get closer to the end of the build I’m forgetting a lot of the issues that have plagued me along the way. I really wish I had thought to lay out the fuselage halves on a flat surface when I first cut them from the sprues to make sure they were true and flat on the mating surfaces. I suspect they were not and that it’s a problem with this specific example I have, and not the kit in general. I’ve read a lot of build reviews of this model and some people have the issues I have had, a lot, though, had no trouble at all. I might do another one for myself (this one is going to a VERY PATIENT client) and light it, but it’ll be a while before I attempt that. Overall I wish the kit had fit as well as the Fine Molds X-Wing kit, and had as sharp of detail, but then it probably would have cost an extra $20+ dollars.