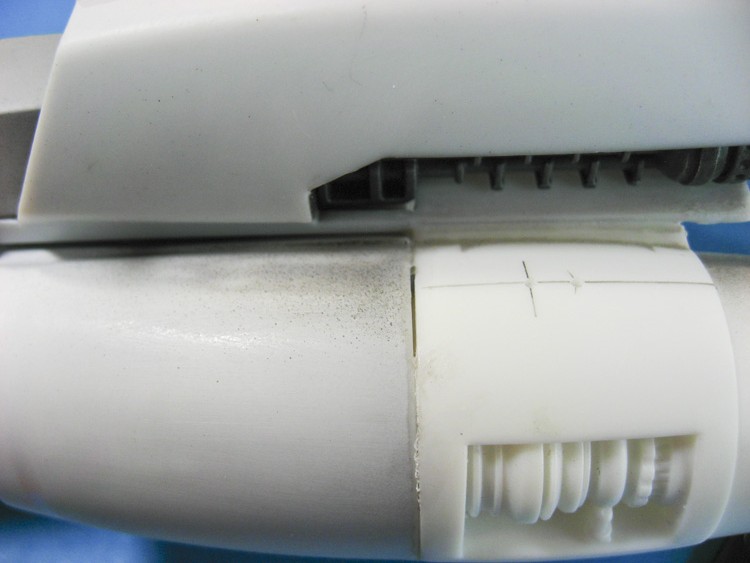
After weeks of fitting, refitting, and fitting yet again, I finally got up the courage to glue the aft fuselage together. The instructions and the kit layout call for the wings and tail to be included in this step, but with the gaps I have, I opted to leave them off for now and deal with the seams first. I’ve read of some having problems with gaps in this area of the kit, and others saying that it snapped together like Legos. I’m obviously in the former camp. I have no idea if this is something I did wrong, or if it’s a problem with the kit. Regardless, I have some filling to do. The major gap I have actually been able to close up a bit by clamping the starboard engine front to back and slathering it with liquid cement. We’ll see if that holds. Everything else will get healthy doses of Apoxie Sculpt to fill.
Two other things in this update: I’ve got the upper engine painted (in this photo it has only been base coated in black and then sprayed in dark gray) and drilled for extra piping. Also, as the photo shows, the thrusters have cut-outs in them. Unfortunately that would allow you to look into a hollow cockpit. I punched out some styrene disks and inserted them, blocking the view and any stray light (they have yet to be painted in this photo).