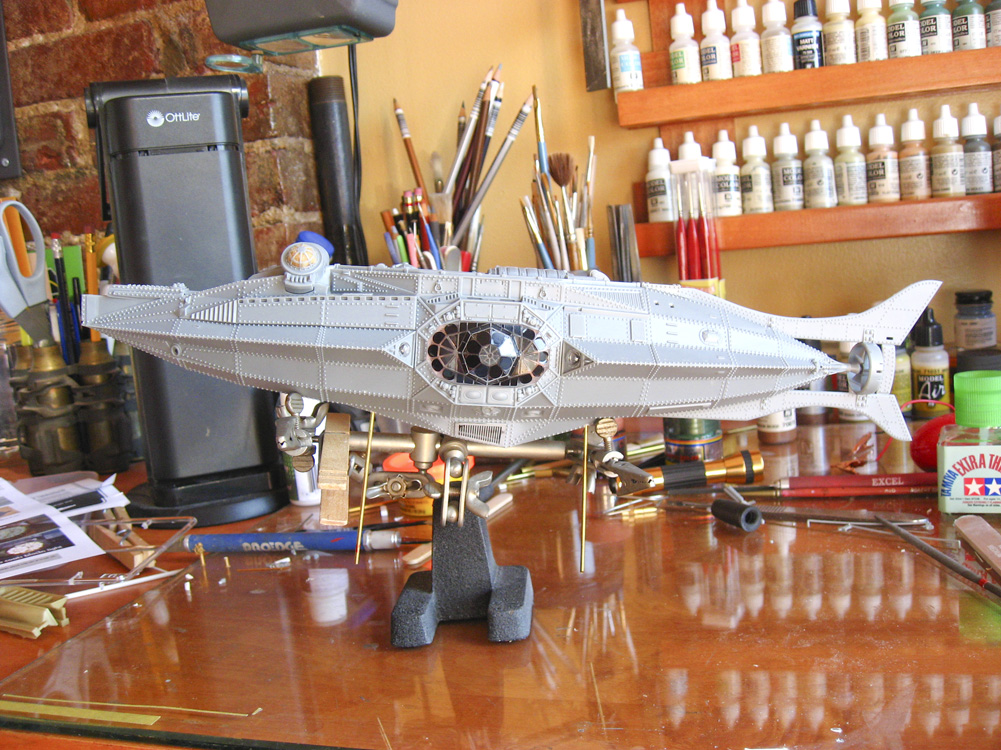
 There isn’t a lot of surface area to mask on the Nautilus, but some of what there is happens to be quite intricate. For the forward bridge area, the two “gator eyes” looking protrusions, I decided to leave the clear plastic/glass out for better visibility of the small interior that I built. The masking for those pieces then became a matter of filling the portholes with upholstery foam cut to the proper diameter. I glued the porthole assemblies to the model with simple white glue, so that once painting is done, I can remove the pieces to get at the foam.
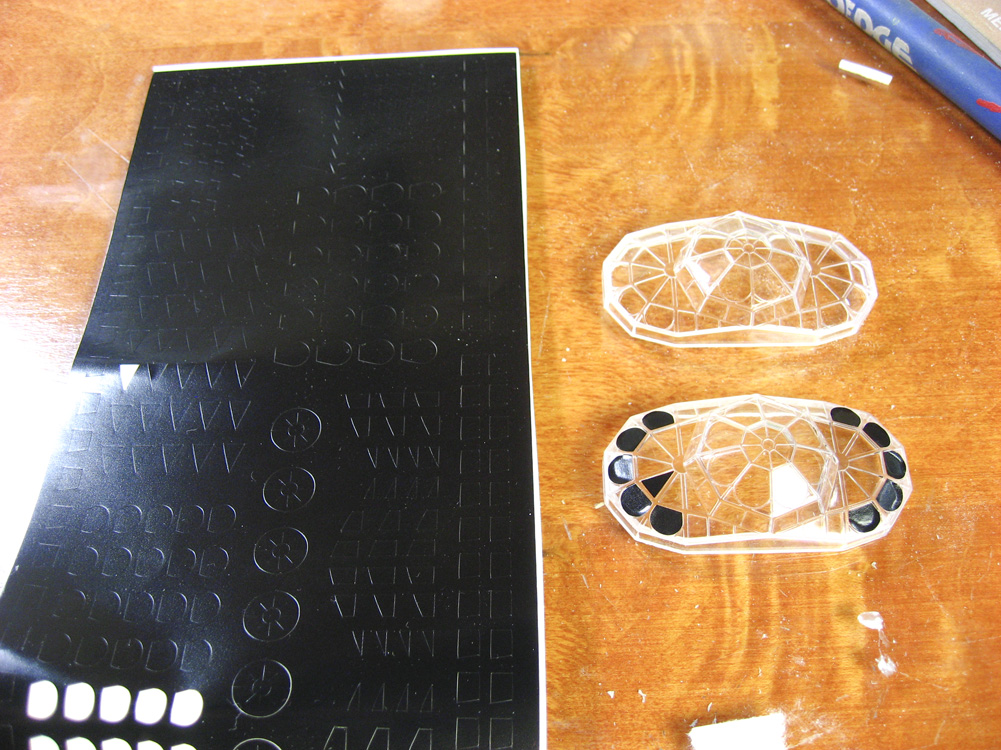
The bay windows on either side of the lounge are much more detailed. I’d LOVE to have a photo-etched assembly to replace these windows, just the framework and no glass/plastic. That doesn’t exist (yet), so I have to mask the windows. The kit comes with pre-cut masks, but they’re thick and don’t look like they’d have the best adhesion. Paragrafix makes a vinyl cut set, which I used here. The masks remove easily from the backer, which is good, because with 128 individual pieces to cover both windows, the last thing you want to do is fight to get them free. The only issue I have had with them so far is that some aren’t cut exactly to size; the triangles around the center window are noticeably smaller than their corresponding pane. Also, there are scallops around the center window section that are not included in the mask set; I could mask those myself with a liquid solution, but I’m not that invested in this build.
I’ve also done what little filling of gaps and seams this model required. This coming weekend should see primer sprayed, and a base-coat of black laid in, in preparation for spraying some copper.
-
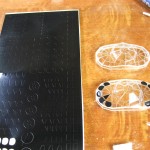
- Starting the process.
-
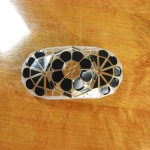
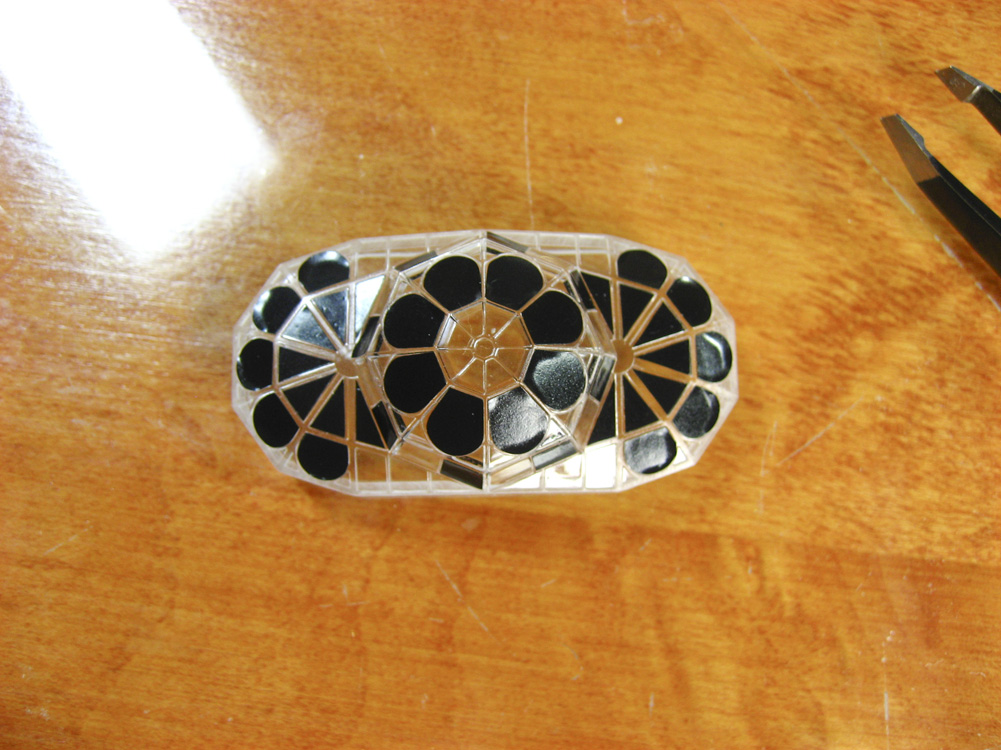
- Most of it done. The tiny triangles and little dot in the center were the most “fun”.
-
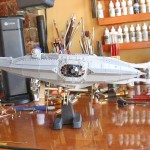
- Window masked and installed. On the left you can just make out the foam I crammed into the bridge porthole as a mask.