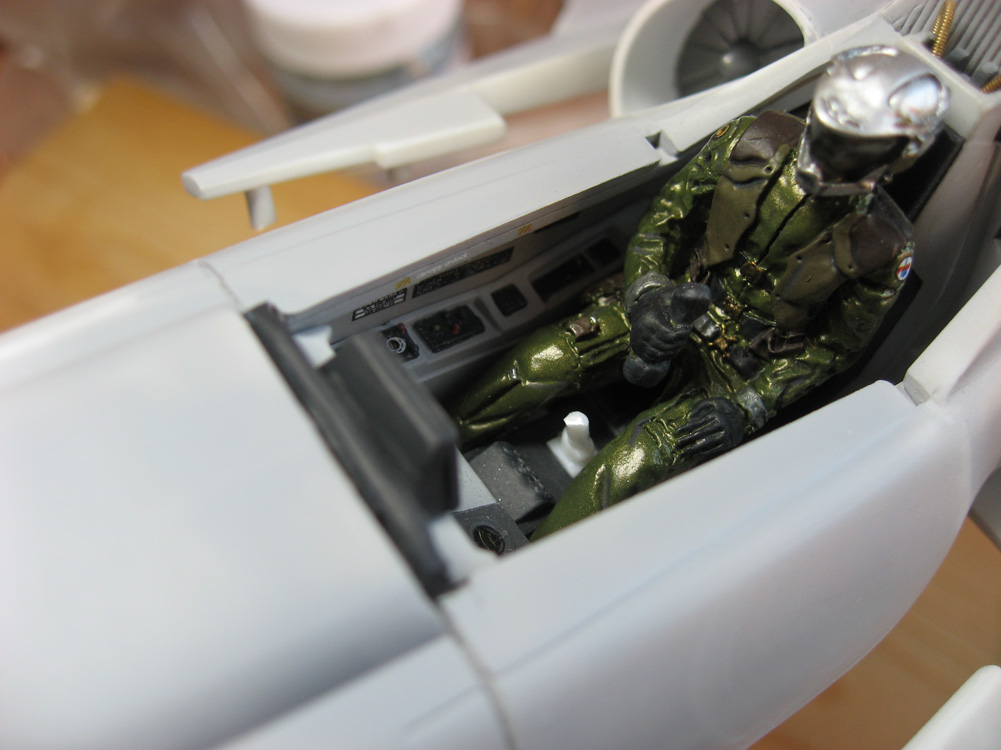
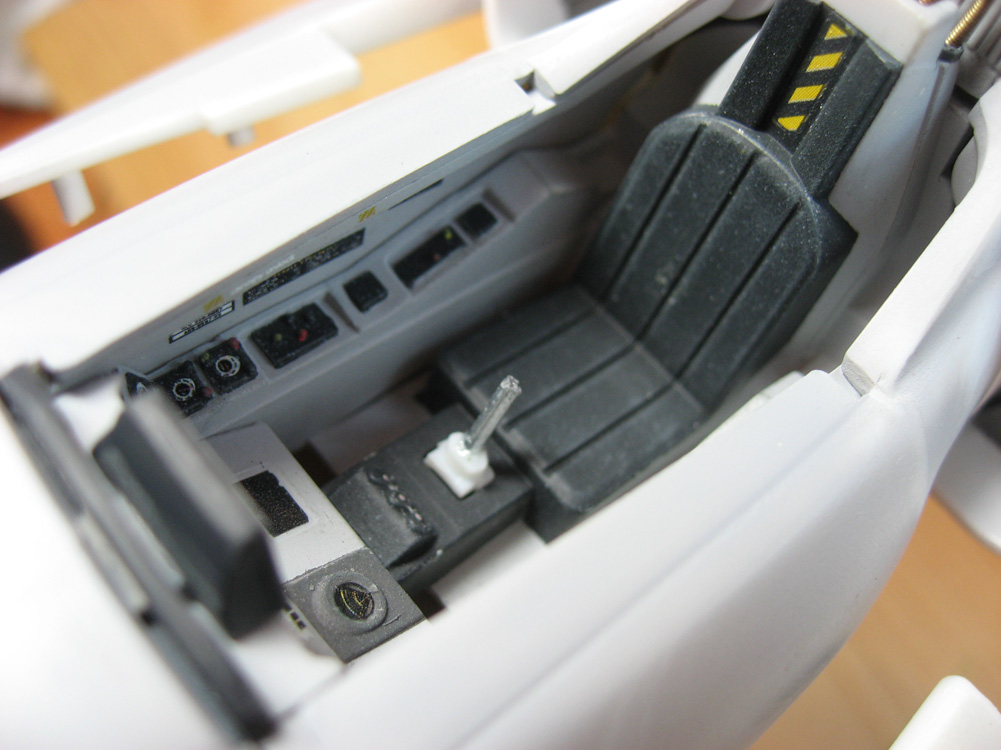
 I’m reasonably sure that the fuselage is now ready for final primer and paint. That means that I have to get the canopy on and smoothed into the fuselage (it has gaps, of course), and to do that our pilot has to go in first. The kit instructions say if using the pilot, you are to cut off the top of the control stick and glue that to the bottom of the control stick already molded into the pilot’s hand. As you can see from the first photo, they don’t even come close to meeting up. Had I known of this issue before putting the cockpit into the fuselage, I would have built up the center console so that it looked right, but at this stage all I could do was drill out the base of the stick and put in a piece of wire to make up the difference.
The pilot didn’t quite want to fit. Wide hips, narrow seat. With a little pressure, though, it worked. I broke out the super glue, a bar clamp, and repeated over and over as I tightened the clamp “please don’t snap his neck, please don’t snap his neck…”
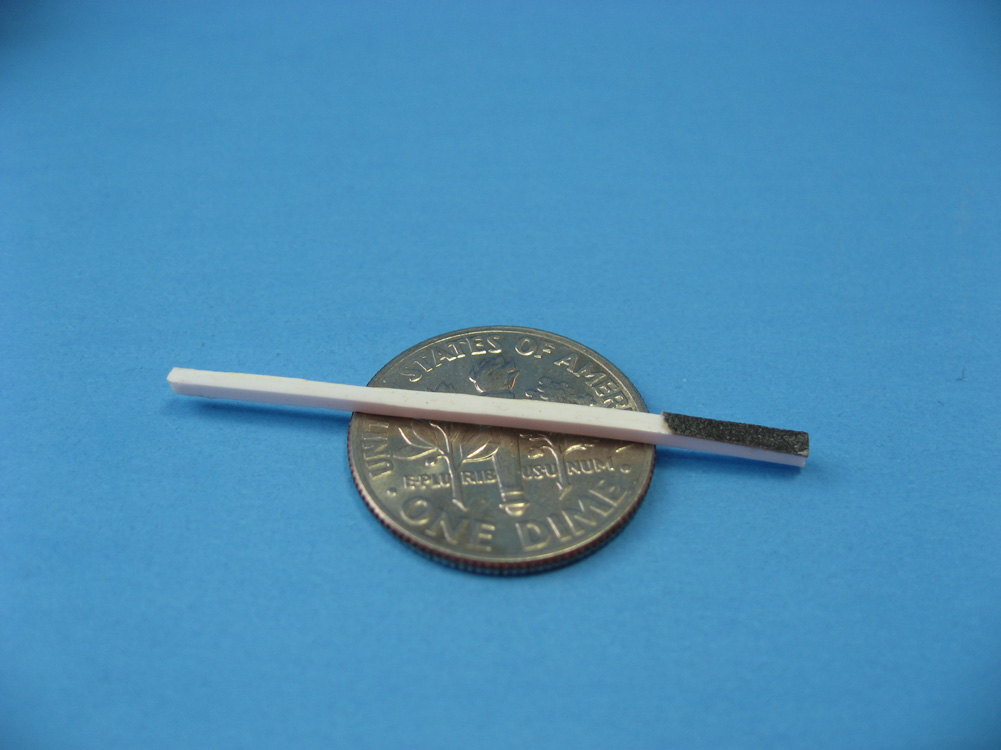
The final piece is a custom tool I made for the build. 1mm square styrene stock with strips of 200 grit sandpaper glued to it. For the small recesses at the top of the engines and around the seat of the thrusters, this is all that would fit in there.
Next up: put on the canopy and start masking for primer and paint.

I really do love these posts. Congrats on getting the pilot in the seat.
Thanks. I had hoped to get the canopy mounted and fared-in, and an overall coat of primer on it, before leaving for California this afternoon, but it just wasn’t in the cards.