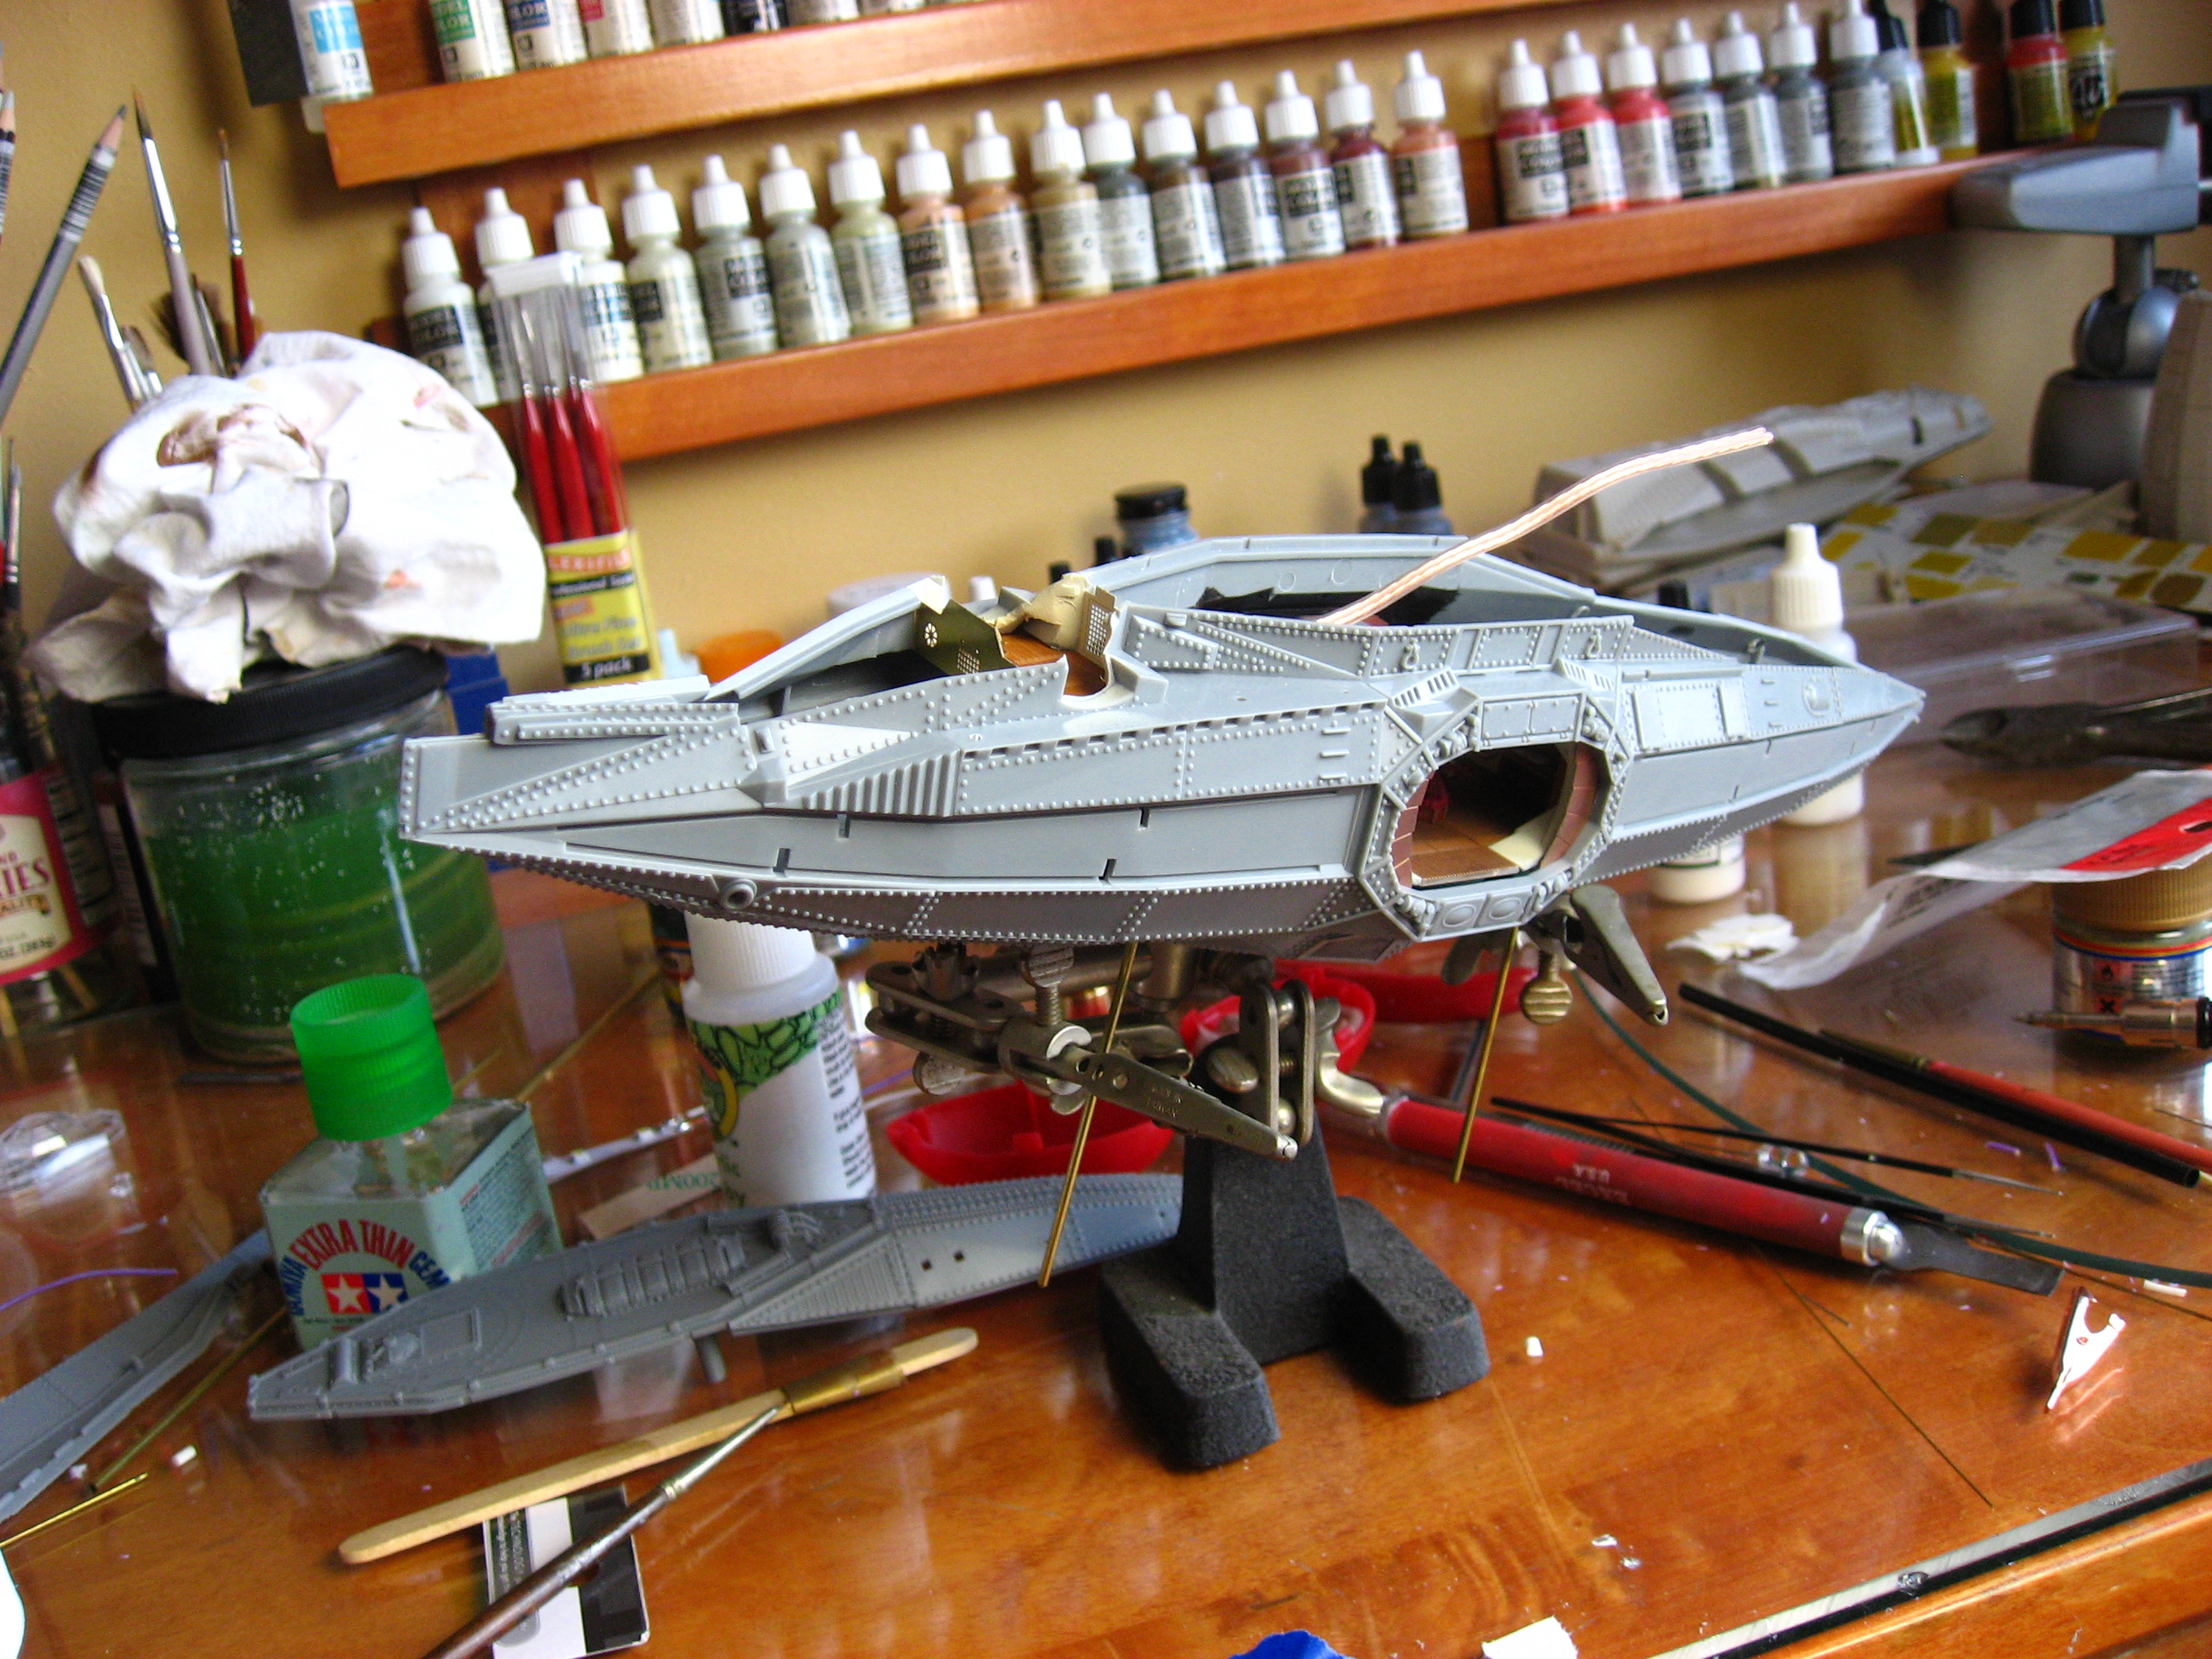
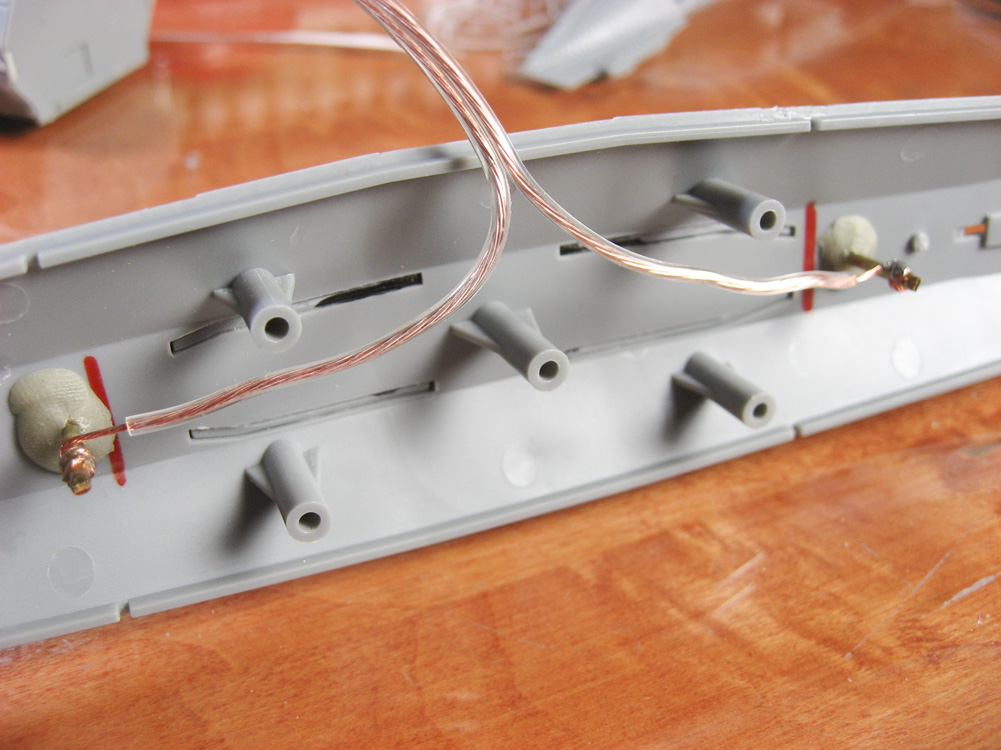
 Ten days in Costa Rica and the coldest winter in memory in the north east have slowed my building. Since I still can’t airbrush a lot (opening the window is NOT an option), I’m still plugging away at other items. I’ve added brass rods through the lower hull that will serve two purposes: to mount the sub to its base, and to provide power into the hull for the lighting.
I also installed the bridge assembly, which is from the PE set. The bulkheads and deck of the bridge are very well done, and fit like a glove. The details of it, however, suffer from the “What scale am I?” sickness that the rest of the kit has. Photos now, more after…
-
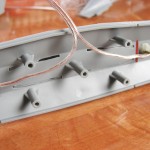
- The brass rods will serve as mounting points for the sub, and electrical contacts inside the hull.
-
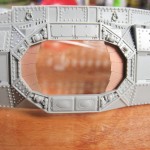
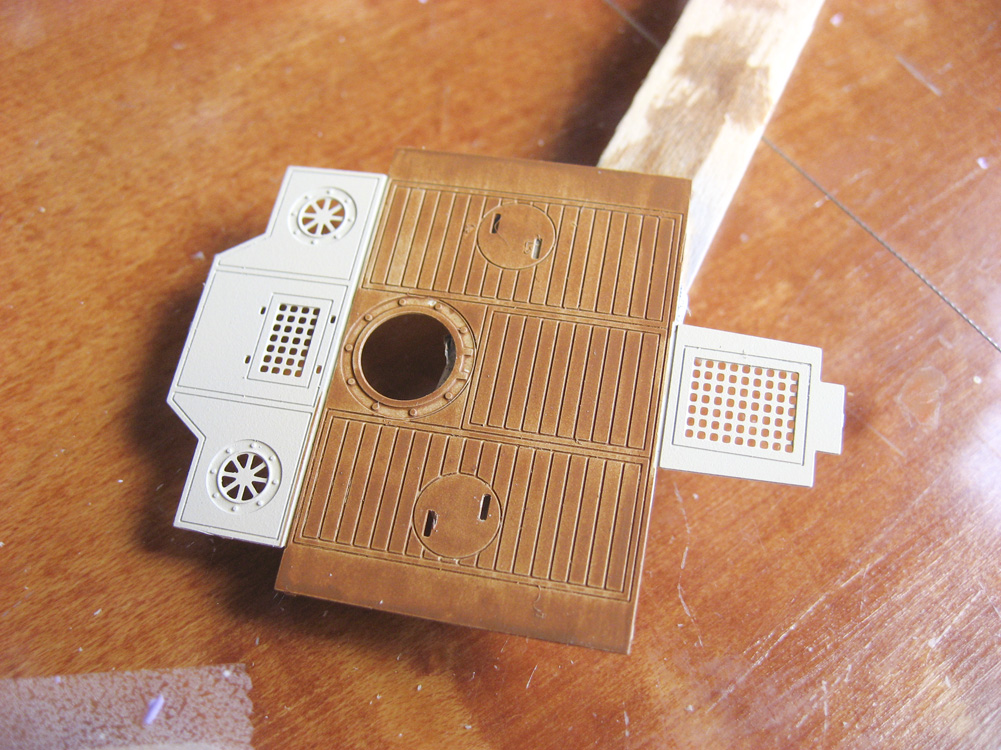
- Brass “blast doors” are included in the PE set, to cover some unfortunate gaps in the gallery assembly.

-
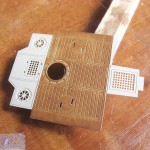
- The bridge area comes as a flat sheet of PE. I painted it before folding to shape.
-
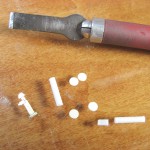
- On the left is the photo etched steering column from the PE sheet. Too flat for my liking, so I started punching and cutting styrene.

-
- Two steering columns on the left, original part in the middle. I made a throttle quadrant, on the right, just for the hell of it.

-
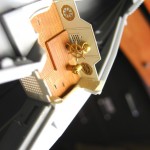
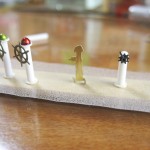
- Assembled and painted. I had to modify it all a lot to get it to look right.
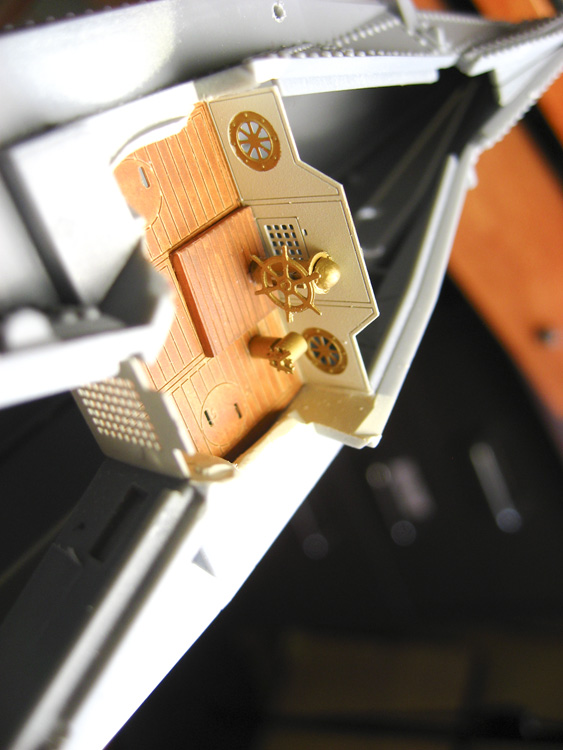
After finishing the custom pieces, nothing fit. The wheels and columns were too tall, so I cut them down. If I placed them where the kit said to, then there’d have been no room for a person to stand (yes, it’s just a sci-fi model, but I think about such things). I made a platform to cover the hatch in the middle of the deck, cut down one of the steering columns and the throttle quadrant, attached them both. For all you’ll be able to see this once assembled, it’s adequate.
I’m onto the electronics now, as I wait for yet more repair parts for my airbrush. I haven’t soldered in years, and it shows. Just more to learn.